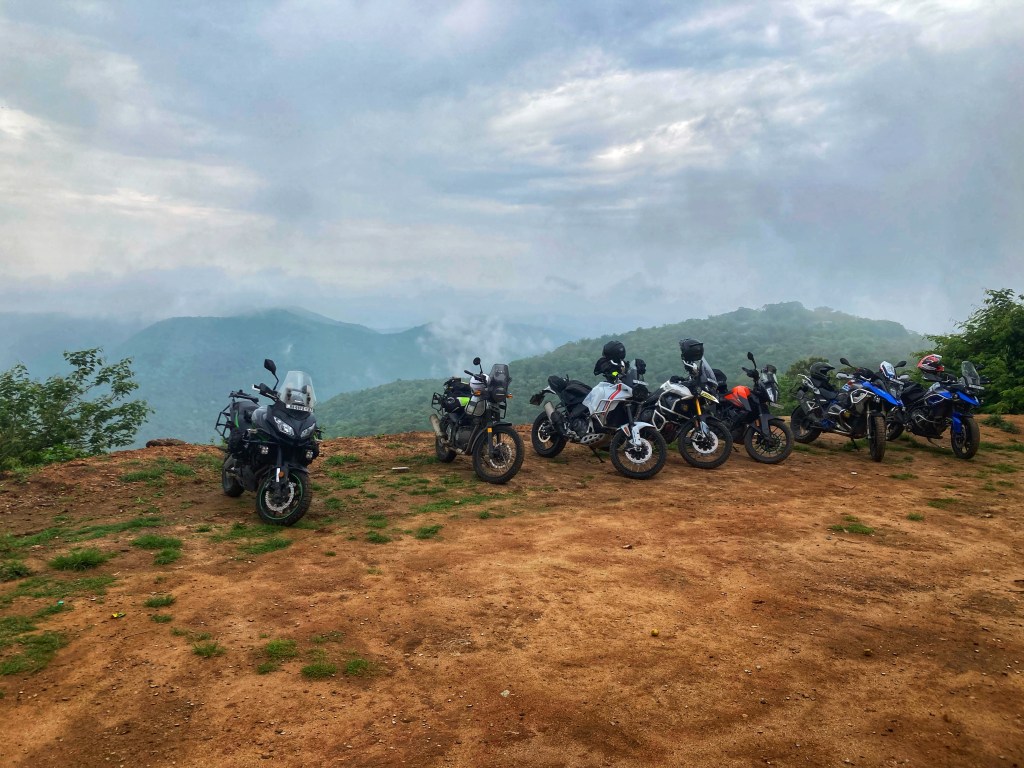
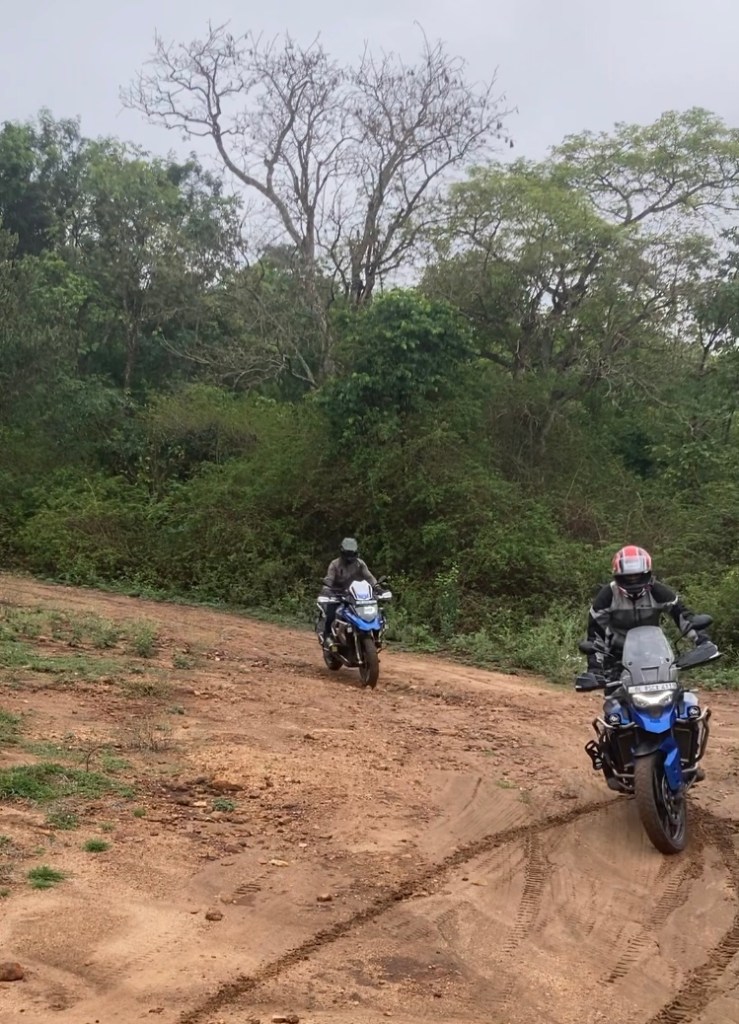
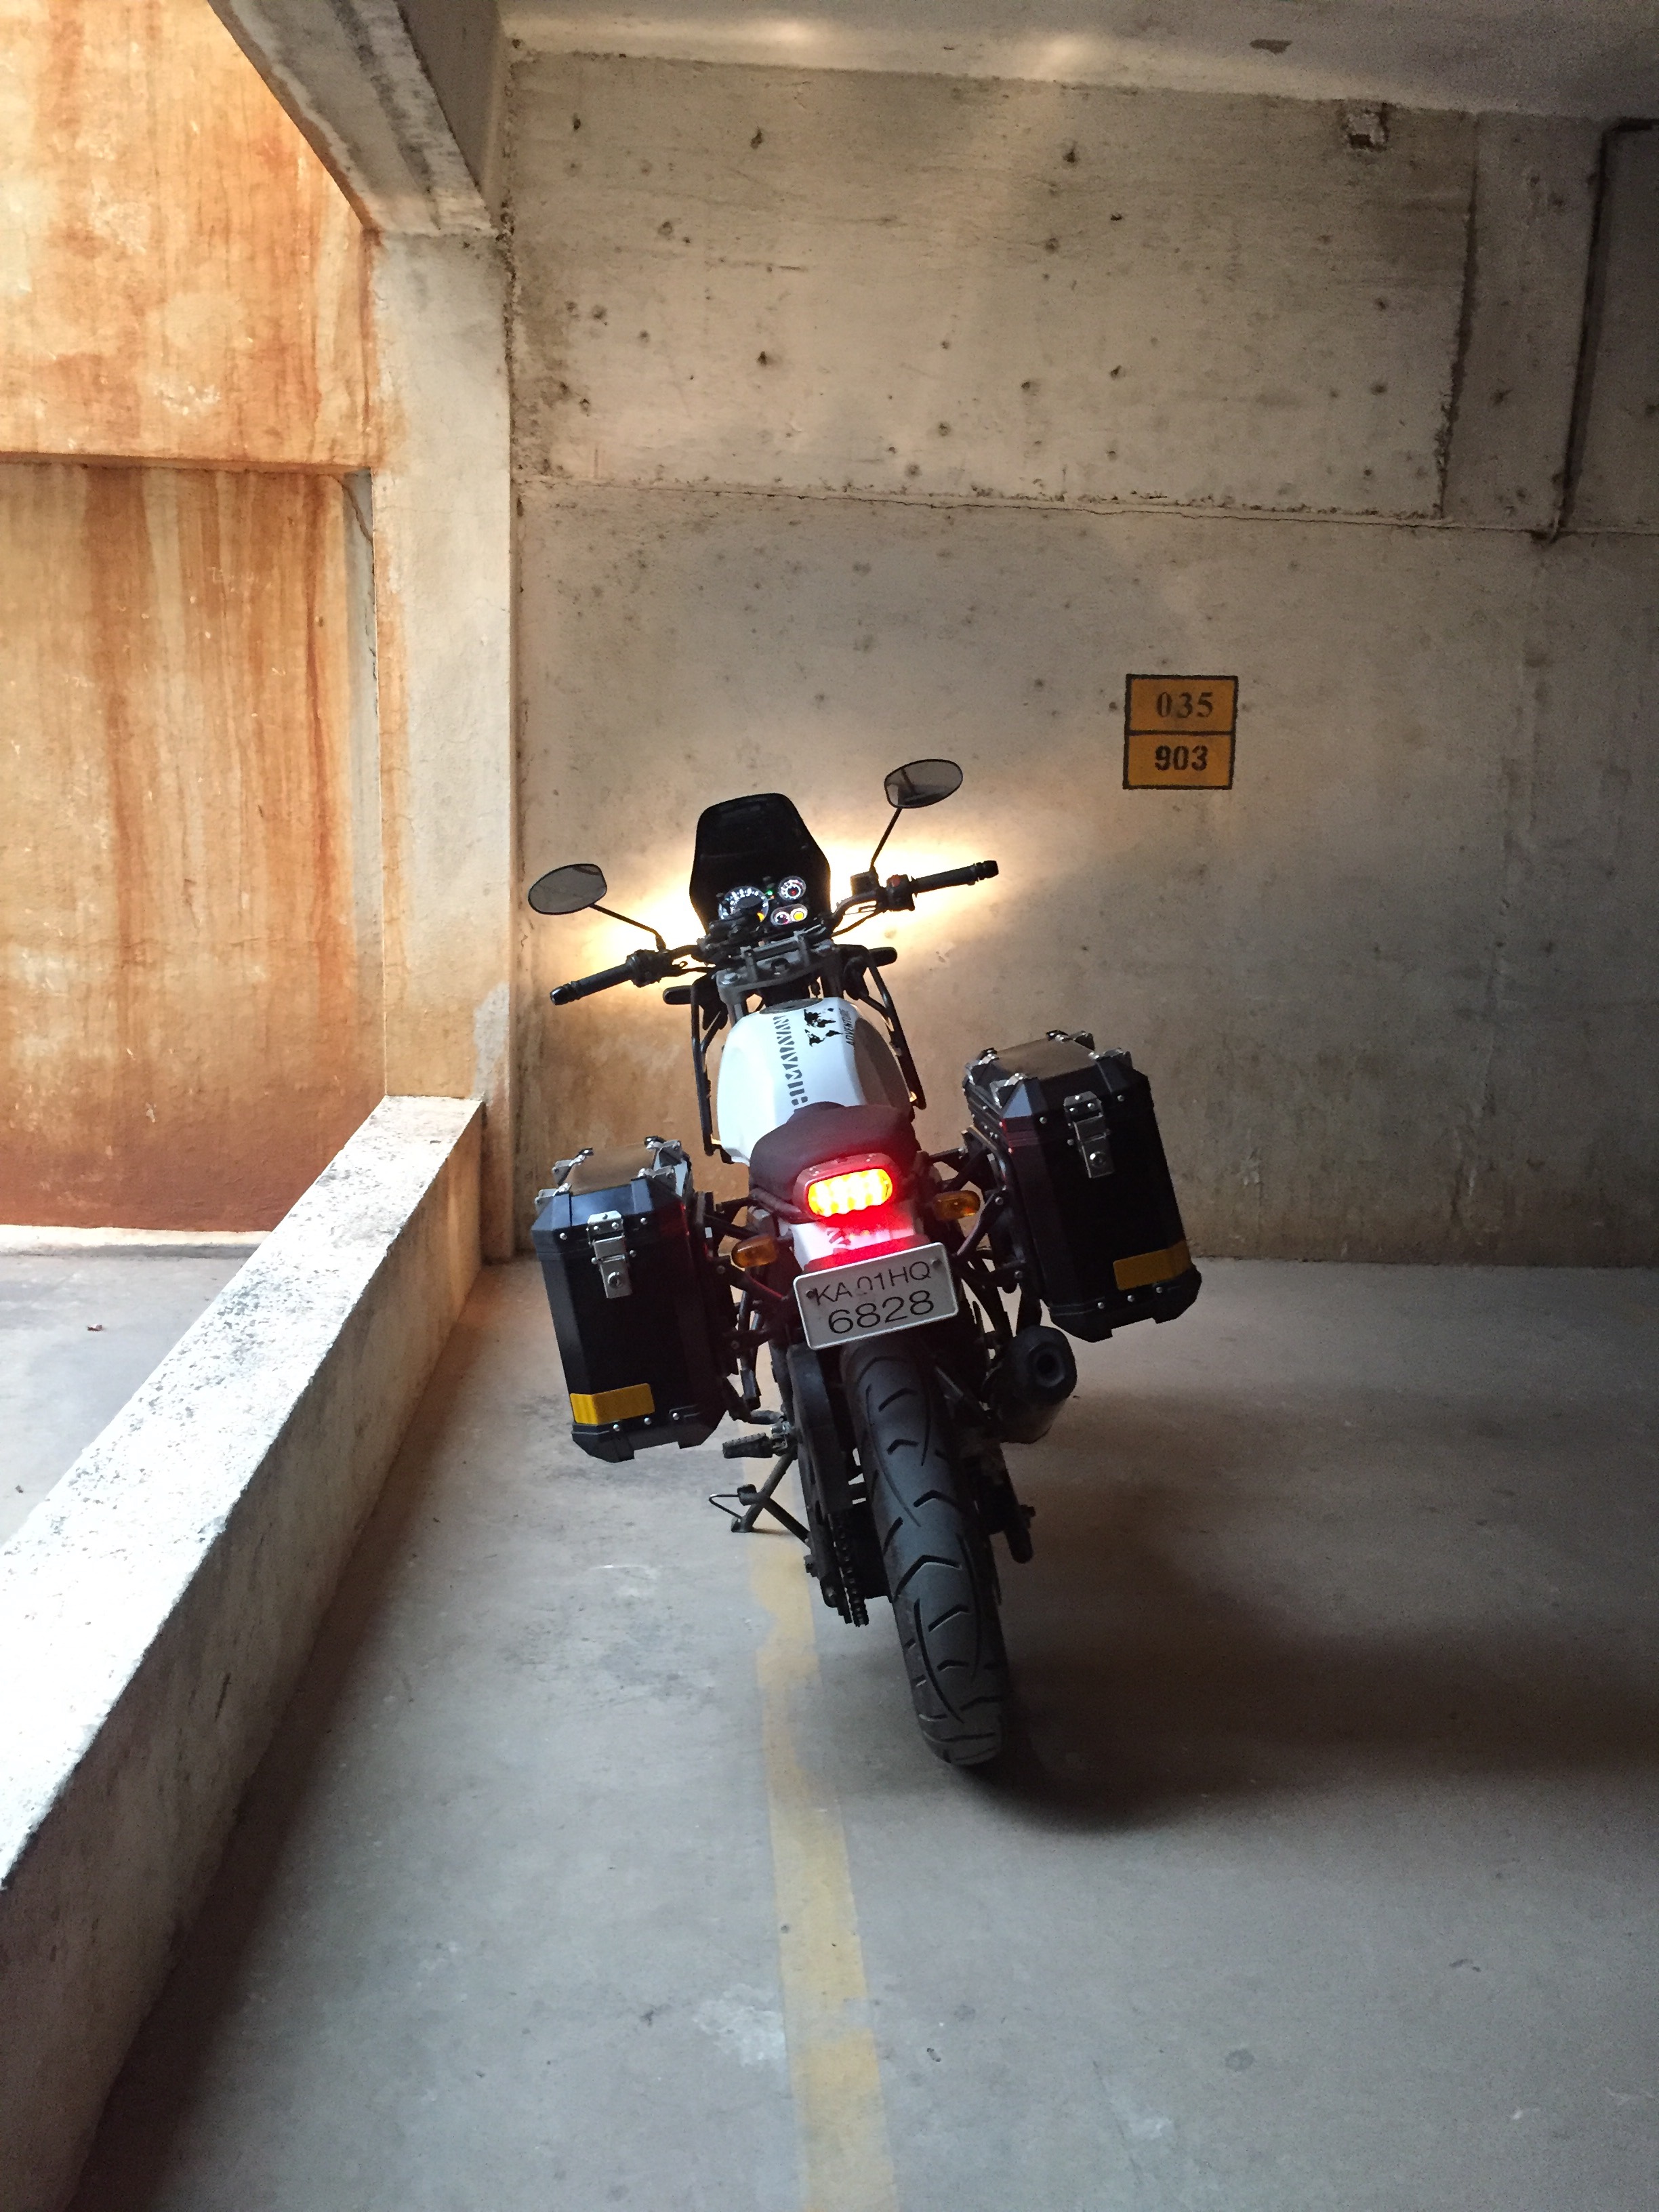
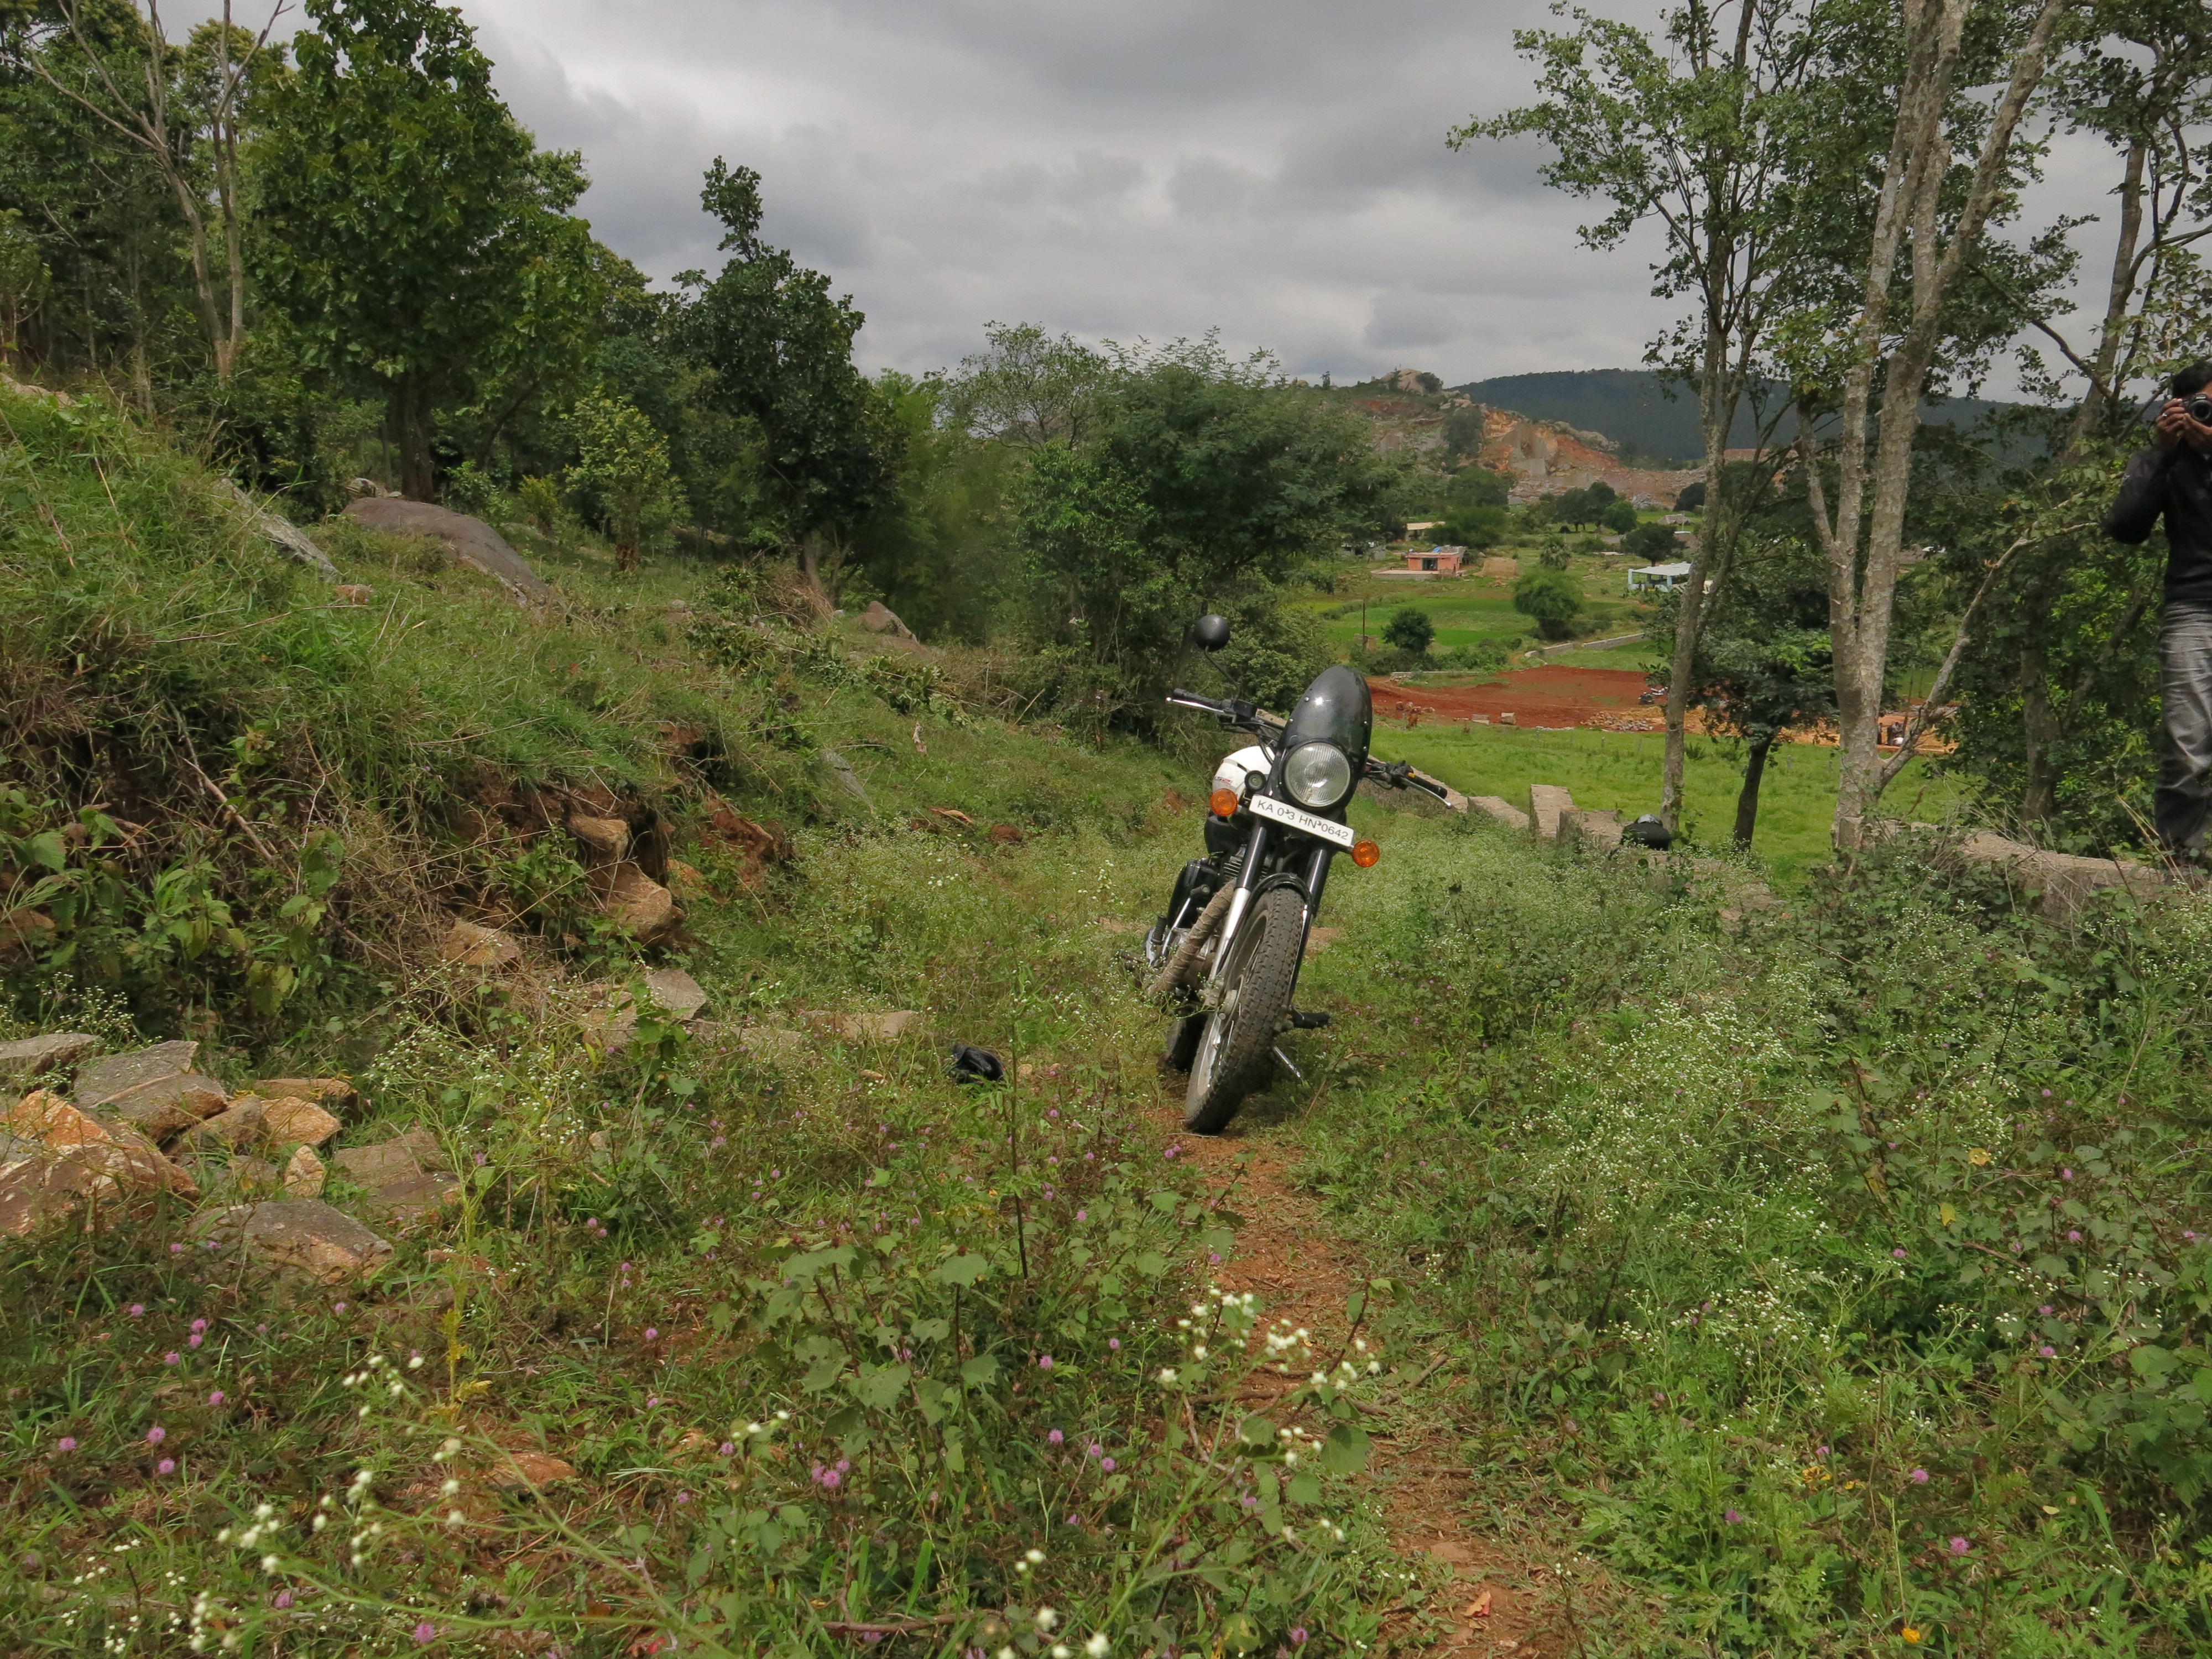
We’d been to a ride to Billekal Rangaswamy Betta a hill trail through a forest reserve off Kanakapura town. This is a great technical trail to test your off road skills. The trail has decent straight sections and some twisties.
Hill top parking spotTrail riding
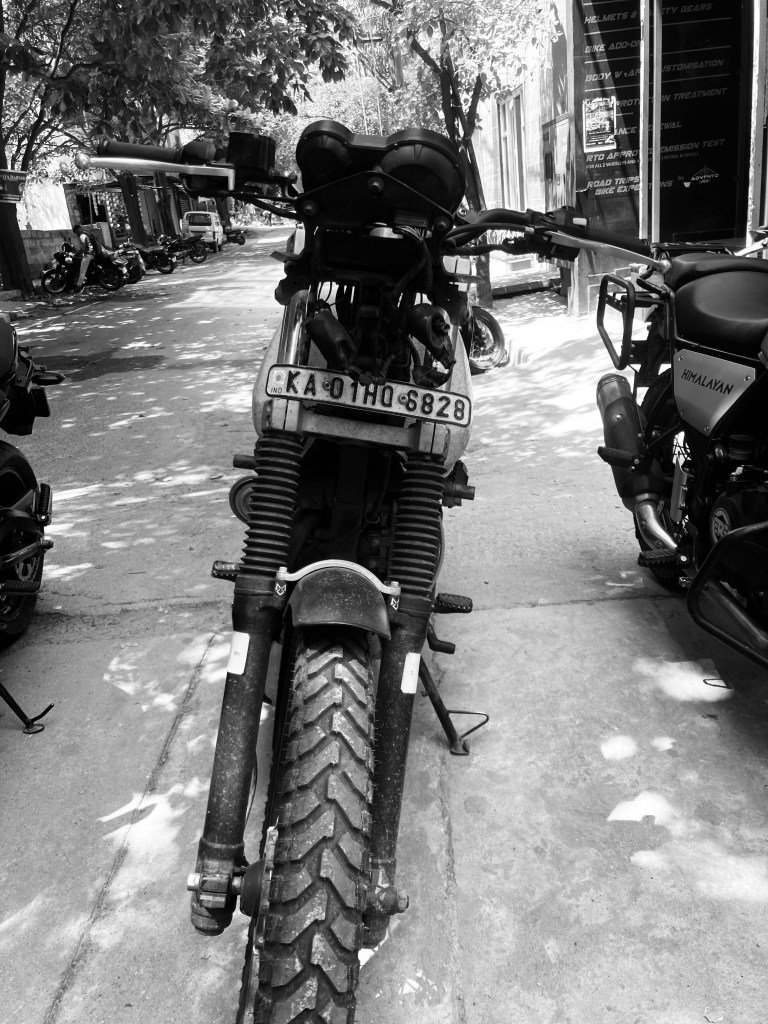
On the way down from the hill, I misjudged both my speed and the rutted gully ahead of me. The front wheel went straight through the rut and would have carried through had it not been for a large boulder sitting squarely in the middle. I felt the wheel hit the stone and had no time to control the bike. It was a hard fall! While I got off with a badly bruised shoulder, the bike took the brunt of it.
The bike after the fall. Bent handlebar, bent tank frame, twisted headlight assembly, broken indicators, scratched windshield, broken levers…the list is long. The mirrors and headlight survived, miraculously.
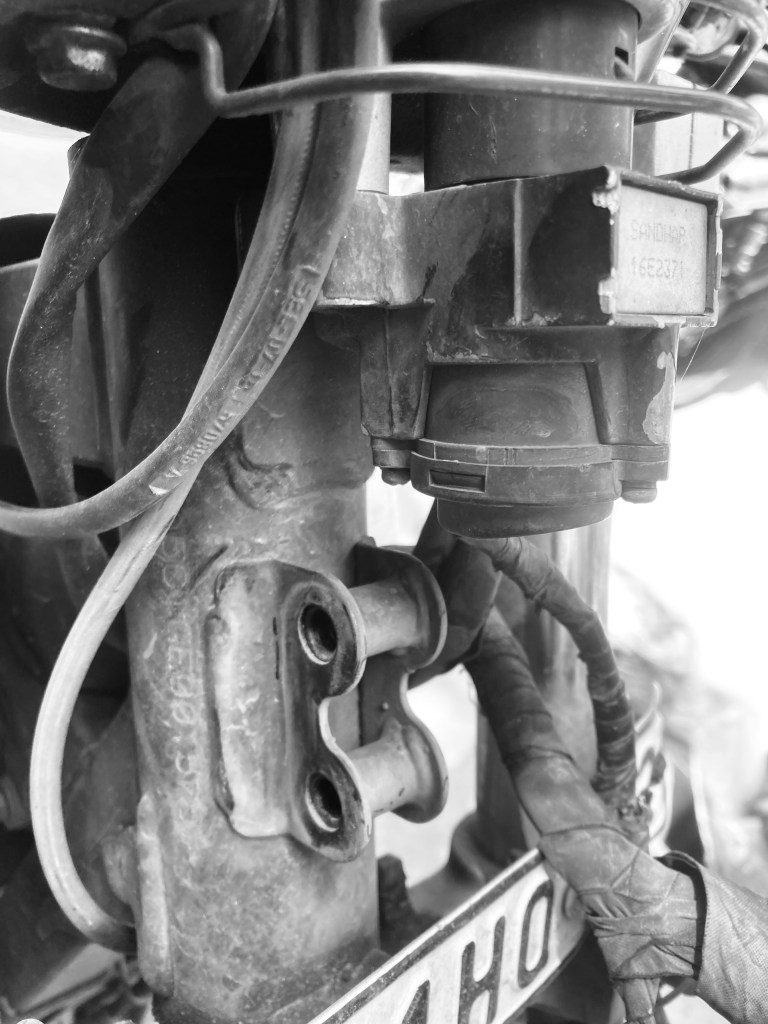
Back at my friendly neighbourhood workshop, we assessed the damage. The main chassis was intact, so was the tank and headlight. The touring mirrors I had installed are quite tough and took a beating but did not crack. Irreversible damage to the handlebars, the tank frame, the headlight assembly and the pannier frame, bent out of shape on the side the bike fell, prompted some deep thinking about the bike’s future.
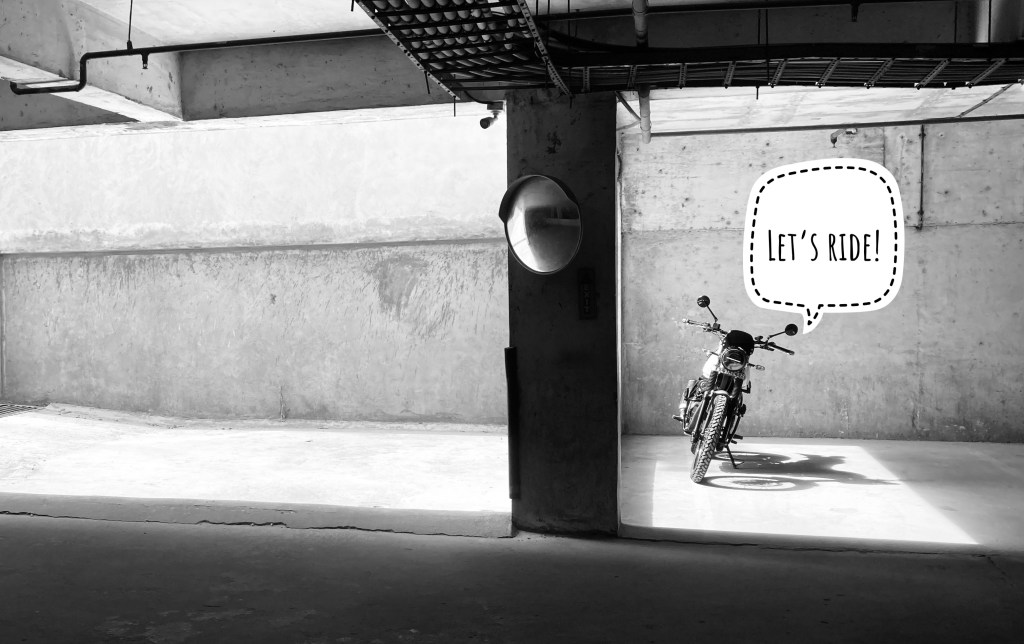
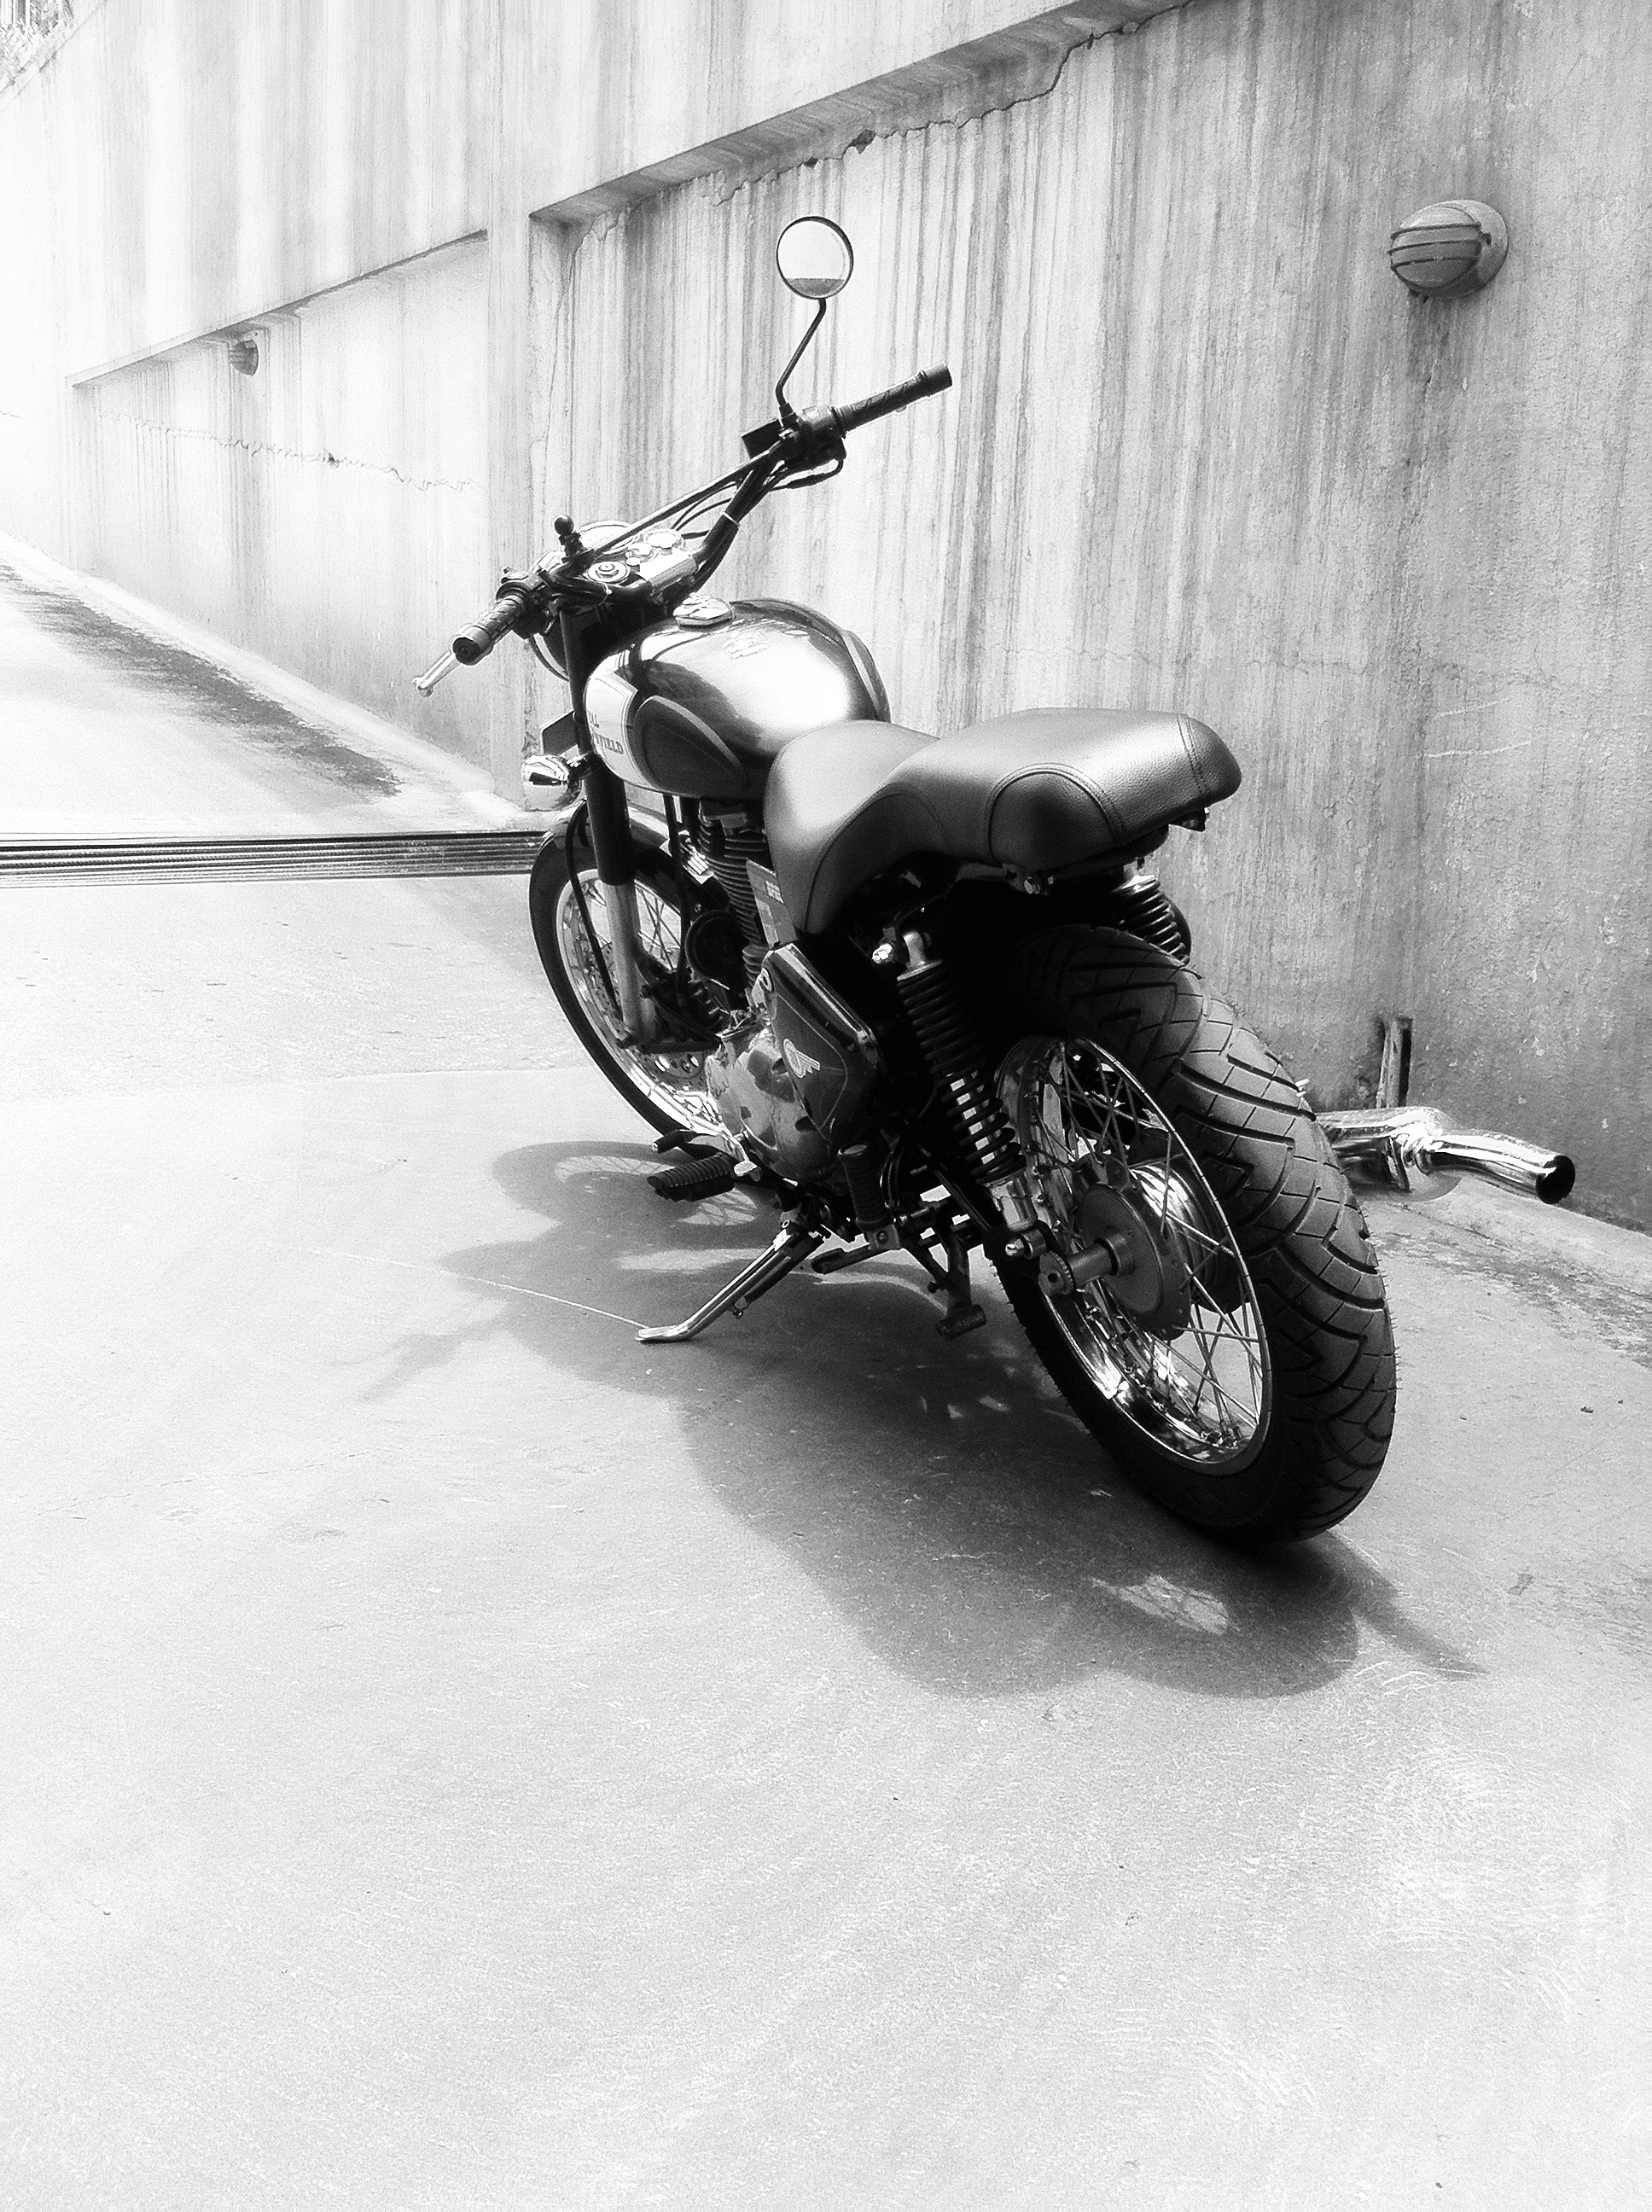
I was keen to save the bike and continue to keep it for good. Obviously to keep using it in its adventure tourer format meant a lot of expensive parts to be replaced. A viable alternative was to get rid of the damaged components completely and convert it to a scrambler.
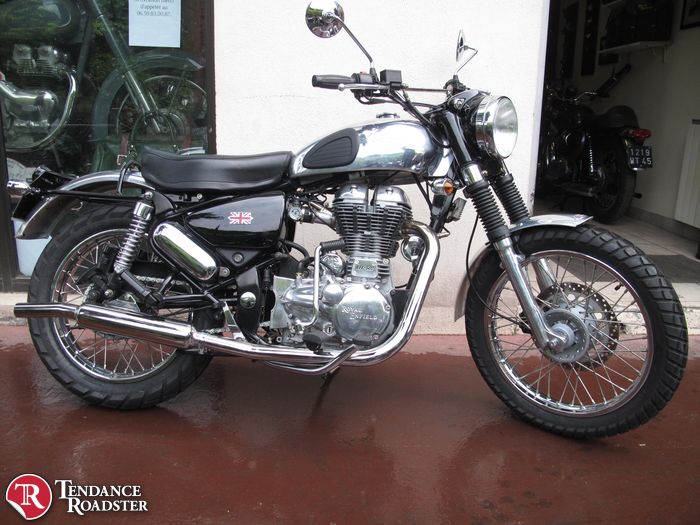
The Himalayan prototype bike, circa 2015
Scrolling through scrambler build ideas on Pinterest, an image of the first spy shot of the test mule Himalayan in 2015, caught my fancy. This bike took parts off the single cylinder Continental GT 535 while testing the engine and frame. It looked more scrambler than anything else, with no indication of the adventure genes that would define the look of the Himalayan when launched next year.
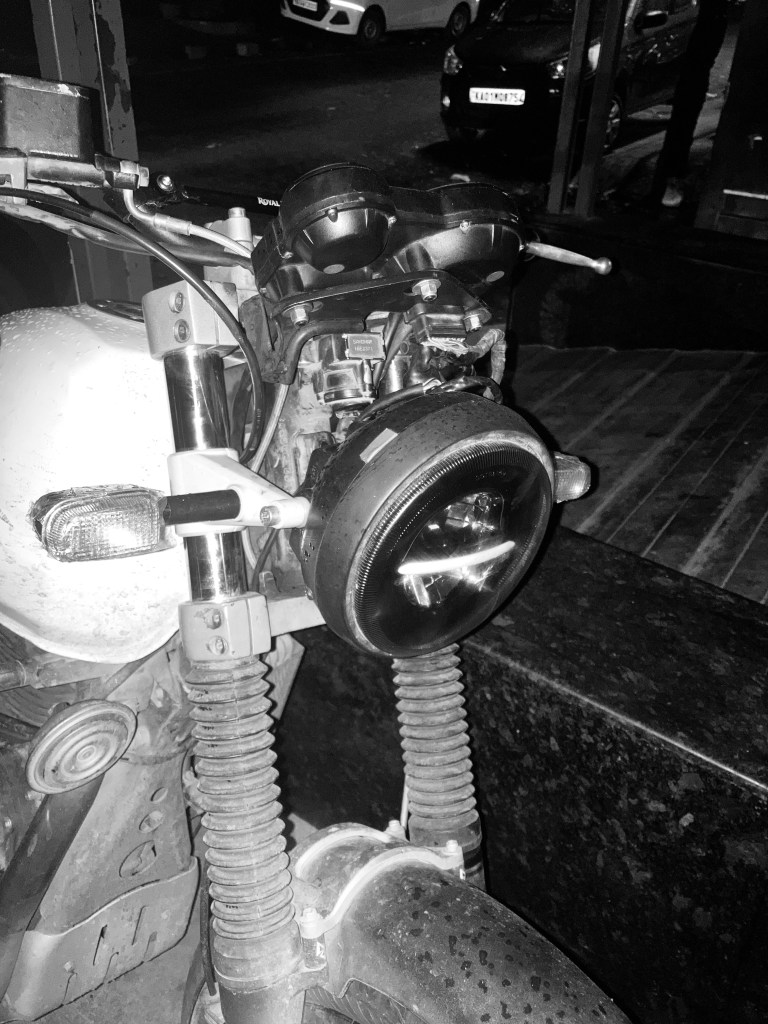
I decided to pay homage to this test mule. It seemed like a good direction to take. The first order of business was the headlight mount. I had seen many folks use the headlight bracket from the Interceptor 650, on the Himalayan. This was an easy buy and fit. The instrument cluster however, needed to have a custom fabricated mount. We wanted to retain the base plate for the instrument cluster which involved some bit of tinkering with the fabrication and welding of the clamp to get the mounting angles right. This was the longest and most painstaking part of the build.
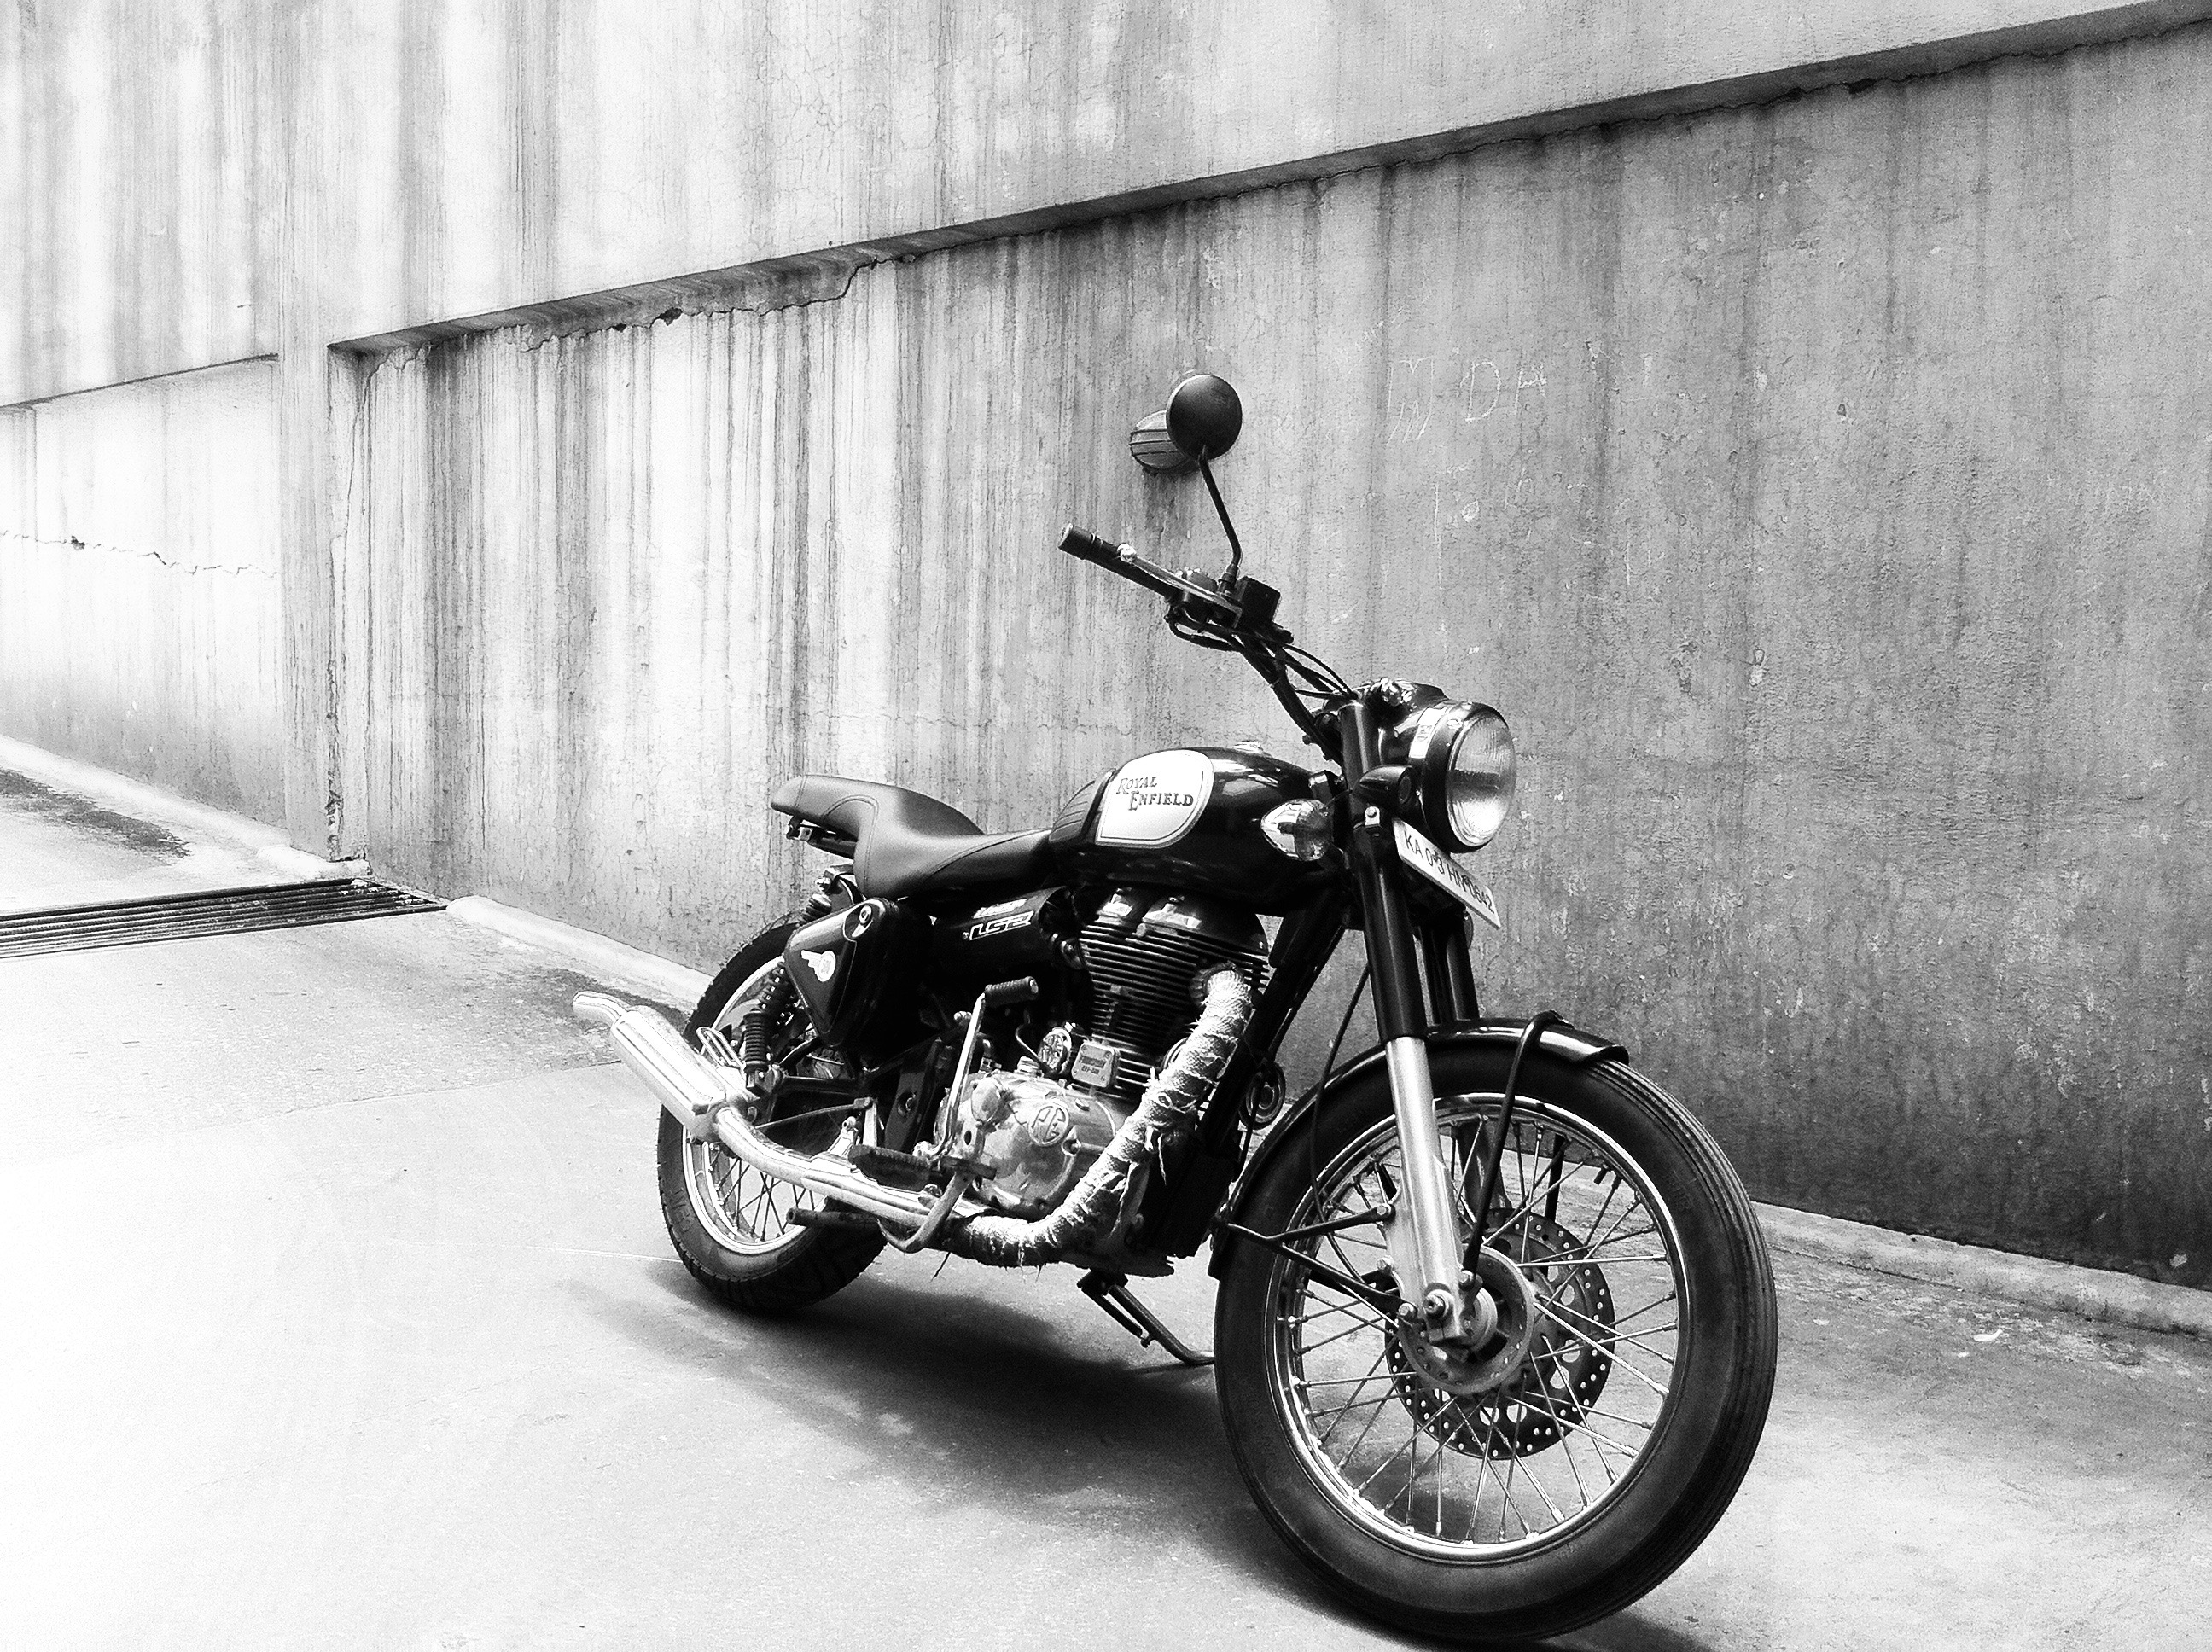
The Himmy sans the tank frame. It was a discovery for me when I realised that the headlight mount and the instrument cluster mount were two completely separate assemblies! What looks like a very rudimentary add on to the main frame is the base mount for the instrument cluster! Above that is the ignition key slot and handle lock.First attempt at the headlight assembly. Turn signal indicators and mounting brackets from the Interceptor 650. A flyscreen would be required to hide the yawning gap between the bottom of the instrument console and the headlight. This would also be a right mess of wires, if not tied down properly.
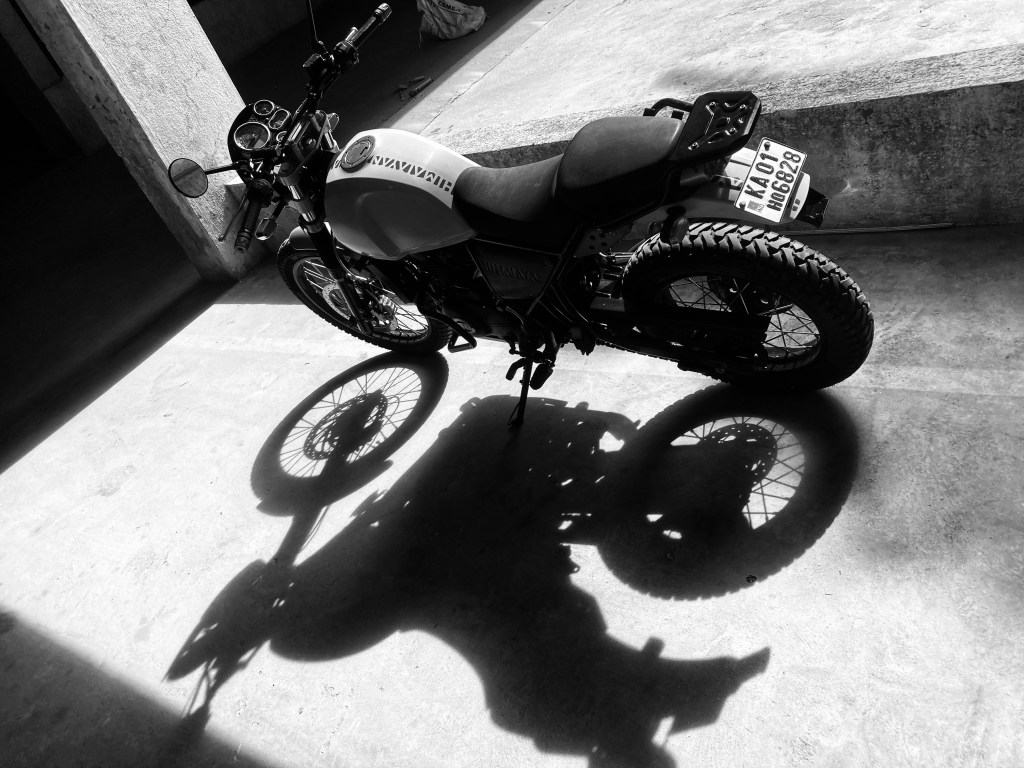
My friends at Highlander Moto, however, took lots of care to lovingly change the bike, to the look I desired. Taking time out of his busy schedule, Karthik bhai, slowly but surely brought the scrambler to life. The stock mudguard was looking too bulky on the reduced front, so I suggested we add the mudguard from the Interceptor as well. After a month and a half at the workshop, the bike returned in a new avatar.
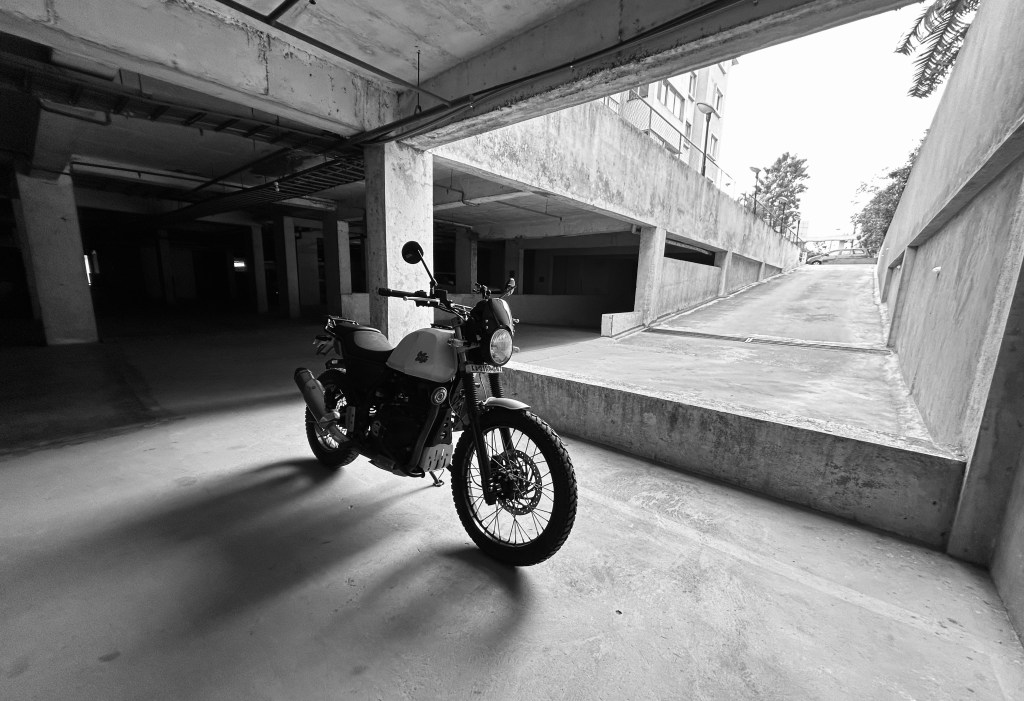
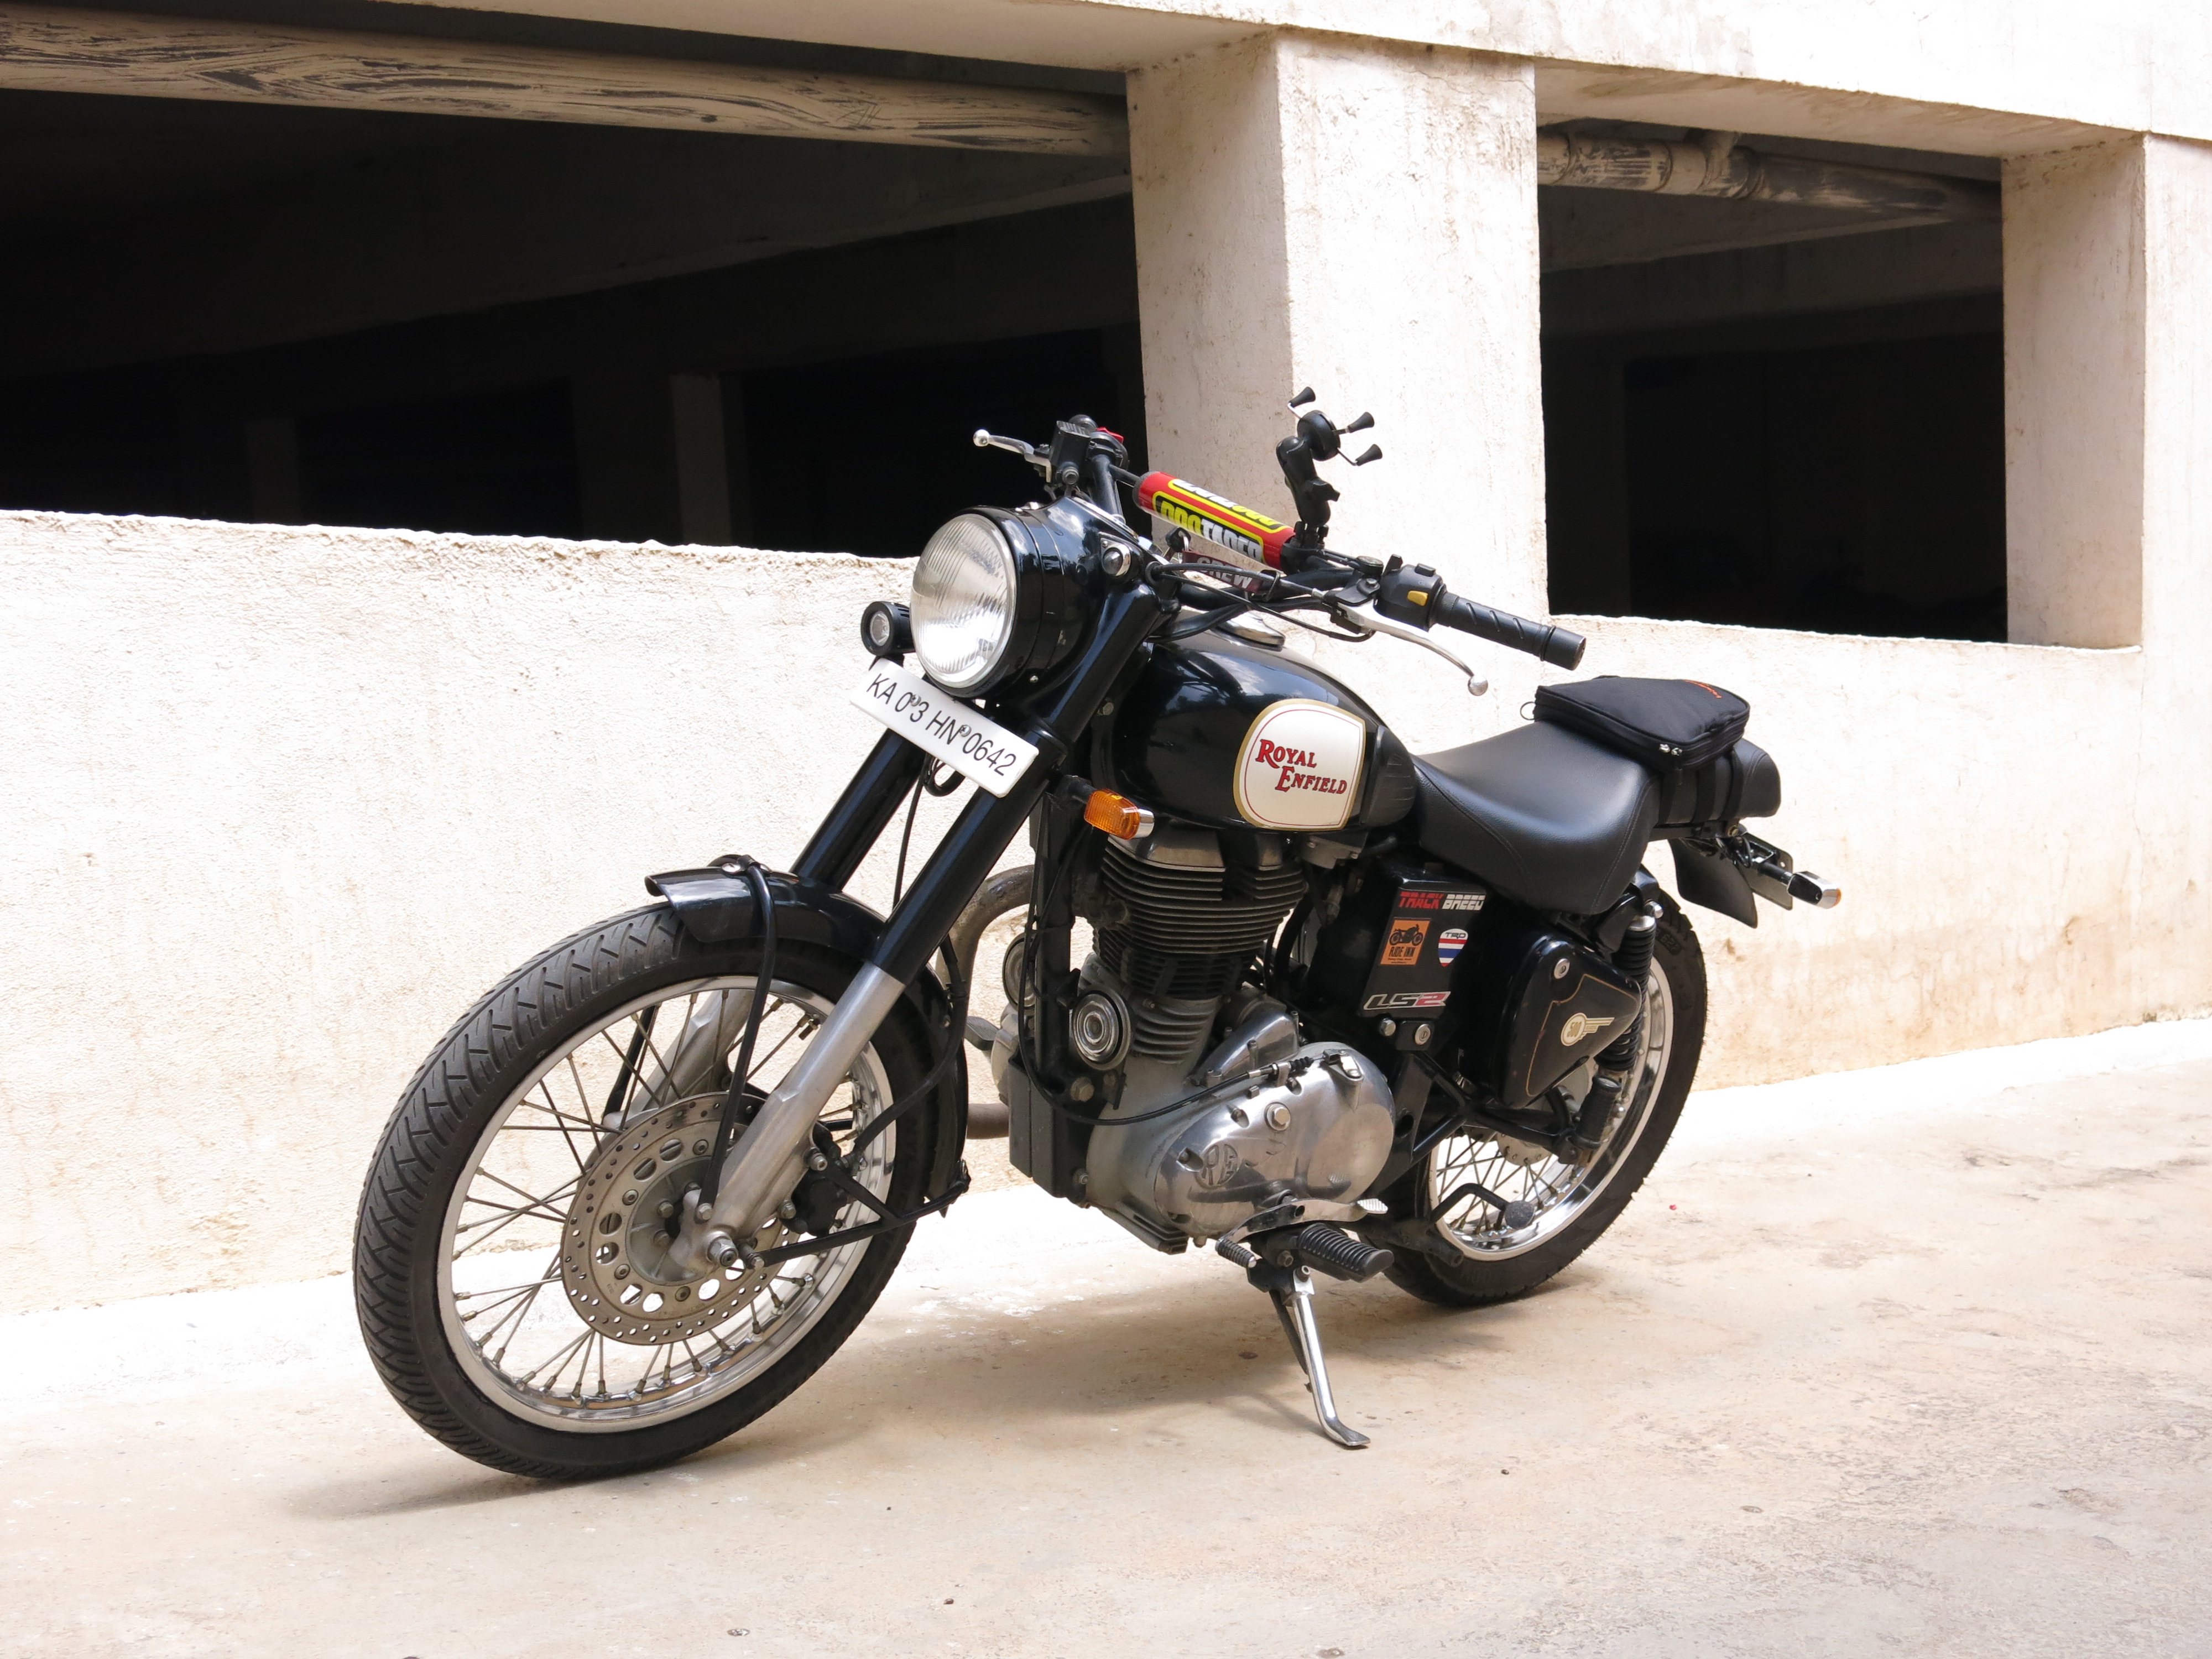
Quick errands in the neighbourhood and a couple of commutes to the office offered tempting insights into the true nature of the bike. With a good 15 kgs removed in the frames, the bike feels light and fast. A proper highway run would give a better picture. Hope to do that soon!
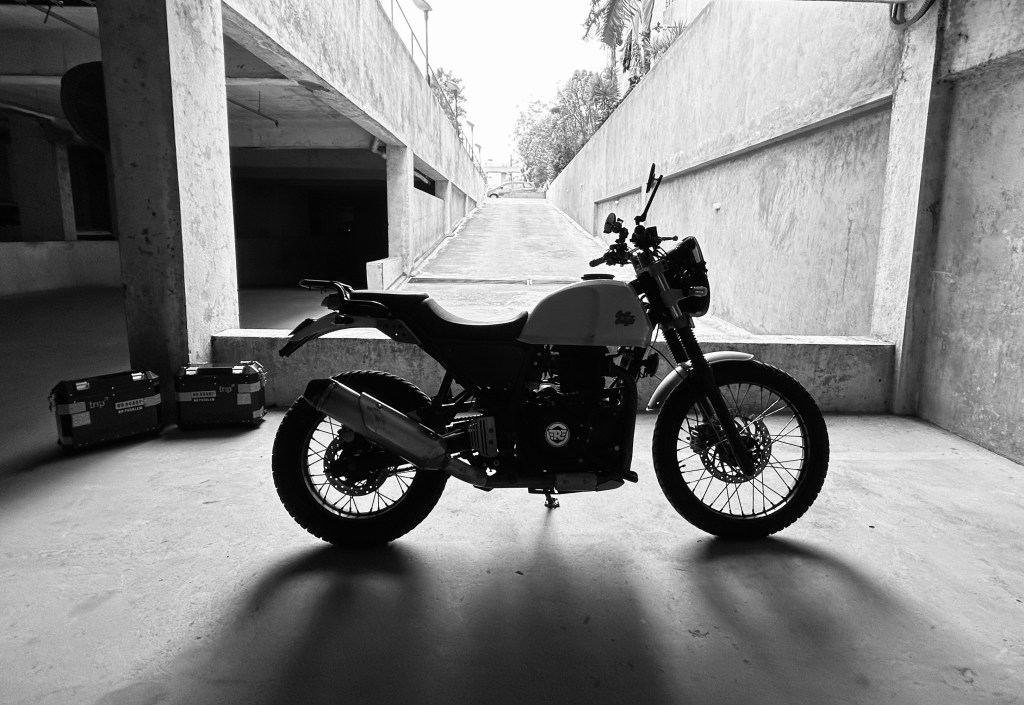
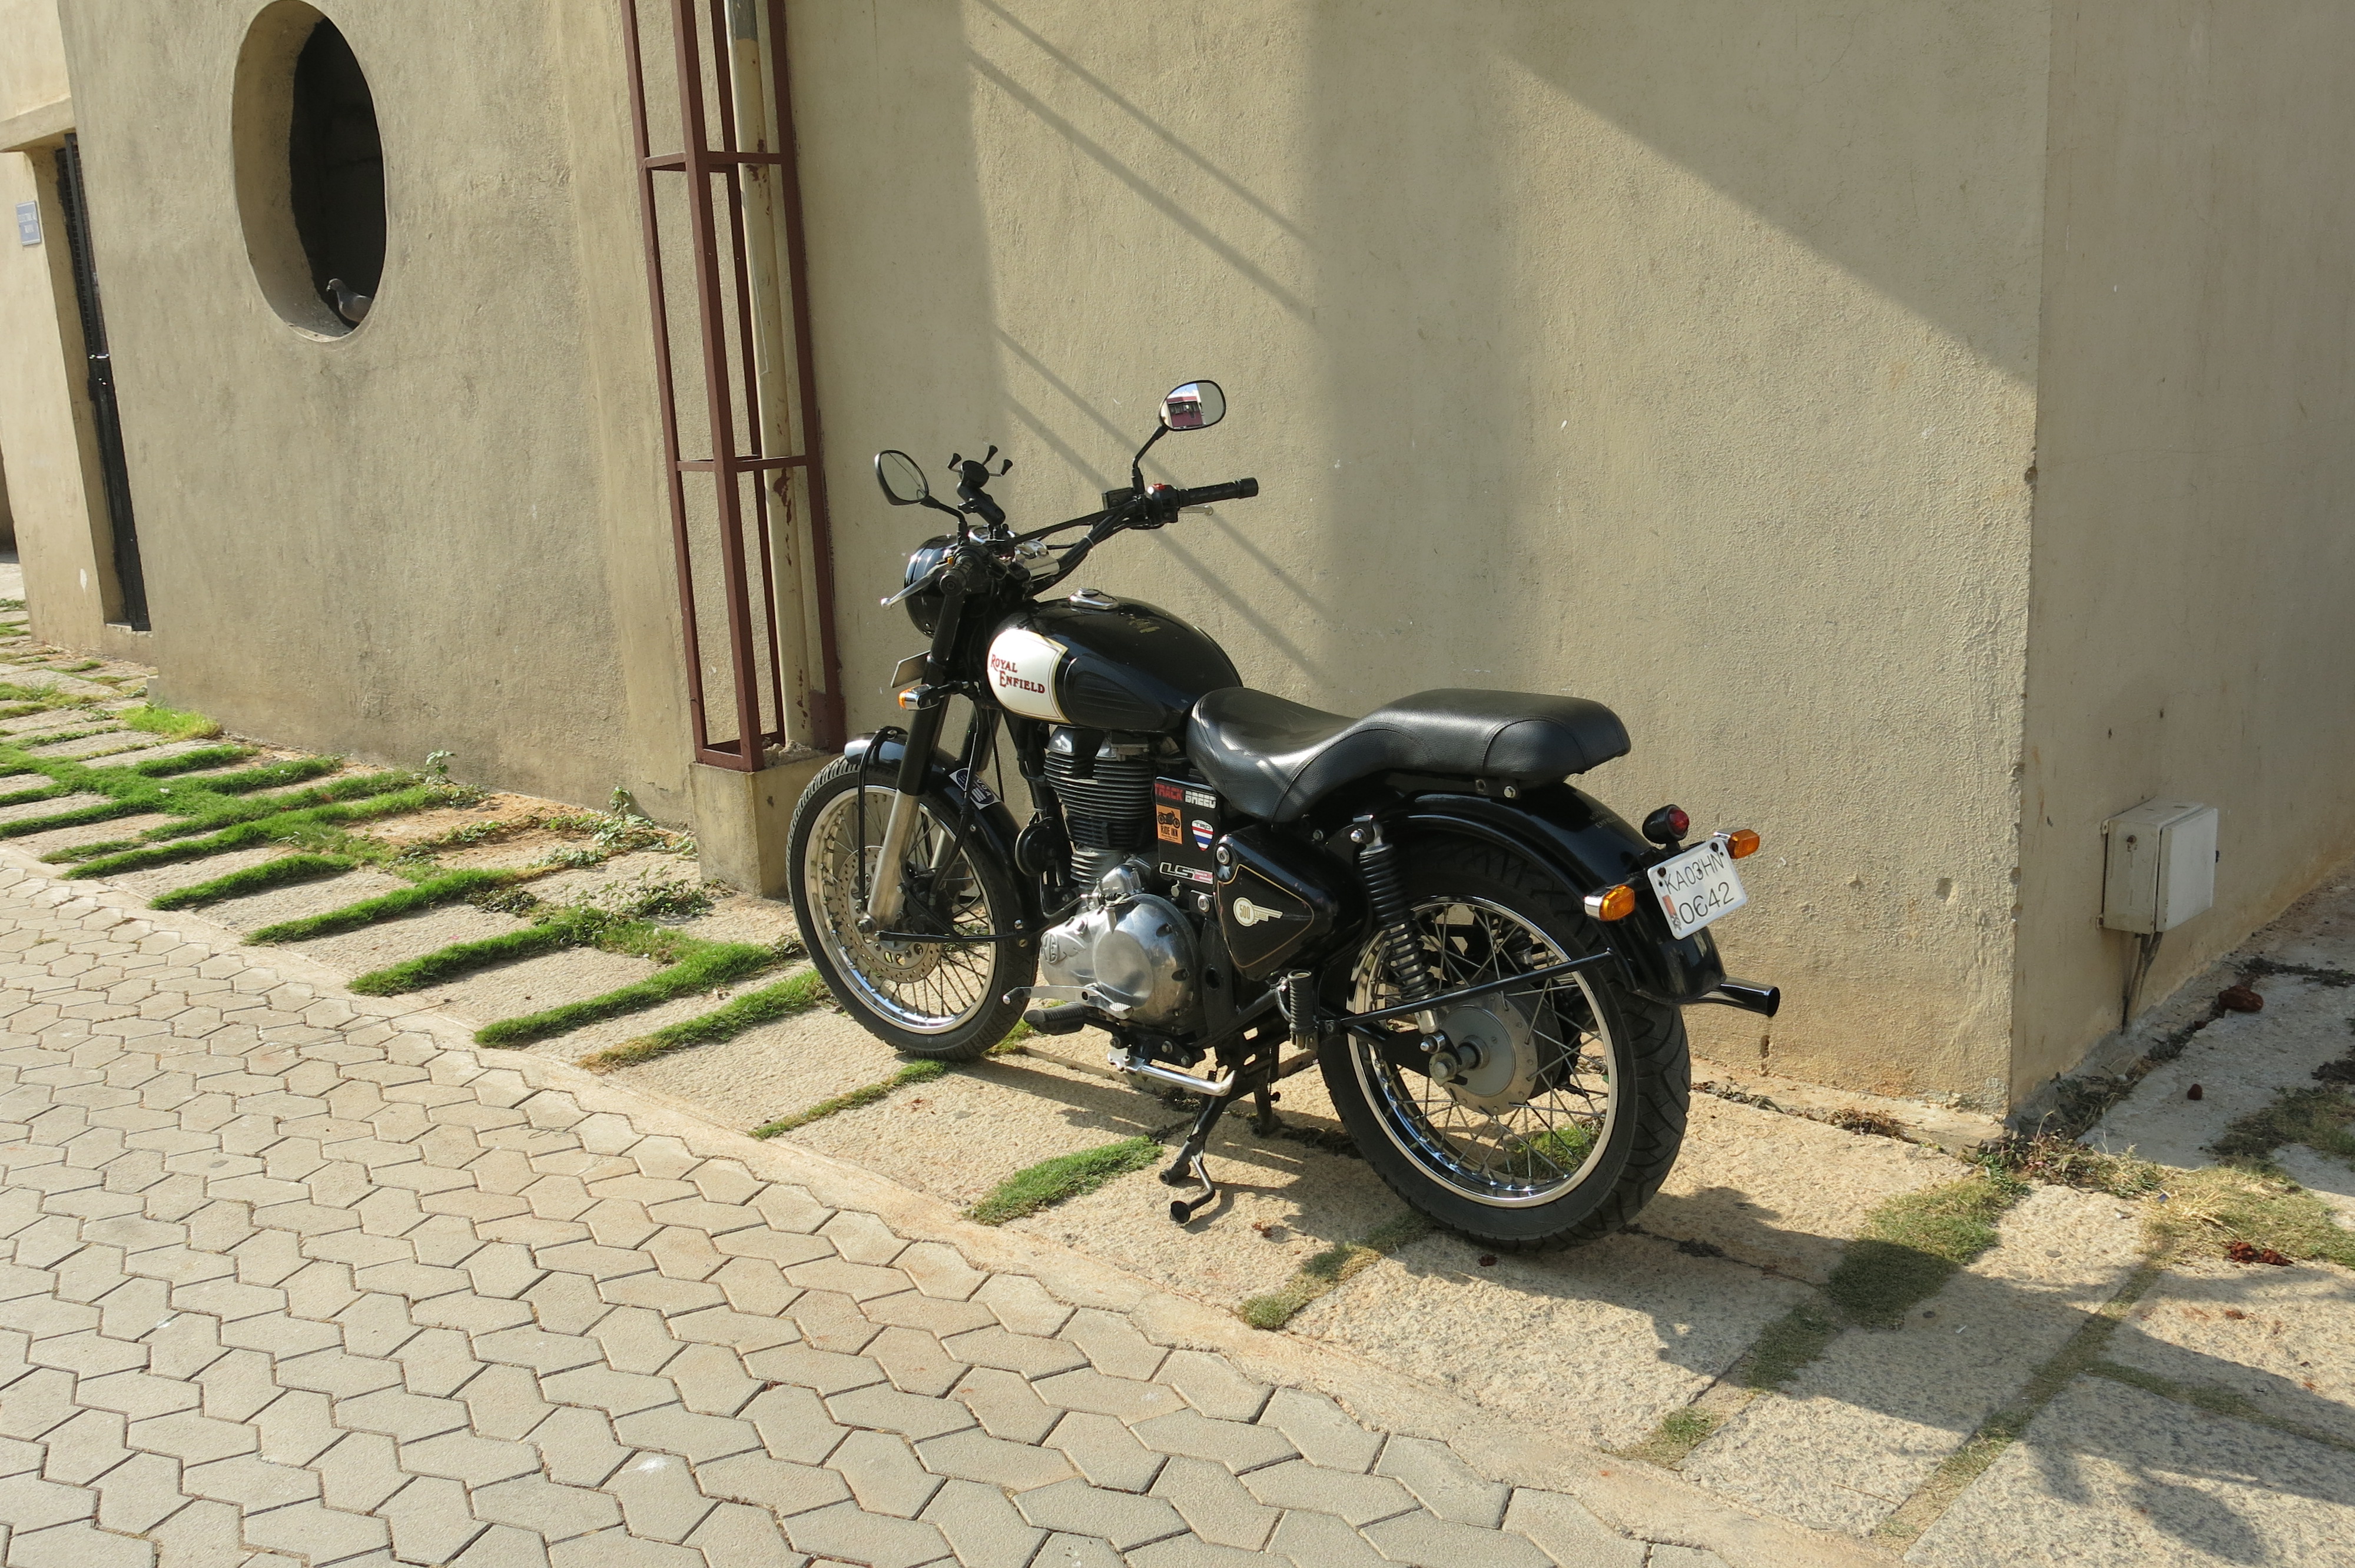
Scramble tamble ready to ramble!Can’t wait to take it out on the open road!Ram Mount, touring mirrors from Royal Enfield and a Givi tank bag, complete the essential accessorieslist.Out with the crappy aftermarket LED headlamp. Back to stock retro look.Himalayan ScramblerHimmy on!Sans frame, lot more tank.
Couple of dry bags with the Givi tank bag on should suffice for weekend trips.
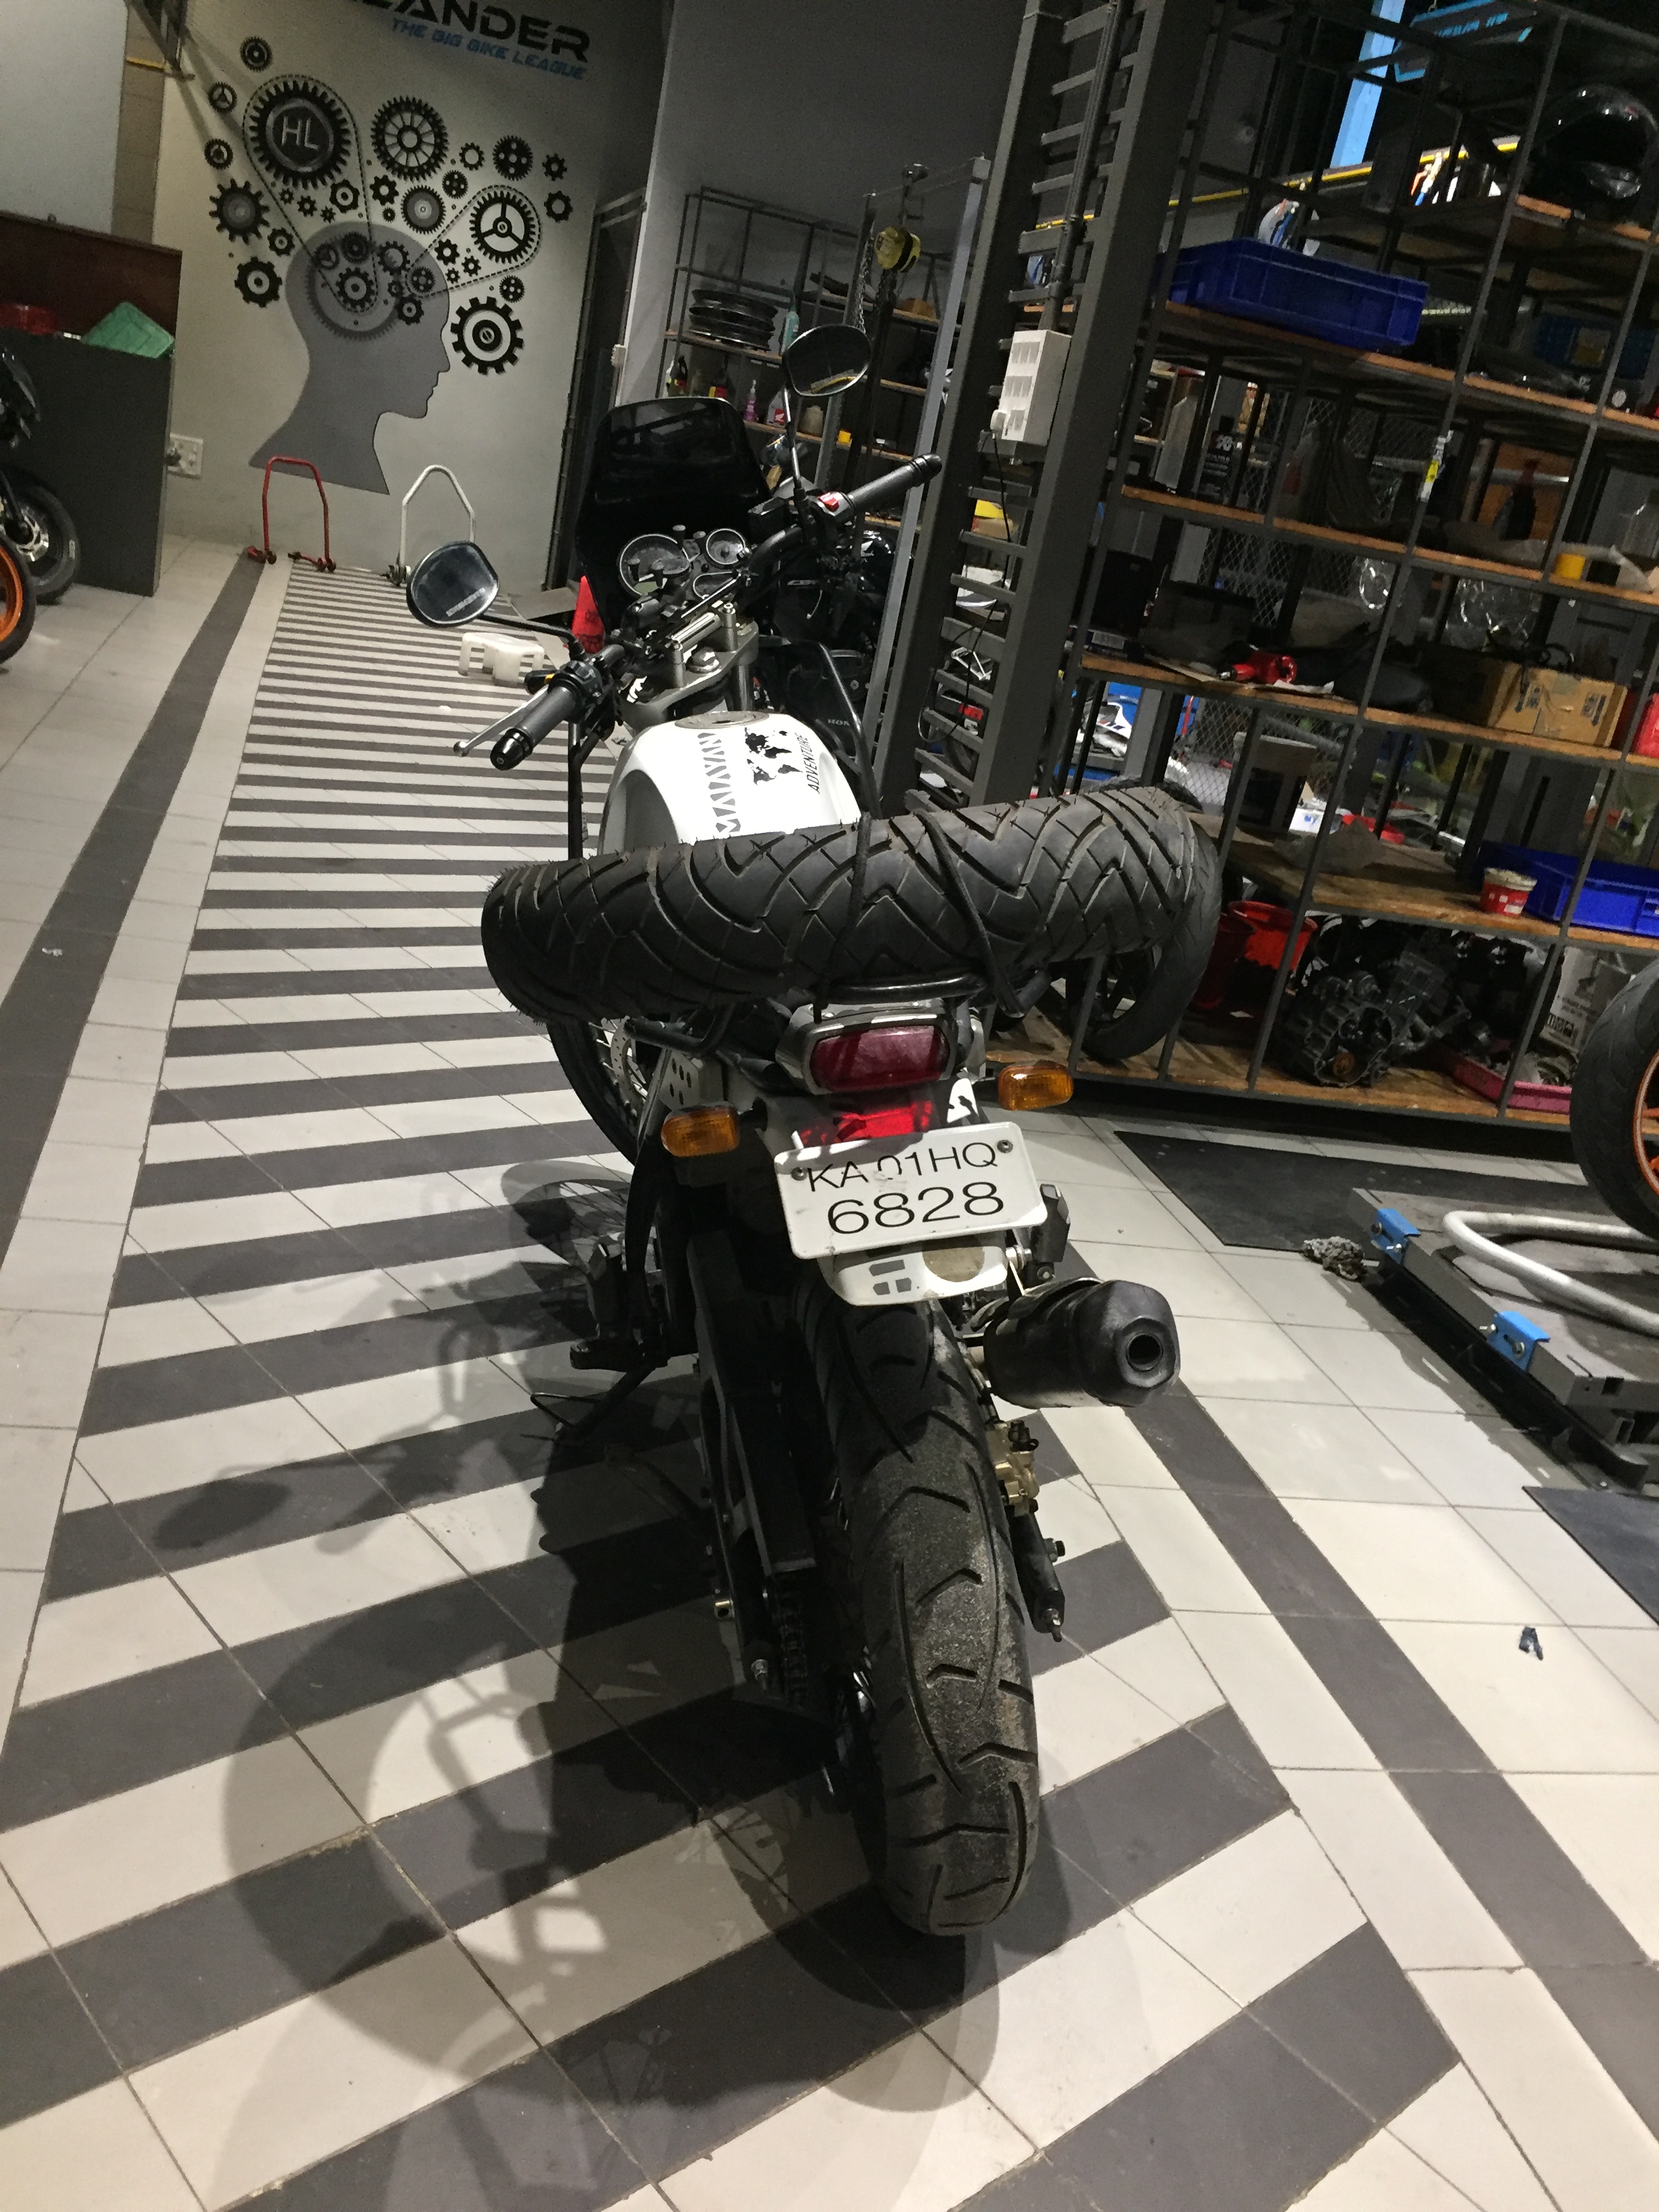
In my Himalayan, 15000km Update. I had talked about upgrading to a good set of tyres as the stock tyres had worn out completely. After shortlisting various on/off road tyres, including the Pirelli MT60, which does duty on Himalayans sold outside India, I decided to run with Metzeler Tourance Next. The photos below, show how the bike looks with new shoes.
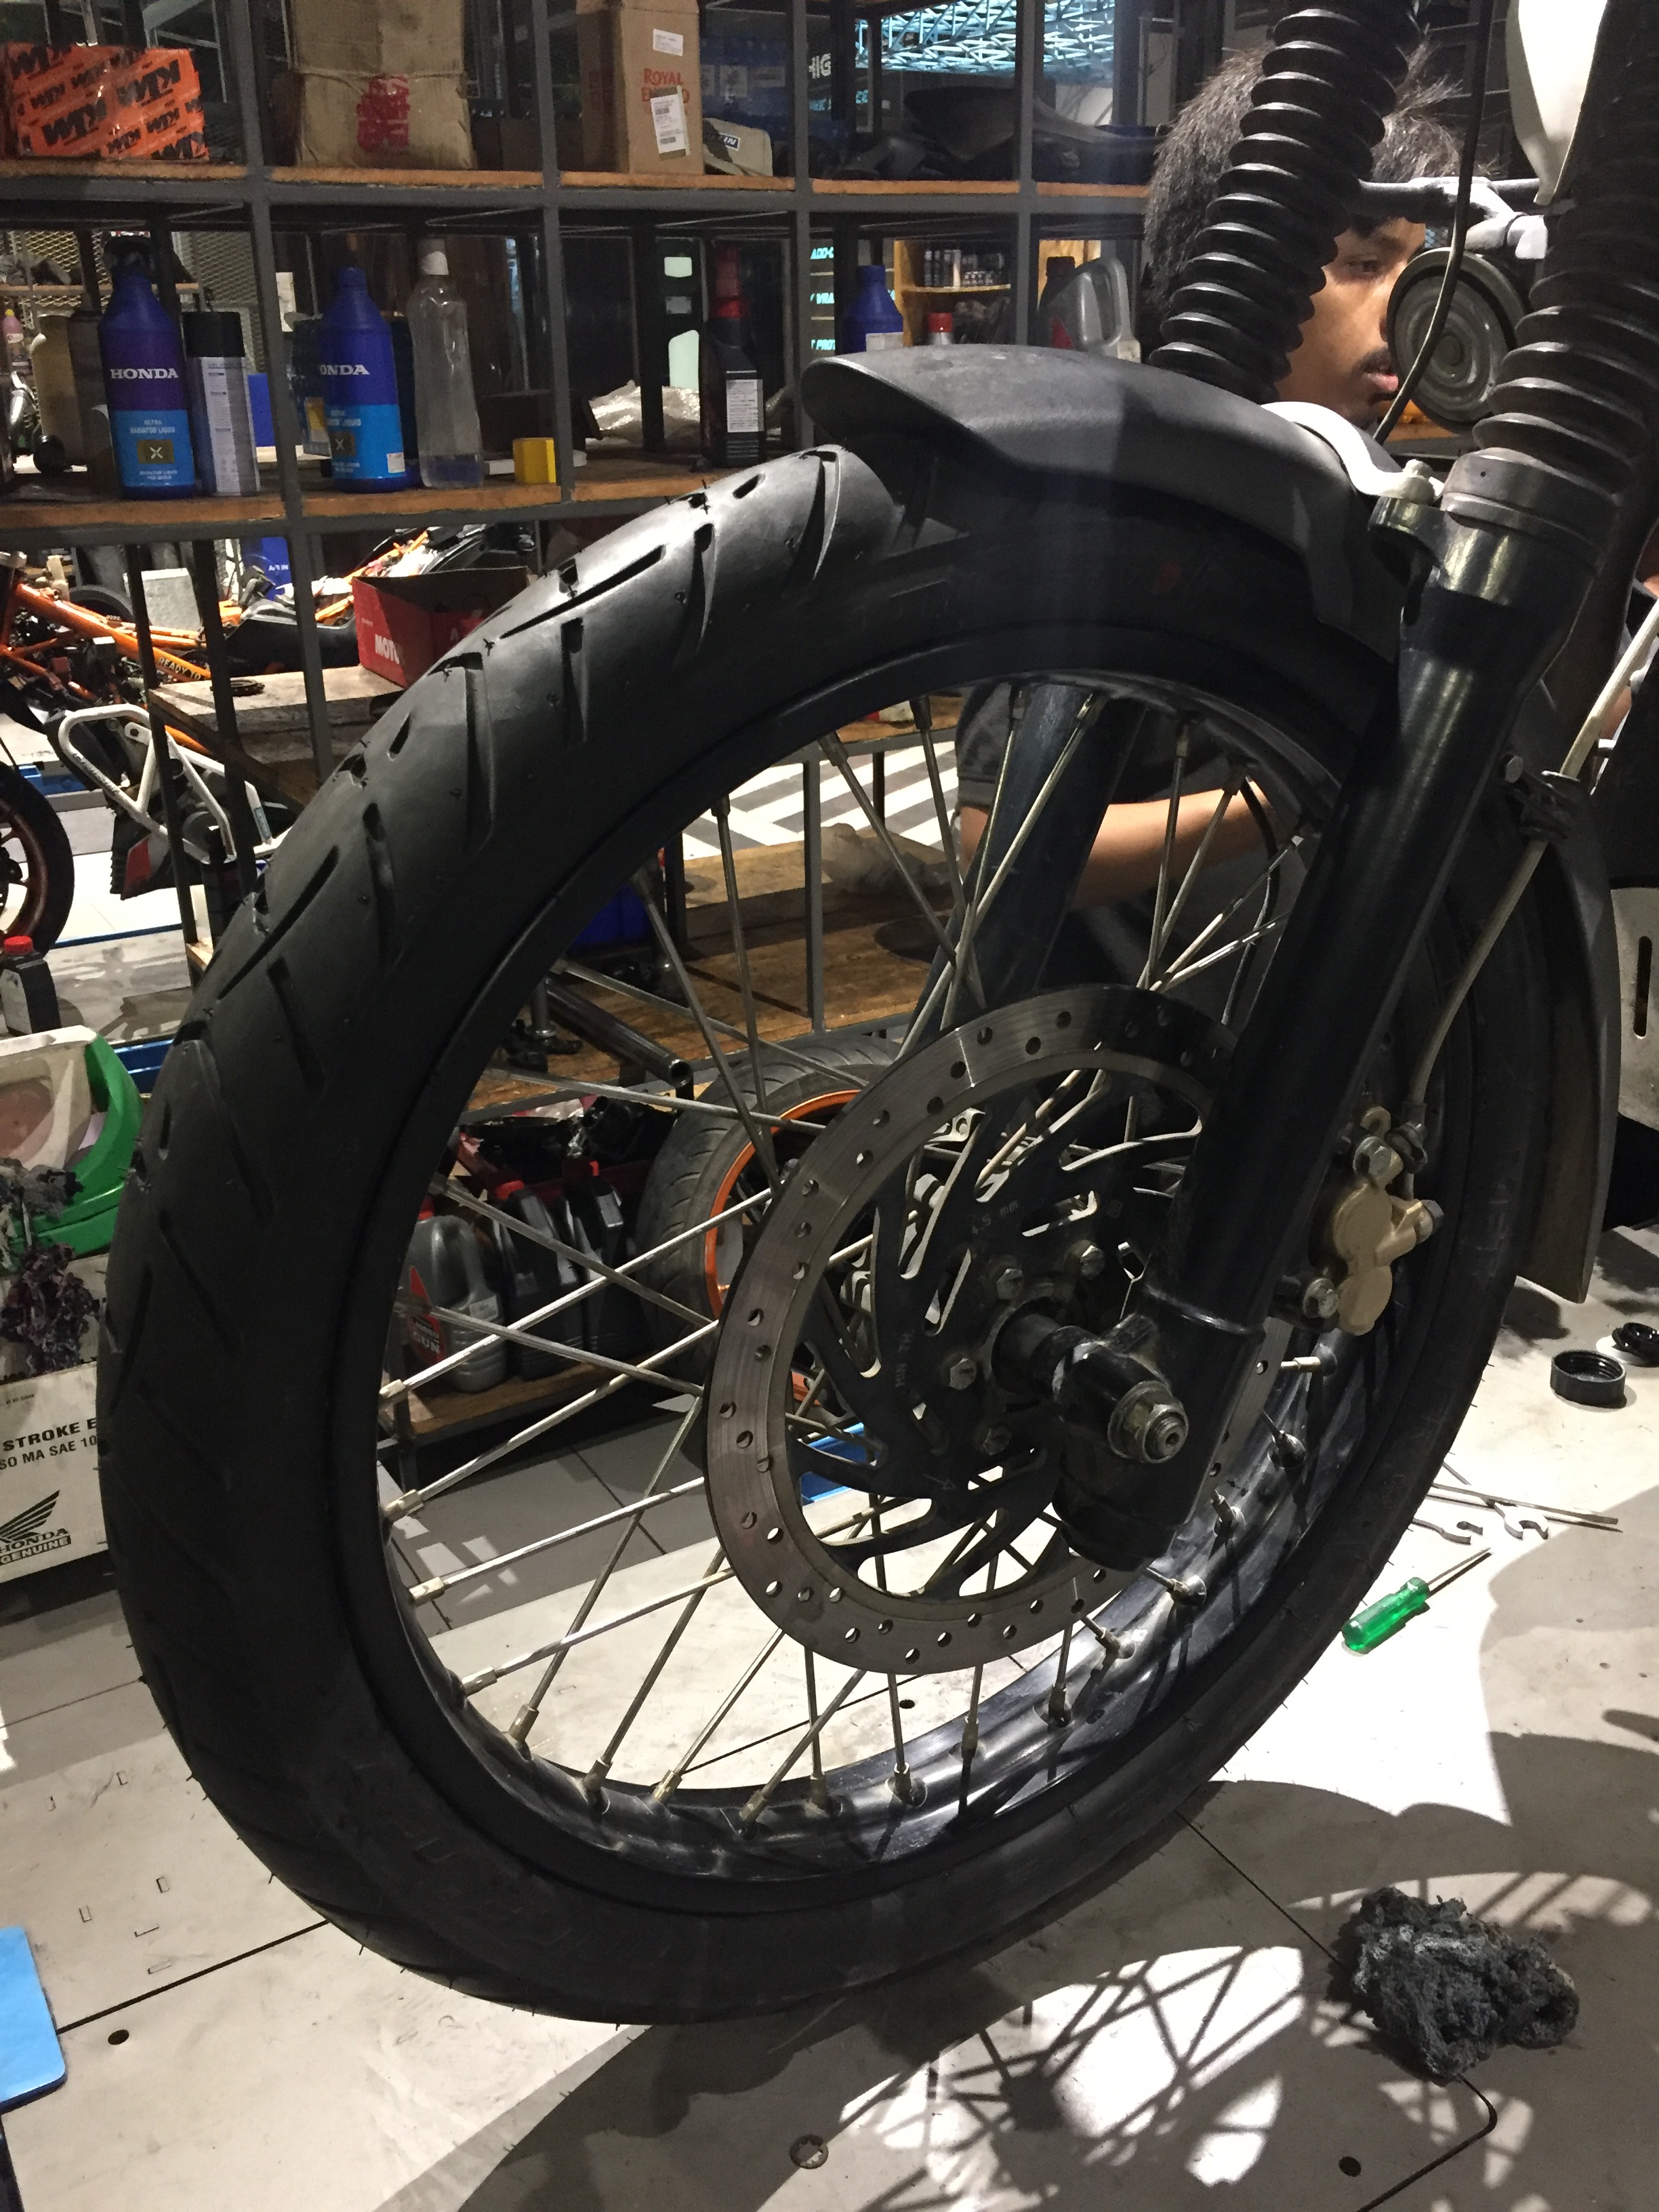
Metzeler Tourance Next- 90/90 x 21″ Front Tyre- easy fit on the Himalayan.
Metzeler Tourance Next- 150/70 x 17″ rear tyre. This fitting requires a skilled mechanic as the rim width is designed to hold a 120/90 x 17″ tyre. Nevertheless, once installed correctly, the tyre is a seamless fit. I am using a Ralco 140/17 tube in the tyre.
The tyres are significantly higher grade (being Metzelers) and therefore, significantly more expensive. But they are comparable to or cheaper than, the other options I looked at. I chose these tyres after a fair bit of research, for the following reasons:
In three years of use, I have not done any serious off-roading on the Himalayan. And I realise, that while any offroad trail which comes my way, when I’m on a ride is more than welcome, I’m not much into off-roading as a sport. Which meant that I required a good set of dual sport tyres that would be ideal for commuting and touring.
I wanted road focussed tyres that could handle dirt trails. Now the stock tyres are good on dirt and okay on road. Folks who are on their second set of stock tyres are bound to disagree with me, and a month or two ago, I would have sworn by the Ceats. However, since I’ve put on the Metzelers, two things have become crystal clear- a. The road grip is amazing- I feel much more confident entering and exiting corners now, and b. braking has improved tremendously.
Off road adventure tyres with knobbly treads have very poor mileage on road. Here the Metzelers stood out, with a lot of online reviews claiming a mileage of 15000 plus miles. This was one big deciding factor.
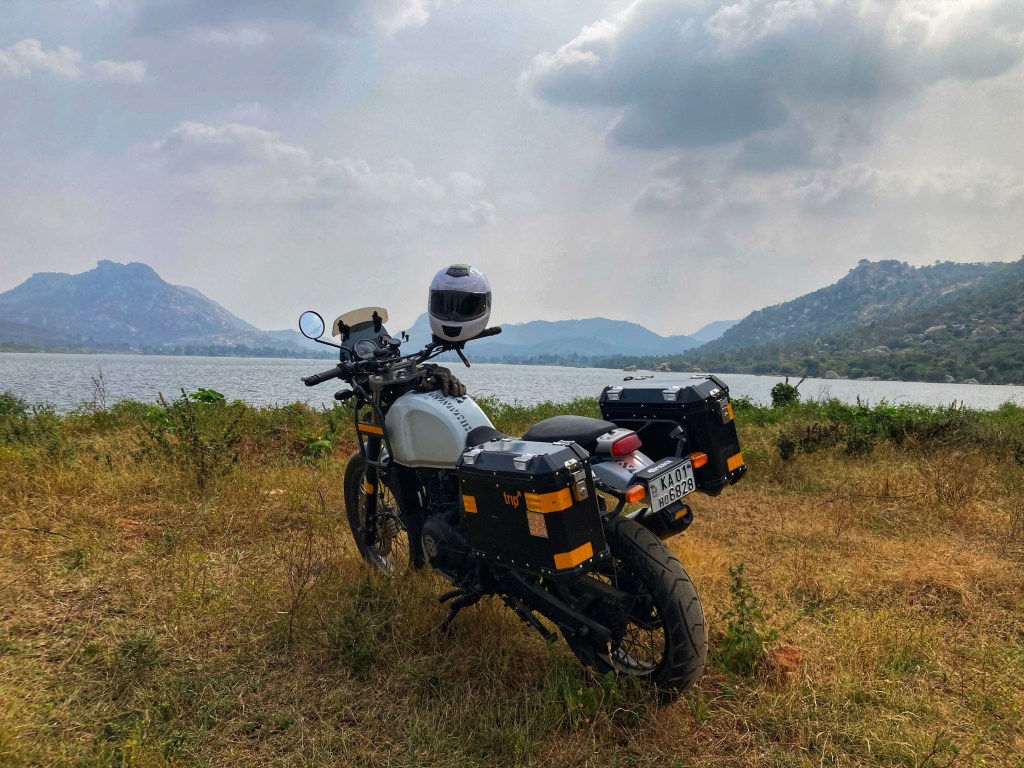
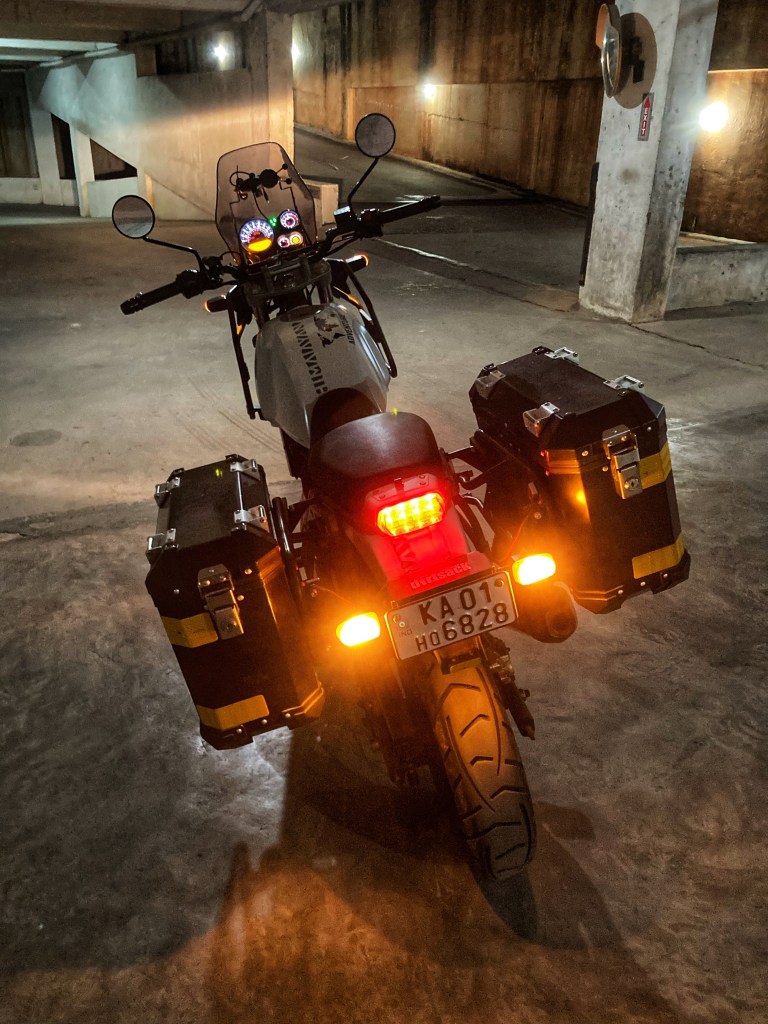
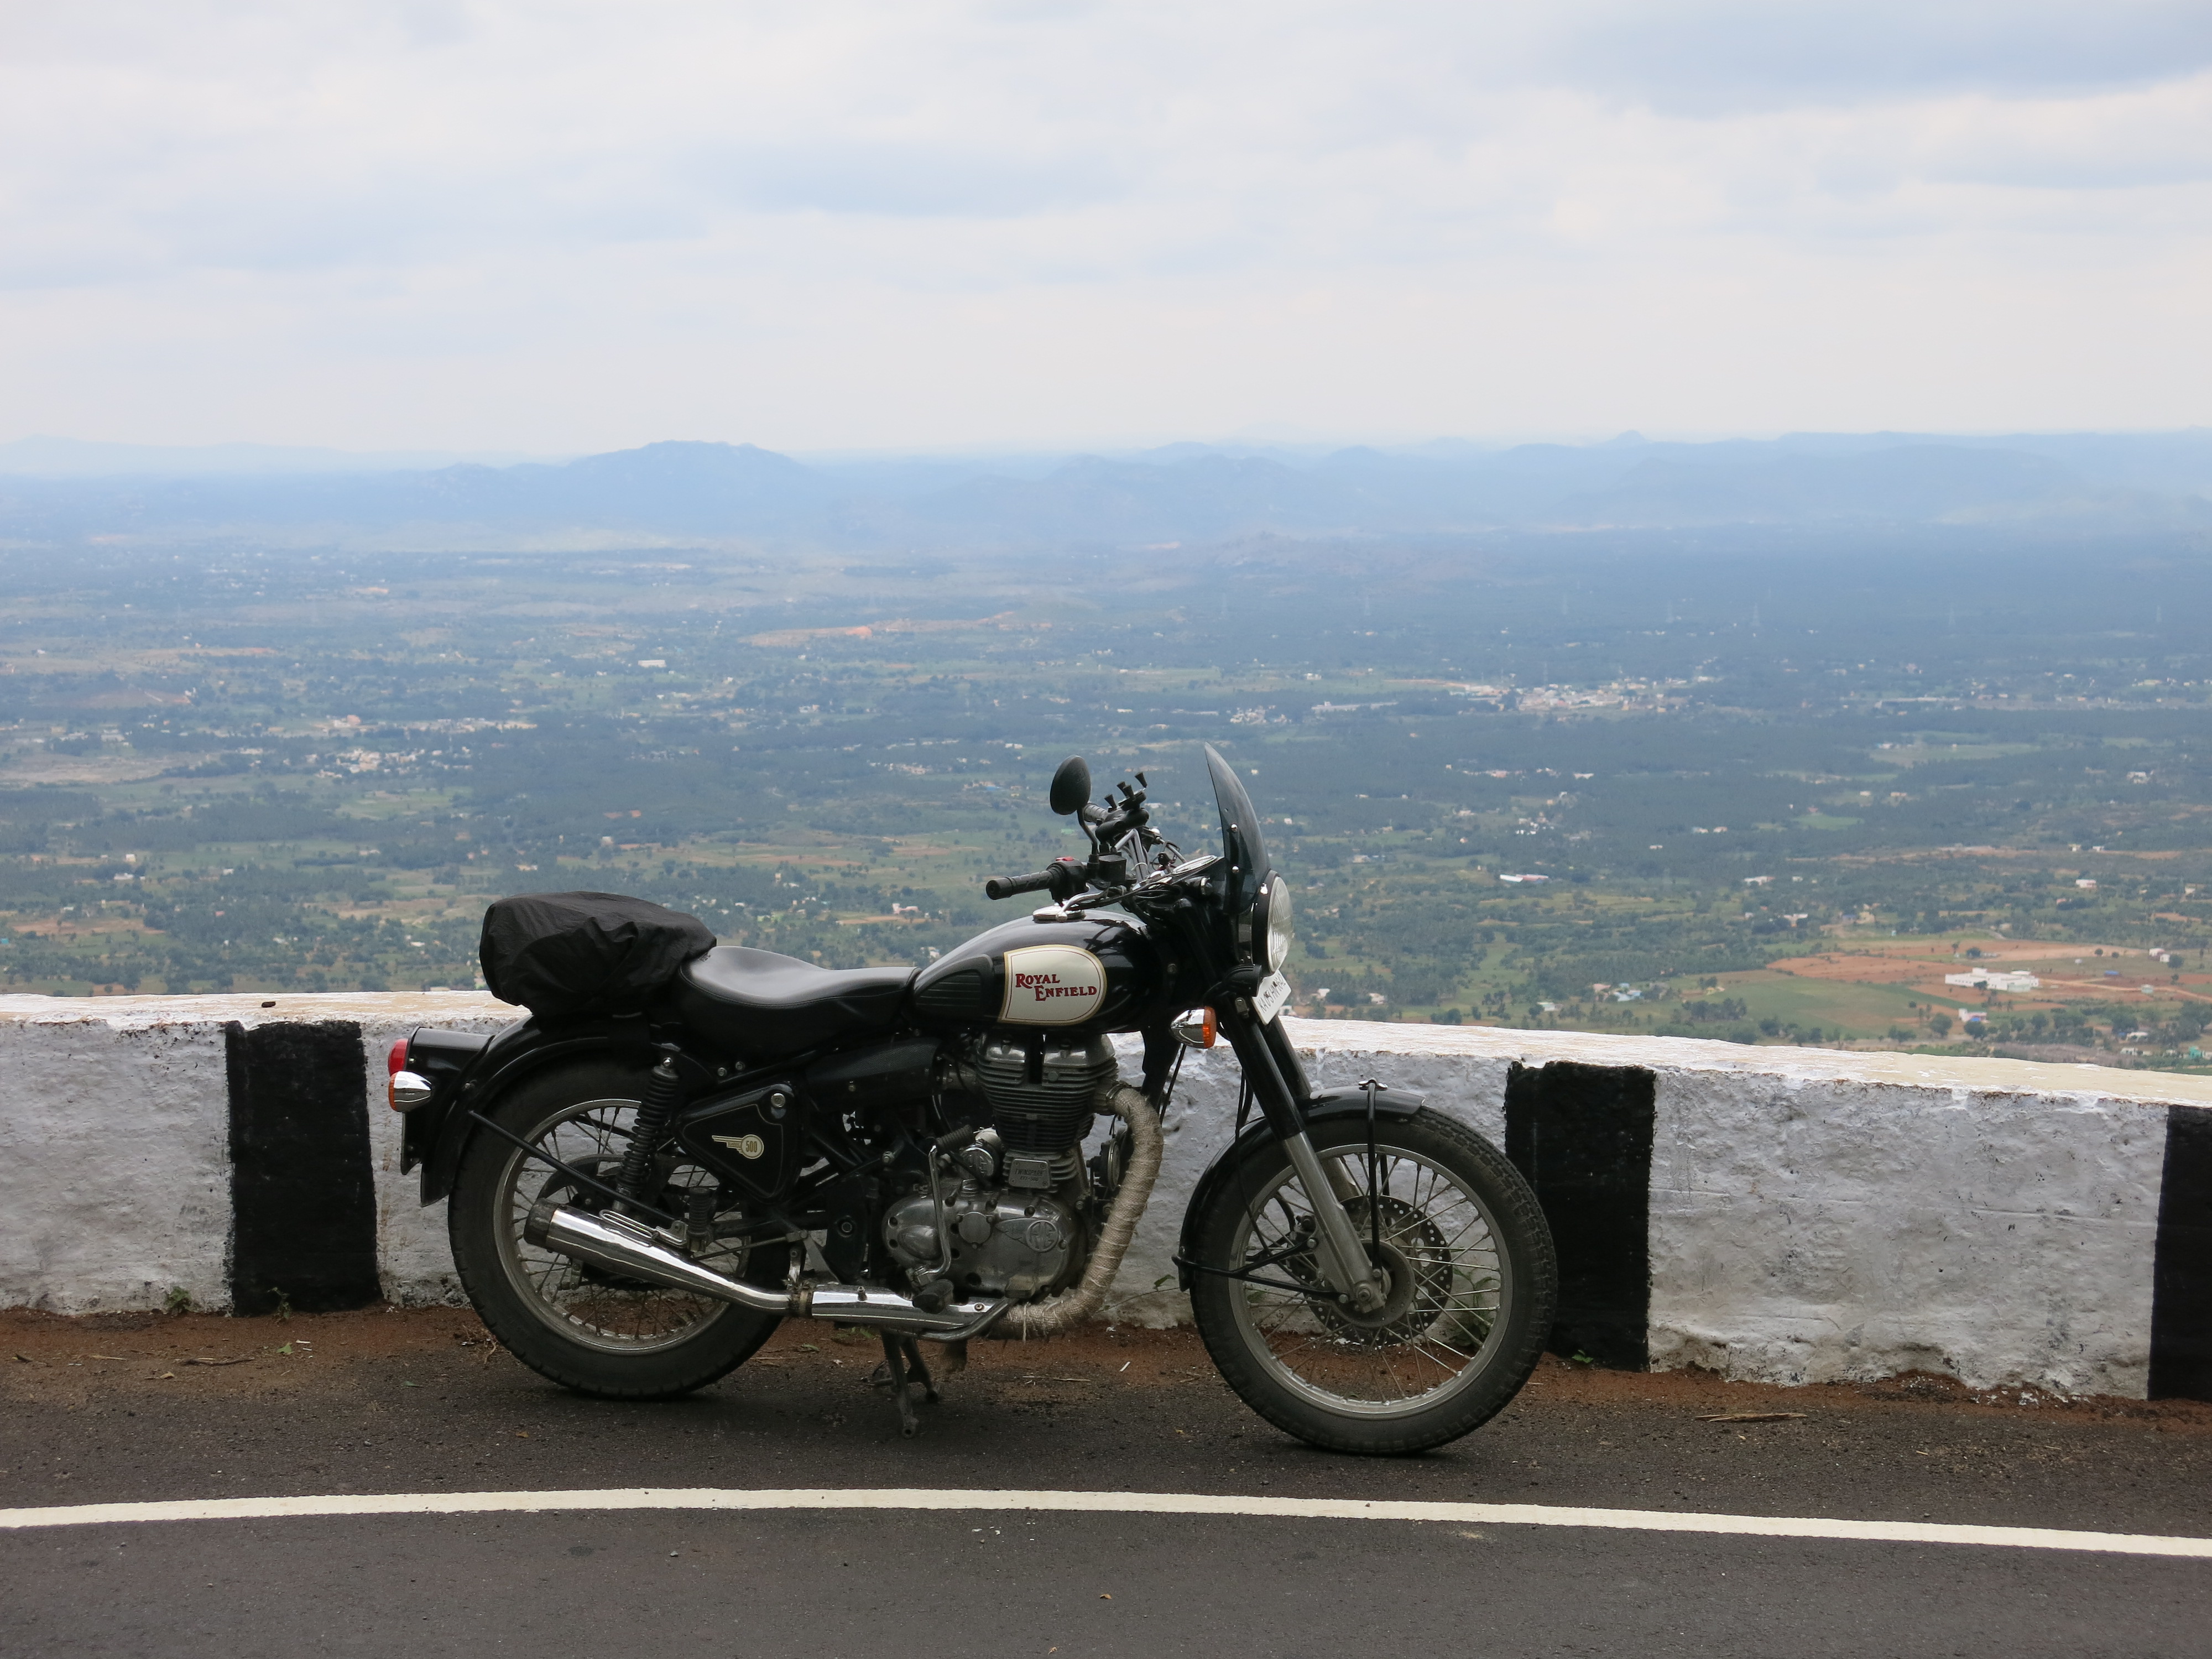
My second investment was the all aluminium box panniers from Royal Enfield. The panniers are sturdy, lockable and waterproof, with two years warranty. Mounting and removing them is a straightforward affair, and build quality is pretty decent. They add quite a lot of character to the bike. The bike looks purposeful and adventure ready. Here again, I researched luggage systems from Shad and Hepco and Becker, both of which offered hard plastic cases, but were on the expensive side. I went in for the Royal Enfield product as it was very good value for money, robust and simple to use.
Royal Enfield Aluminium panniers on the Himalayan.
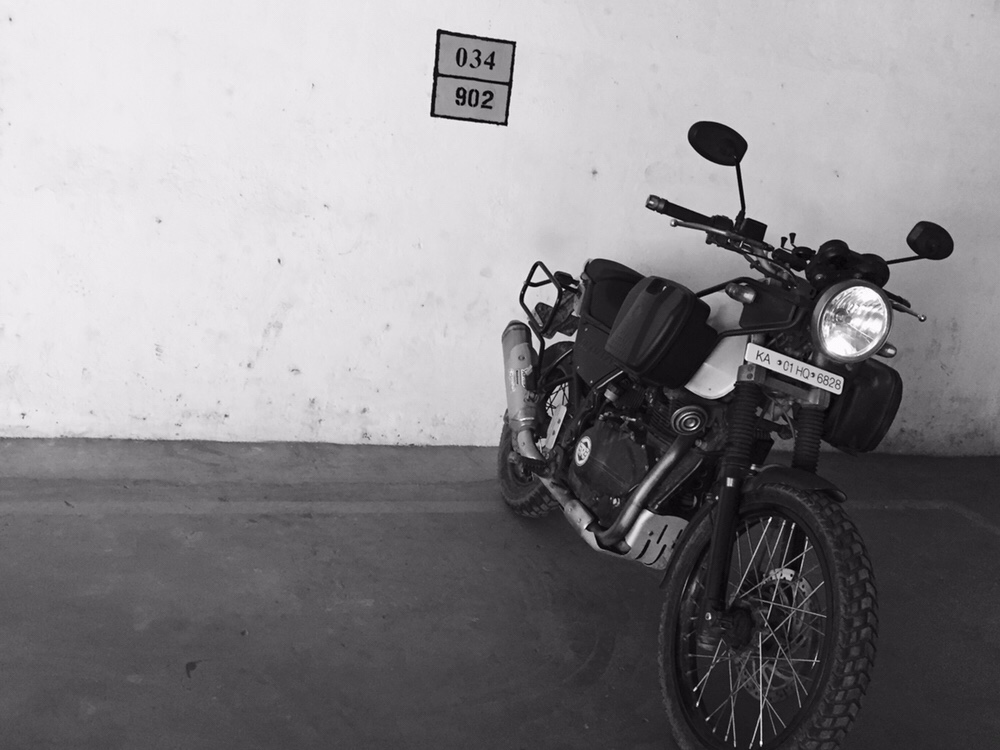
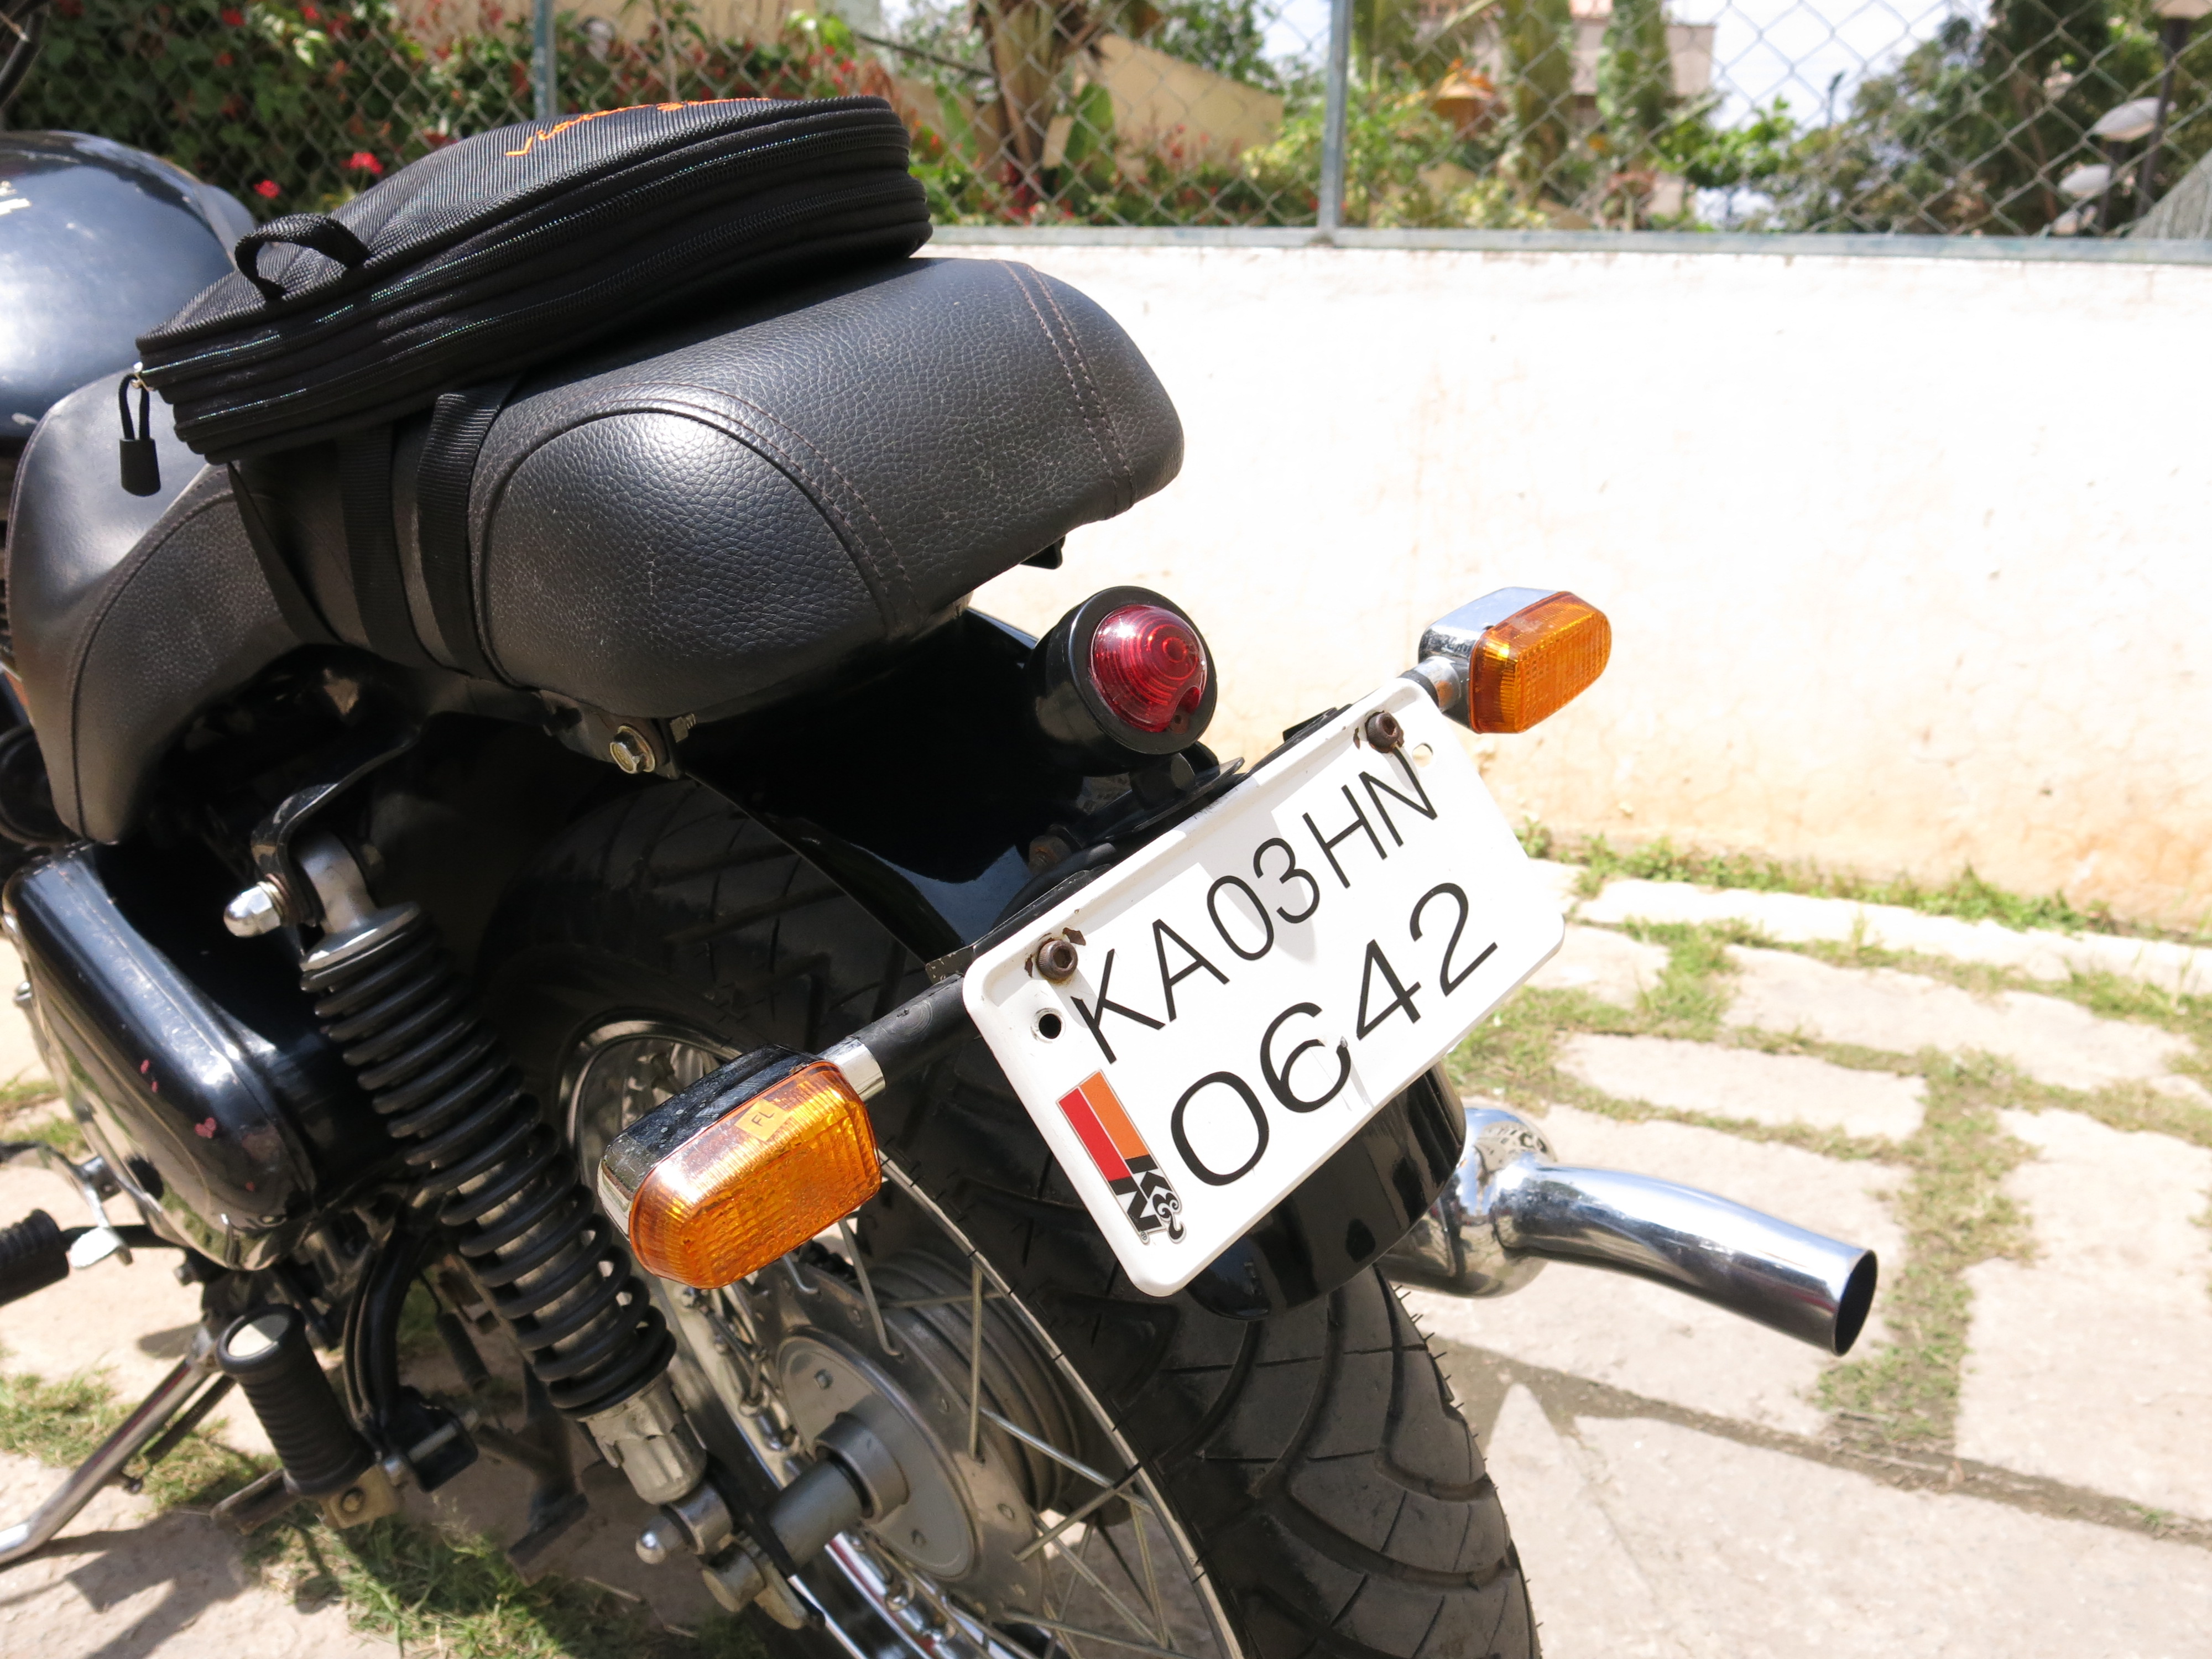
Some DIY was required to mount the number plate, but it turned out fine, I think.
Mounting and removing the panniers is a 5 minutes affair.
I’ll pop in a review soon, about these upgrades, once I’ve headed out on a long ride. In the meantime, I’ve been commuting. And the panniers are an absolute blessing. Earlier, I’d spend at least 10 to15 minutes daily, strapping my laptop bag on and taking it off the bike; now, its a 30 second affair. The panniers swallow everything. And keep stuff snug and dry. ‘Fill it, shut it, forget it’, is what I say. 🙂
Commuting, before the panniers. My laptop bag is mounted on the rear seat with the help of bungee cords. Everyday, prepping the bike took at least 10 minutes.
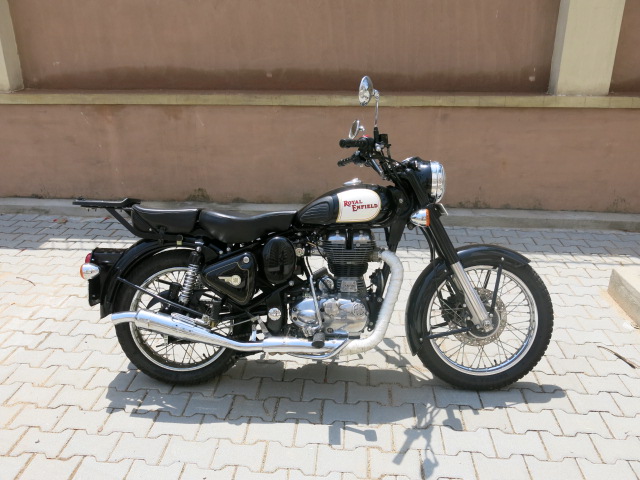
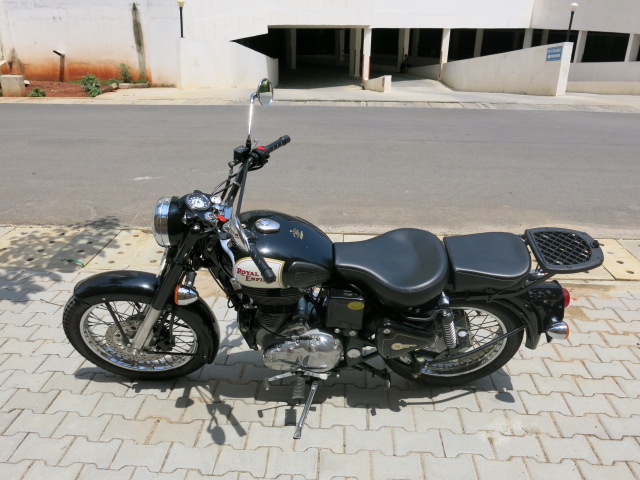
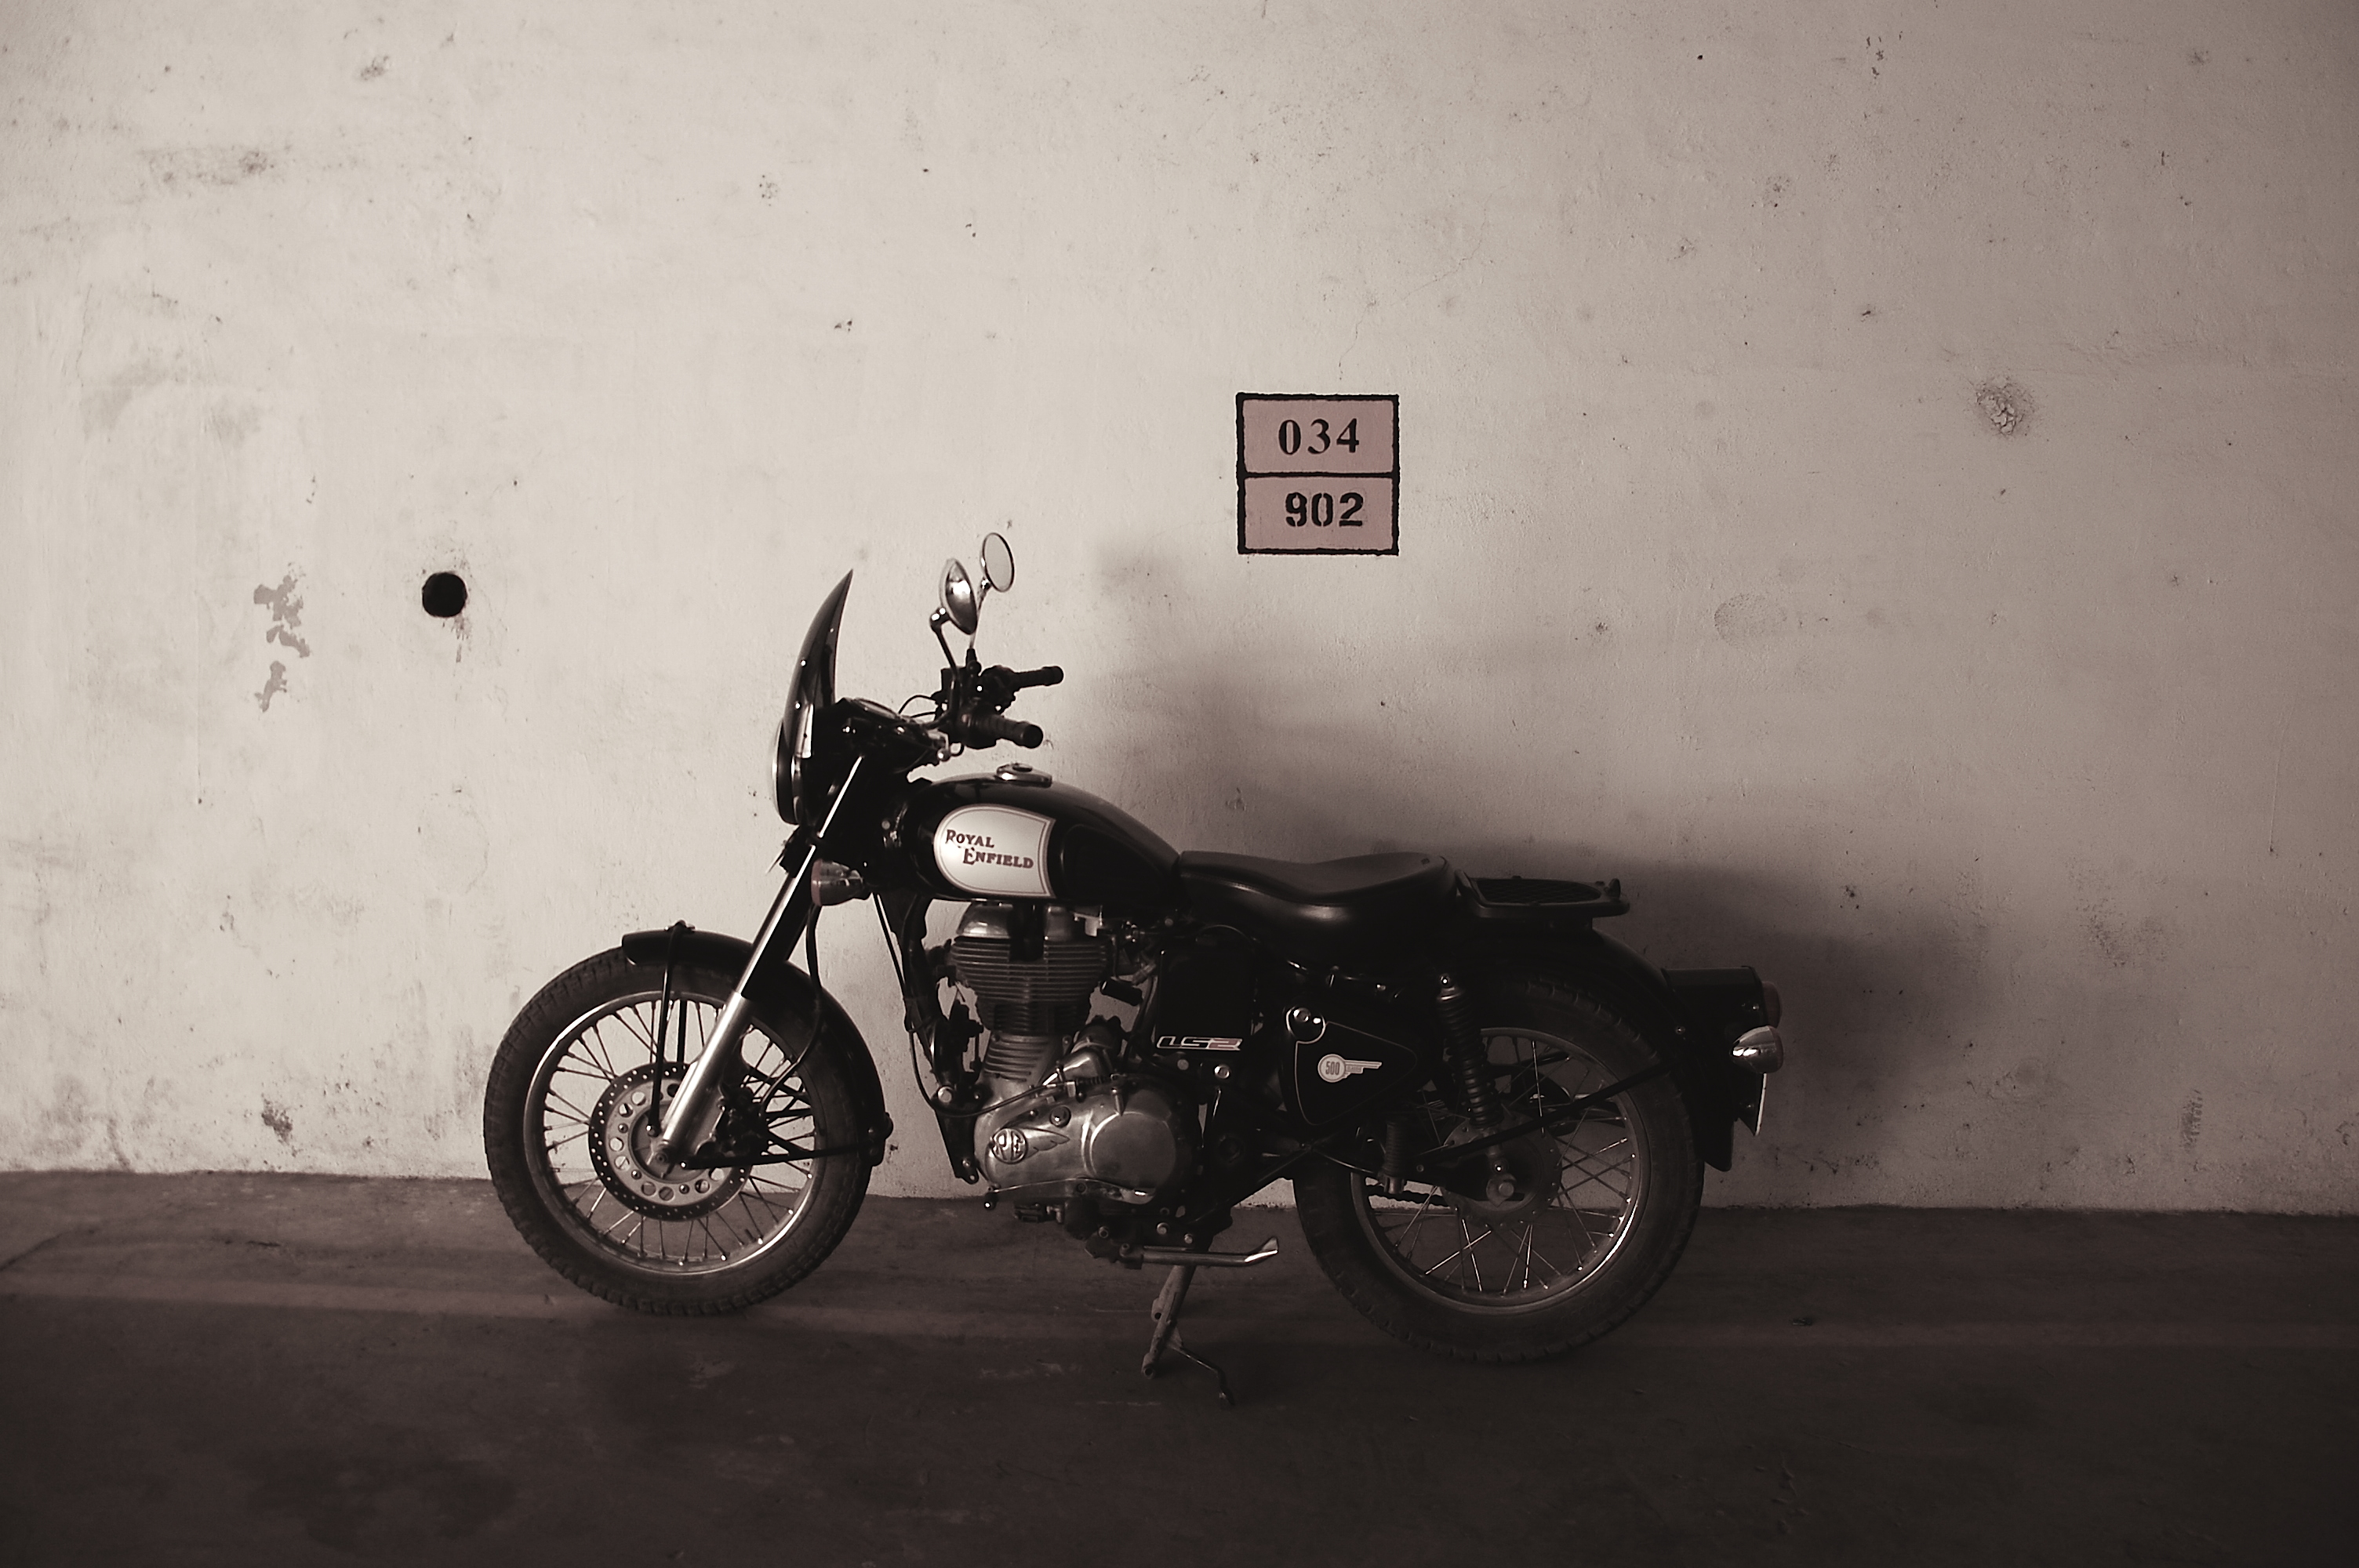
This is the bike in its stock version. Factory fresh. Only change requested at the showroom- give me a single stay instead of that awful saree guard, any day.
Tour ready, March 2013
First Tour with Pillion, circa March 2013
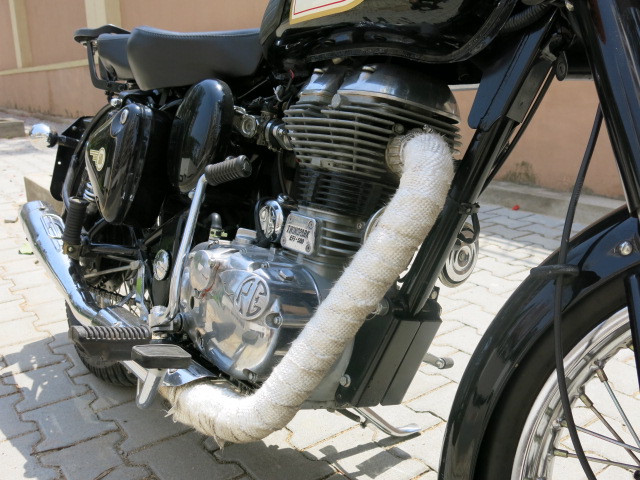
Front tyres changed to Ceat Secura Sport. Seats changed to Perfect seats (Mumbai)- for both rider and pillion. These are extremely comfortable. Yamaha RD350 handlebar with cross bar, made by Art of Motorcycles, Bangalore. Custom performance exhaust and heat wrap to exhaust pipe by Art of Motorcycles. Note the GIVI box mount and carrier. Removed that funny beak over the headlamp. My wife and me Coorg’ed for the first time in this avatar :).
Handlebar, Bucket Seats and Givi Mount, March 2013
Heat wrap on the exhaust, March 2013
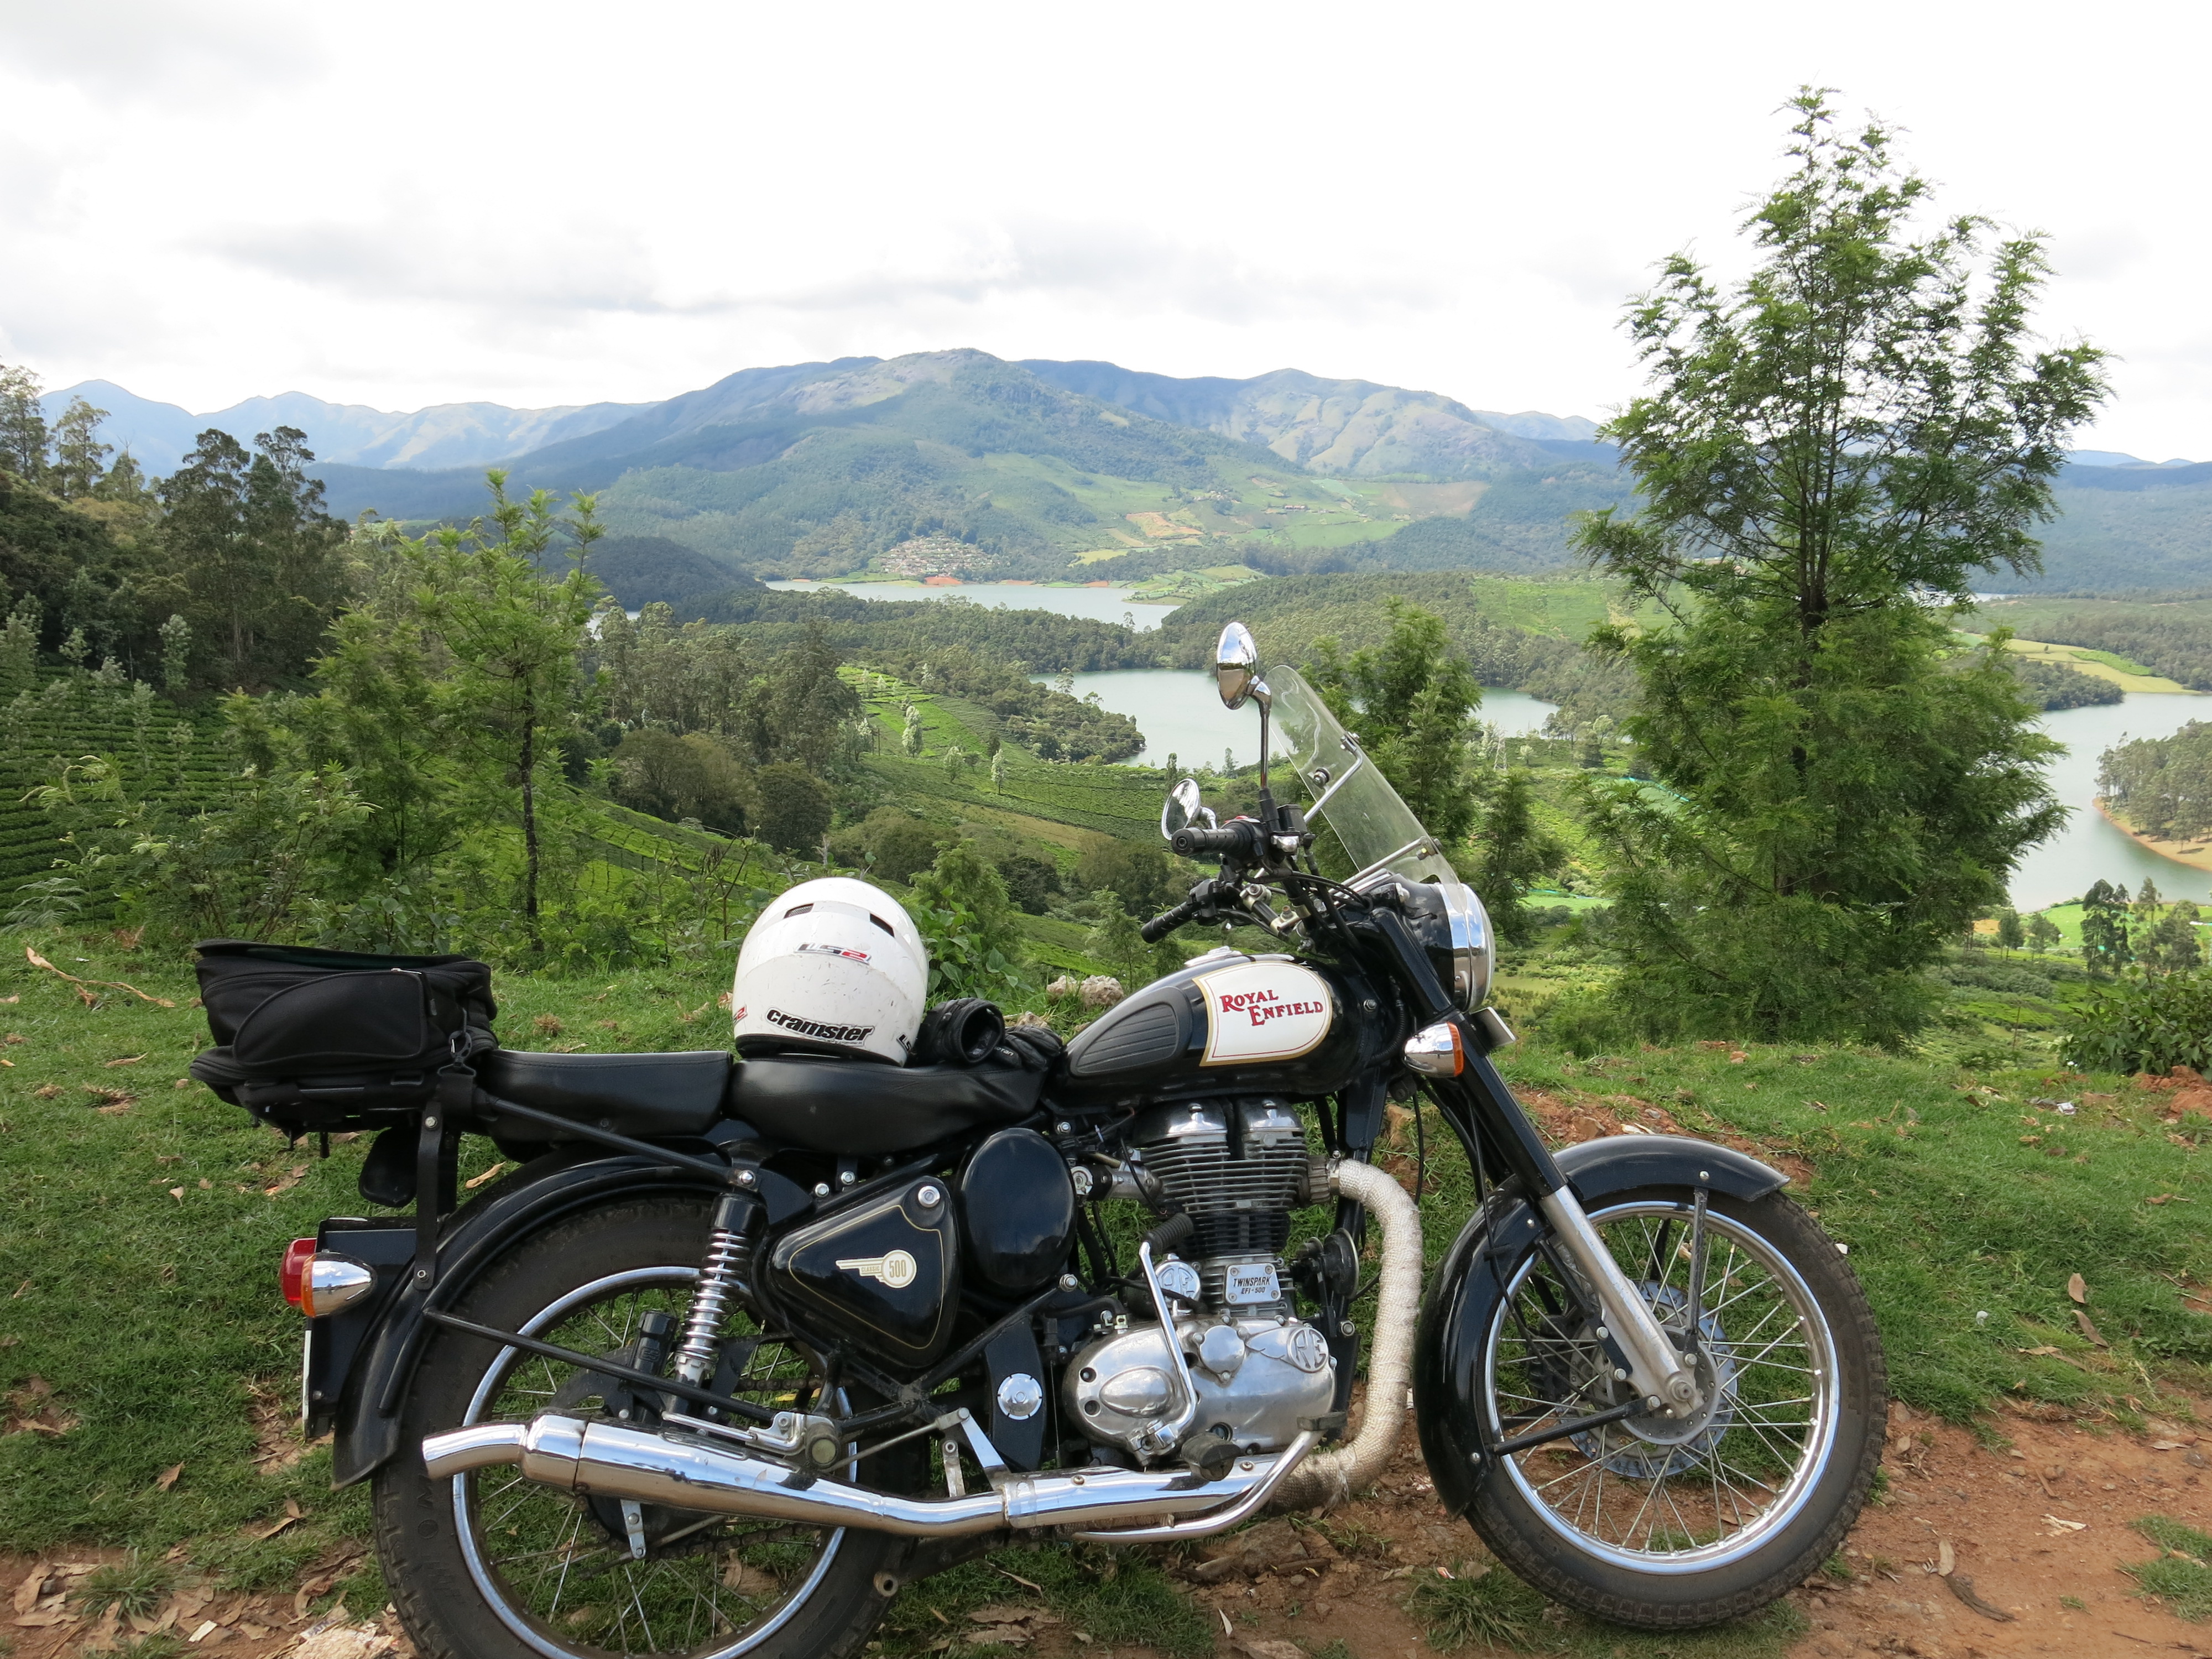
Some more touring modifications, circa November 2013
Touring in the Nilgiris, November 2013
For an extended ride to Ooty and beyond (with pillion) the C5 got a Ladakh carrier with the Givi mount and a large windshield for those friendly green bugs that come your way as dusk falls. The big change was to the rear tyre. Went in for a MRF on-off road button tyre with a huge sidewall. This increased ride comfort and ground clearance.
Scrambler- beginnings, circa February 2014
An attempt at a crown. Cree Fog lamp, February 2014
On the insistence of Junaid from Art of Motorcycles, the C5 went in for Cree Fog lamps and a wider, straight handlebar. The large screen, was replaced with a visor, which was fixed using an elaborate set of cast iron clamps. To date, I think that was the worst thing I ever did to the looks of the moto. Glad it was on for a short while.
New front mudguard. The seeds of a scrambler are sown, February 2014
Our breakfast runs with the group Ministry of Torque, were increasingly ending up in areas where we used to lose tarmac for a while. My constant conversations with the folks with AOM were also headed in the direction of weight reduction. The front lightweight mudguard was the first step towards a scrambler and to this day, I marvel at how sturdily its been built, and how well it defines the bike. I always felt that the stock mudguard was a bit to large for those skinny 90x90x19″ wheels.
Scramble tamble, ready to ramble, circa June 2014
Scrambler, June 2014
My craving for a scrambler started getting better of me. Added to that was the need to reduce weight and start pushing the capabilities of the machine. So one fine weekend, out went the pillion seat, in came the GIVI mount, sans carrier. Also, at the insistence of friendly folks at AOM, the rear shock absorbers were replaced with those from the Hero Honda Karizma. The ride quality and feedback shot up a gazillion times. Took it out for a run on a dry lake bed off Mysore highway. Managed some drifting. Was all smiles.
Inspiration. Scrambler, June 2014.
Around this time, I discovered Bike Exif (http://www.bikeexif.com) and other custom motorcycle websites/ publications like Iron and Air (http://ironandair.com/throttle). Found the Tendance Roadster in one of those. And drooled. The C5 needed to lose more weight (and perhaps me too!). Family priorities took hold however, and the C5 ran in the above avatar for almost a year. I fell in love with the new rear shock absorbers. They could take on anything, really.
On home turf. The scrambler impressed, August 2014
Note the stubby cap to exhaust, Yelagiri, August 2014
A ride with TEMC to Yelagiri let me test a small mod to the custom exhaust by AOM. Note the stubby cap at the end. This version of the exhaust is insane. The speeds uphill were scary and the tappets after, scarred. Will always remember Yelagiri for that Pikes Hill Climb like affair. I have since removed the exhaust and given it its rightful place of honour- on the mantlepiece. To be used on special occasions only!
Reduce Reduce Reduce! circa June 2015
On a rainy Sunday, one of the welded mounts on the bucket seat gave way and a tacky job at the local weld shop forced me to start looking for other options. I had been on the lookout for a good mechanic closer to my house, and found two at Iblur junction. The gents, Nizam and Javed, persuaded me to try the Thunderbird Twin Spark (TBTS) seat on the C5. I took their advice and rode with it for two days. The bucket seat kicked the bucket the very next day. 🙂
Long seat…what need for a mudguard? June 2015
I also questioned the need for a rear mudguard. With the overhang of the new seat, which fits on the stock frame, surely one doesn’t need that weighty rear mudguard? I dreamed of generating 30 bhp at the crank, up from the stock 27 bhp, with that heavy, cumbersome rear end removed. One ride without the mudguard, however, told me all I needed to know about tyre tread patterns and their intimate relationship with slime and mud (slung in all directions). With a dirty backpack and a mud plastered helmet, I realised, I needed professionals on this job!
Bare essentials, June 2015
Short lived fantasy custom, September 2015
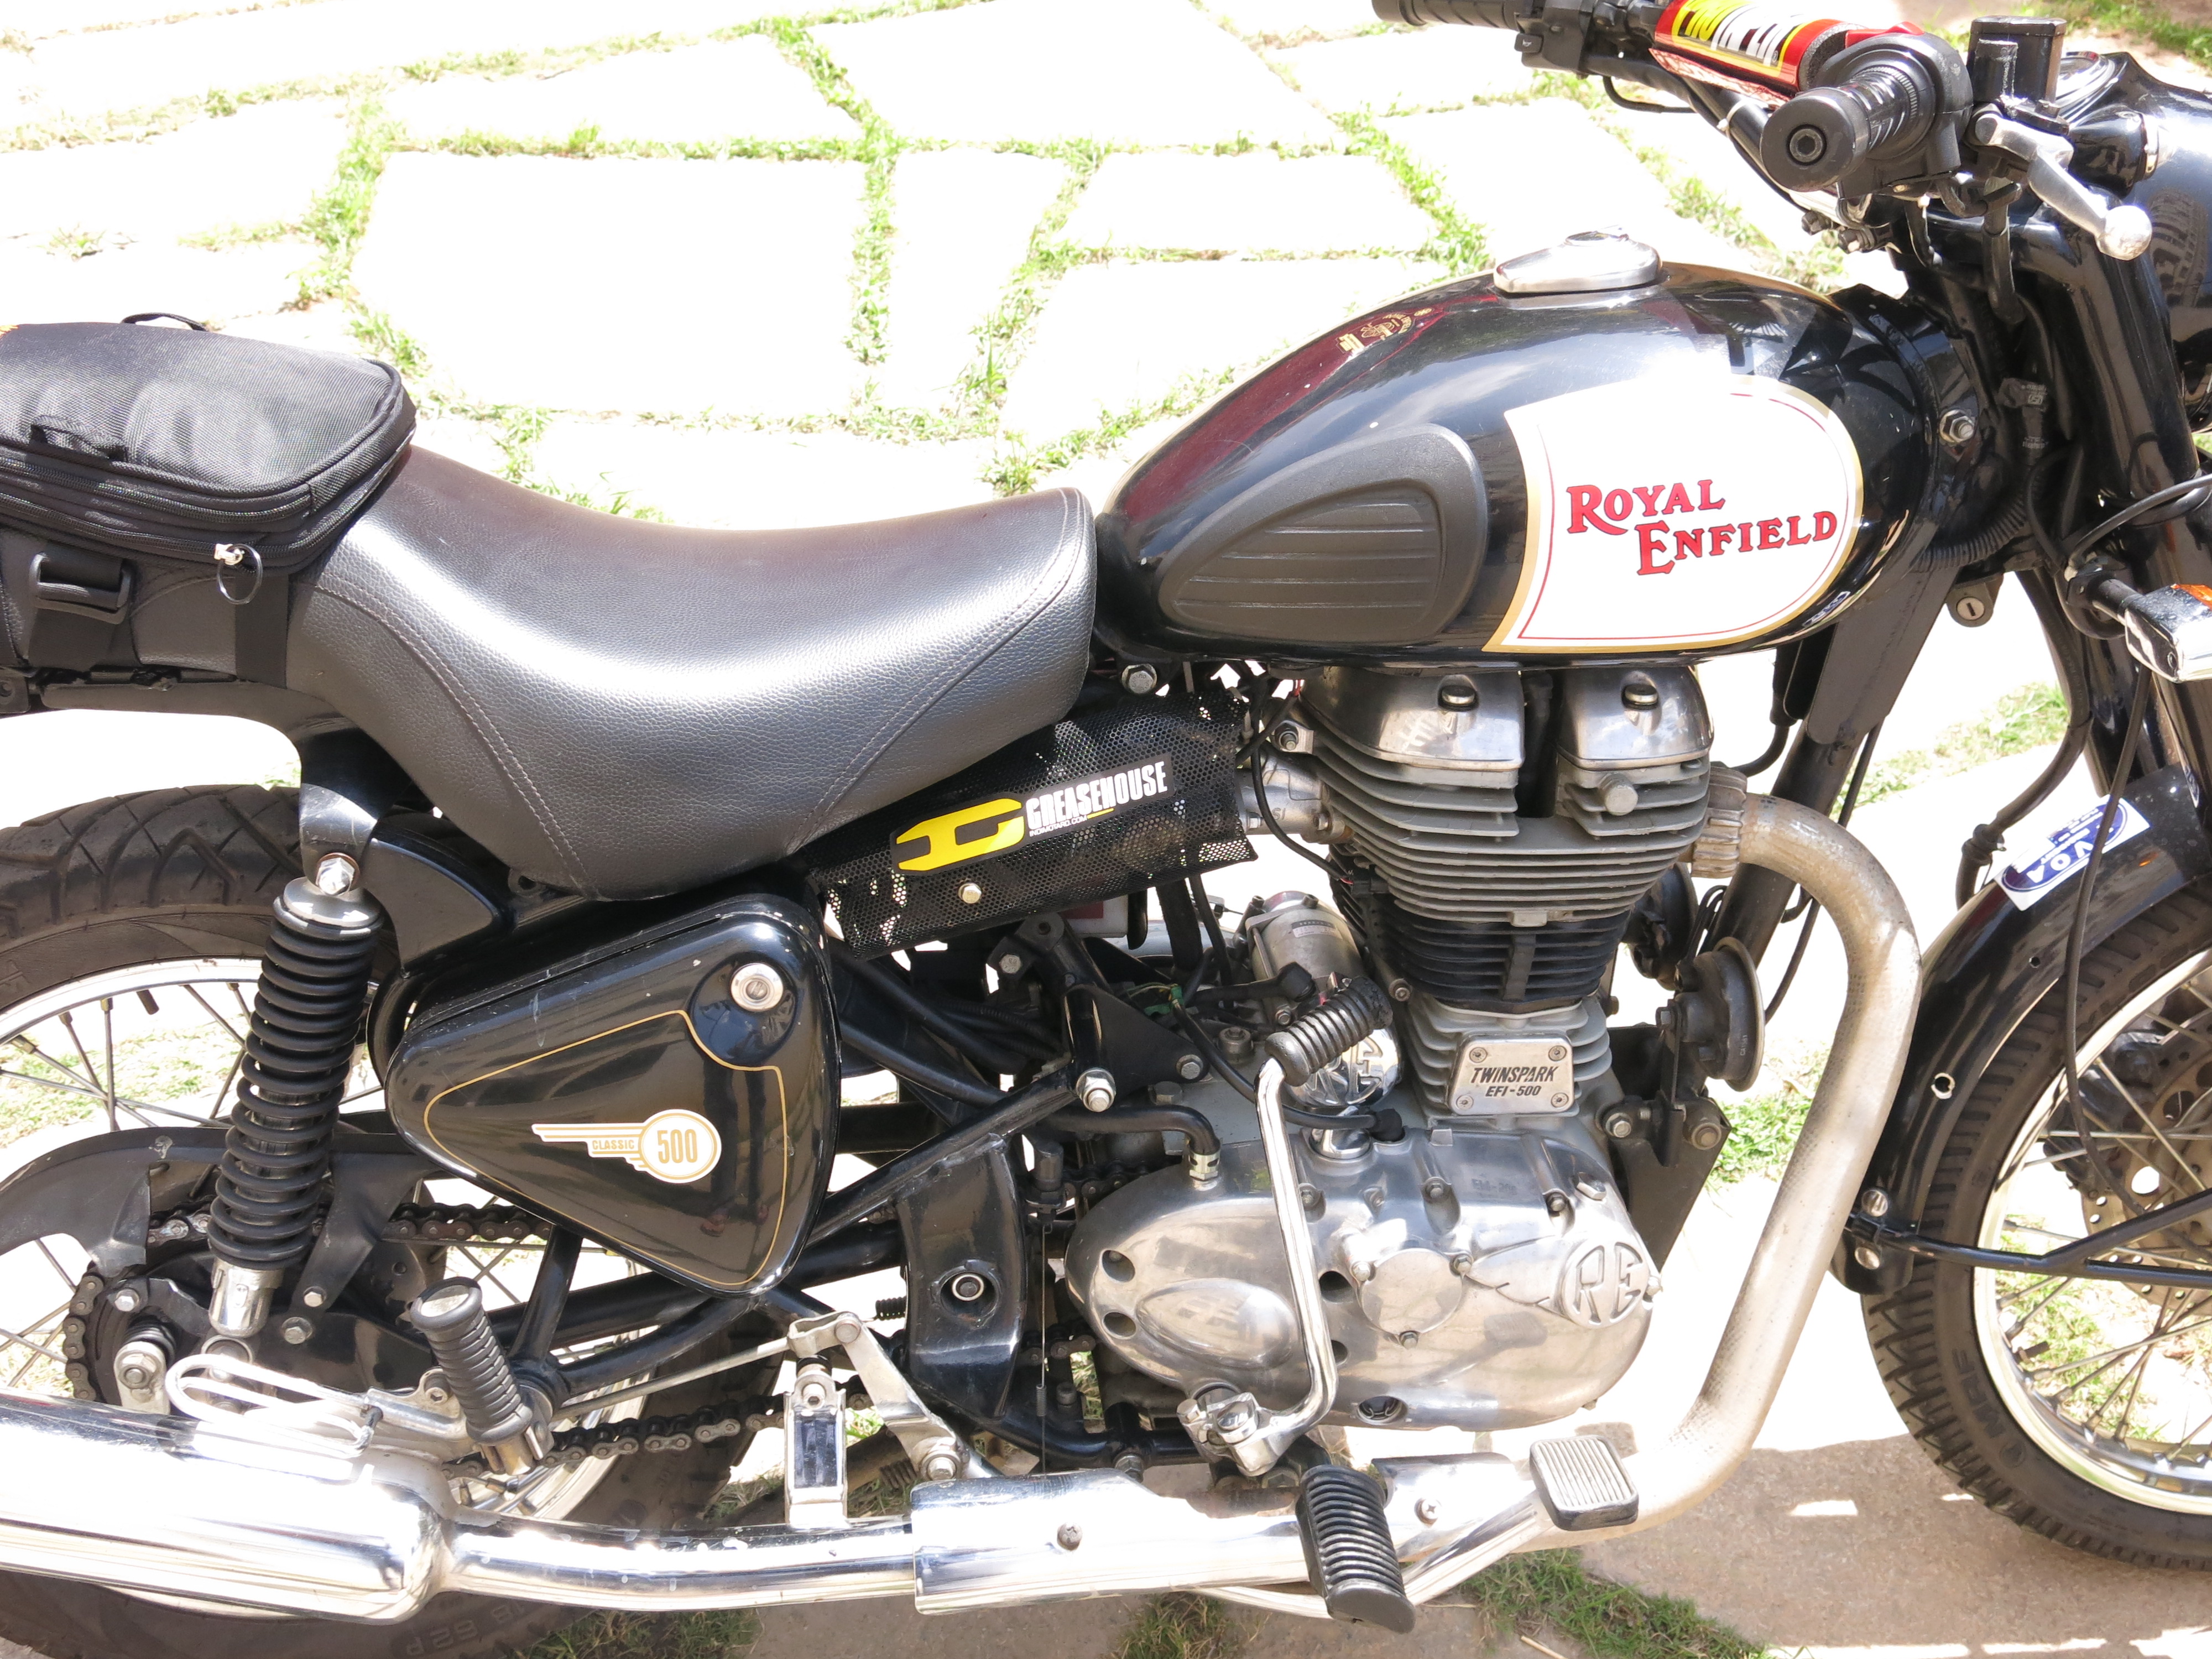
Enter Greasehouse Customs (http://indimotard.com/greasehouse-customs/) and this is what they created. Or rather, this is what they reduced the bike to. Out went the rear mudguard assembly and in came a beautifully crafted (and uncannily expensive) tail job with an imported parking light to complete the rear. I had bought Continental GT indicators as a replacement for my stock ones and they went on too. Some sticker-ing and a bit of re-painting and this one was good to go.
Loved the rear end, September 2015
Lean and mean, upfront, September 2015
GT Continental numberplate and indicators, UK tail lamp, September 2015
Storage box tossed out, protective mesh thrown in, September 2015
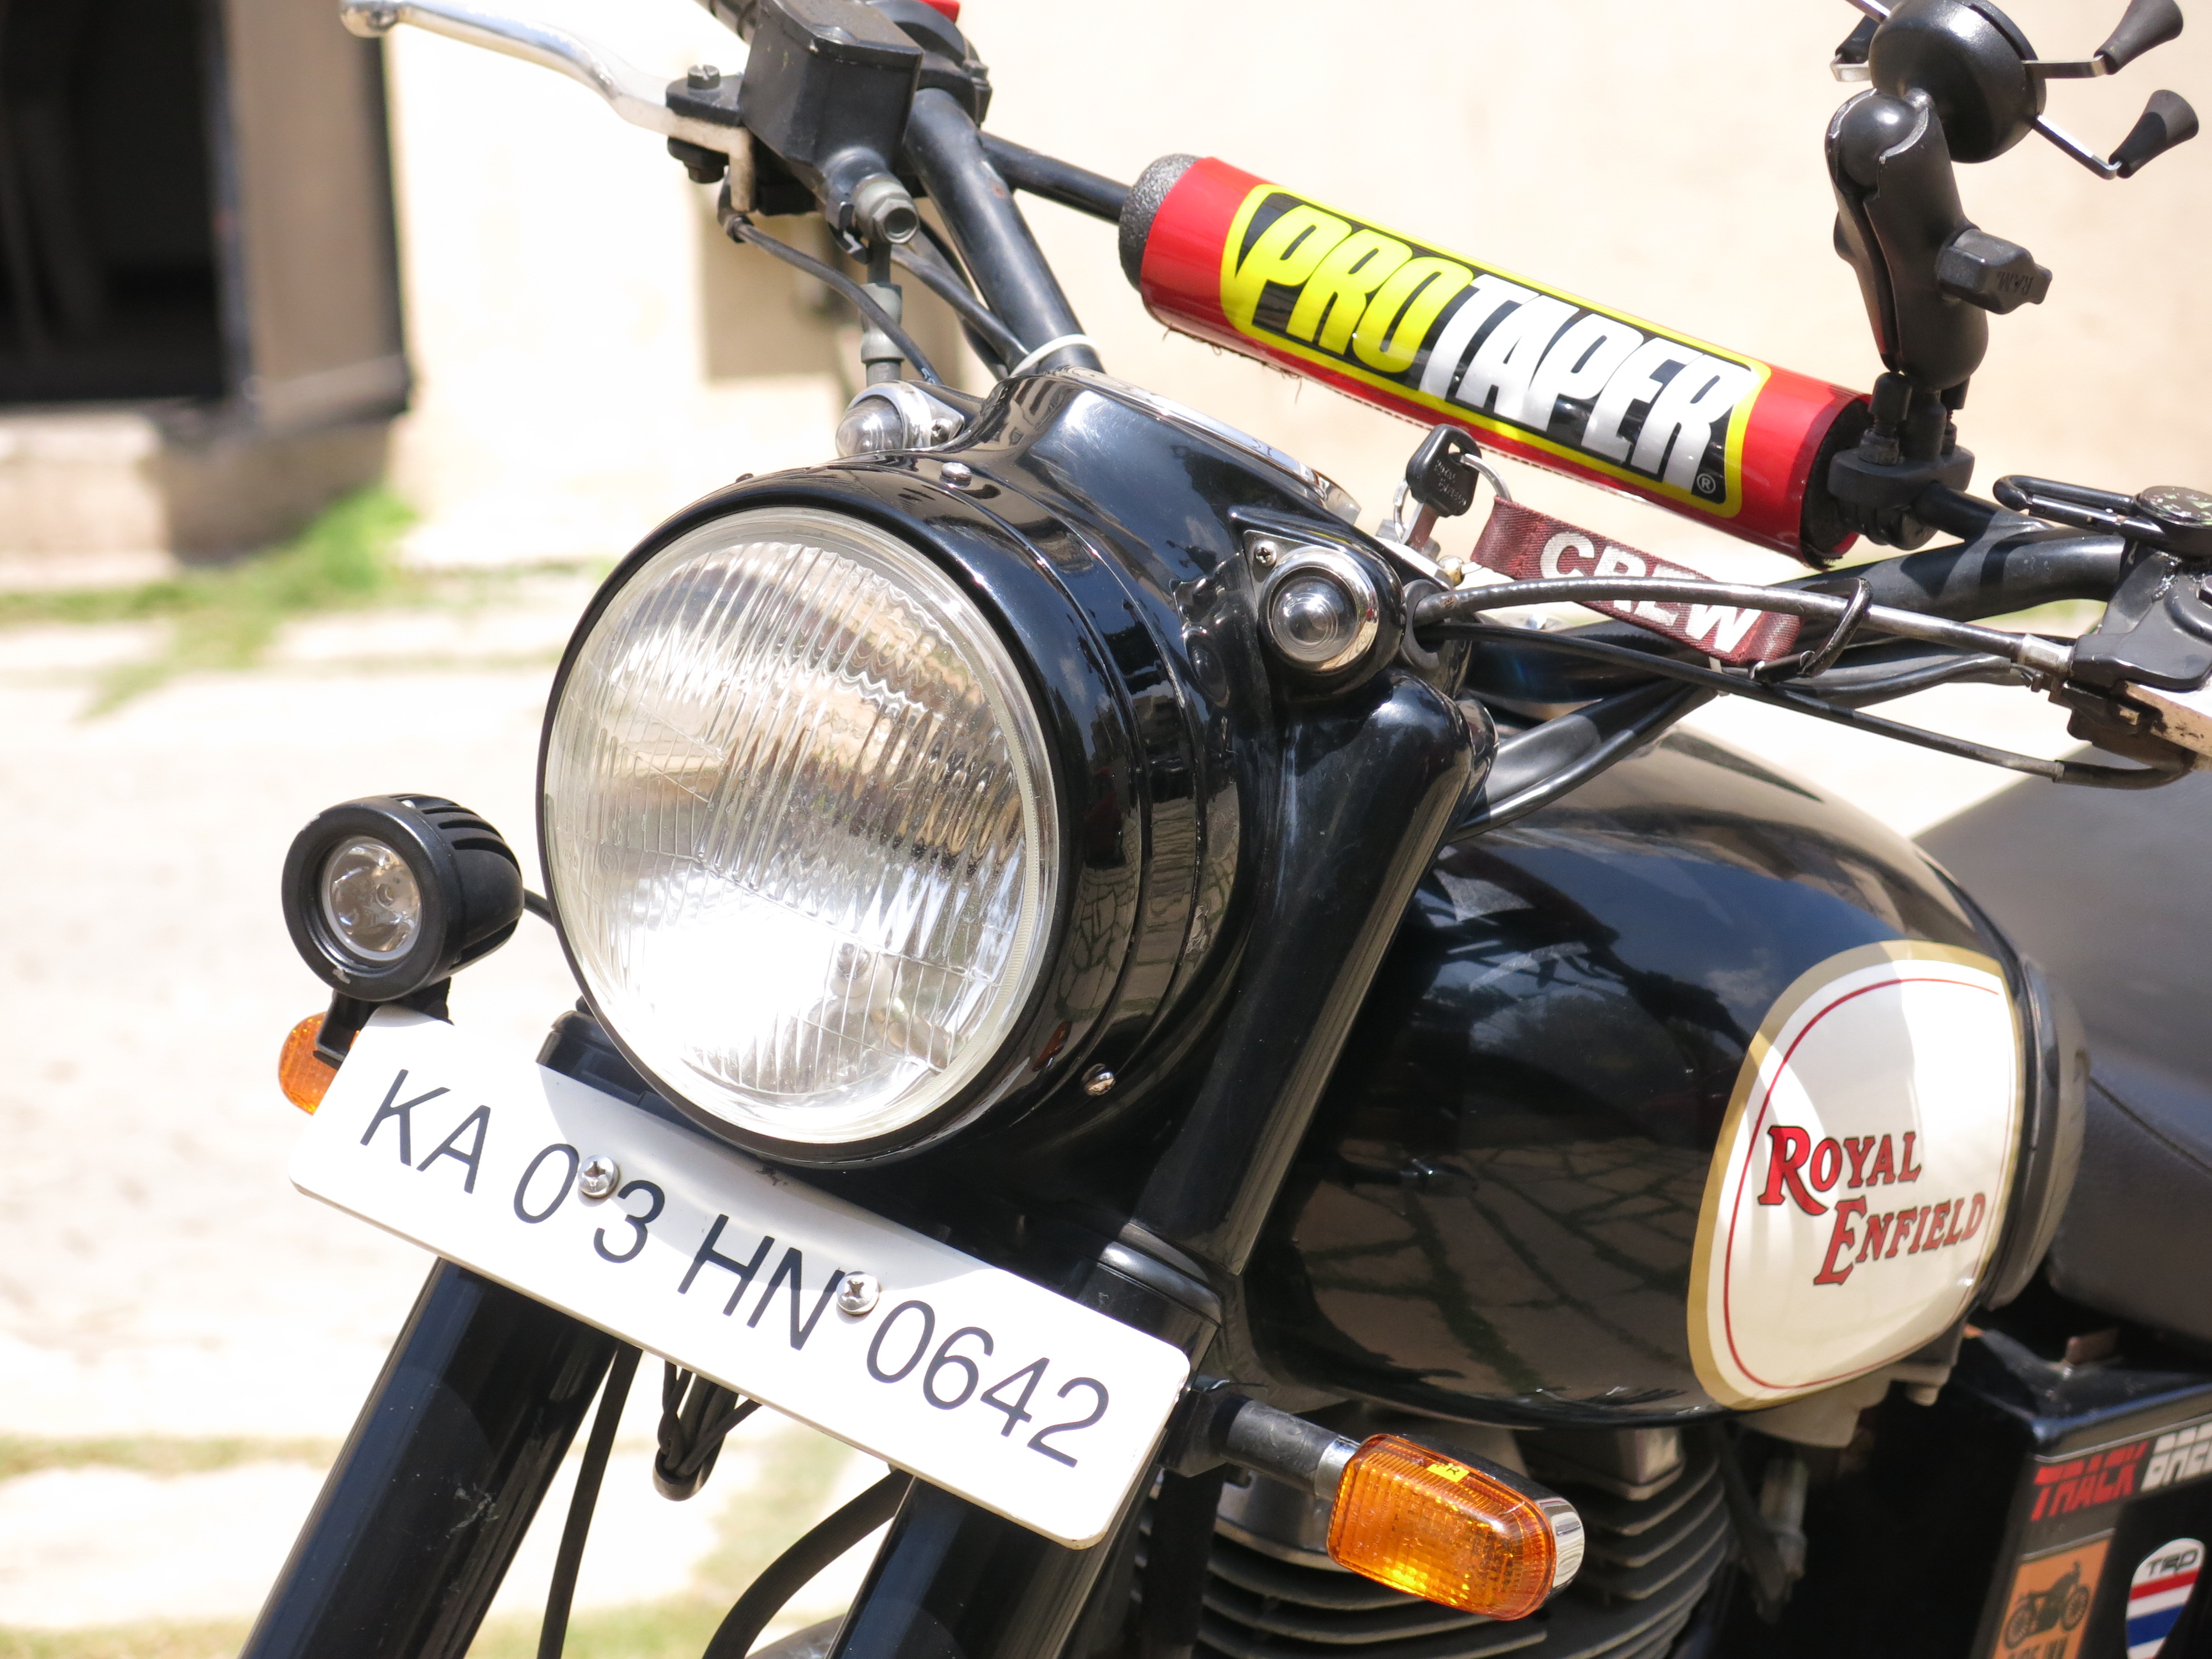
Blacked out headlight rim, September 2015
Reduce, Reduce, Reduce- C5, September 2015
The big positive with this iteration, was the ride. Braking improved considerably- with so much less weight to handle, the bike displayed no signs of that legendary fishtailing on hard braking. Pushing the bike into corners and powering down straights was a delight. Acceleration was startling and every twist of the wrist promised a wheelie.
Unfortunately, good times only last so long. One balmy evening, as I was battling bumper to bumper traffic on the ORR, a lorry driver rear ended me. The beautiful ‘tail job’ almost snapped in two. I was heartbroken. The rear mudguard survived a few more weeks before developing a crack at the bend induced on impact. I also realised that the beautiful ‘tail job’ had not been structurally sound and had lacked requisite stiffeners essential to its function. So much for my dreams of featuring on Bike Exif. What next? I asked myself.
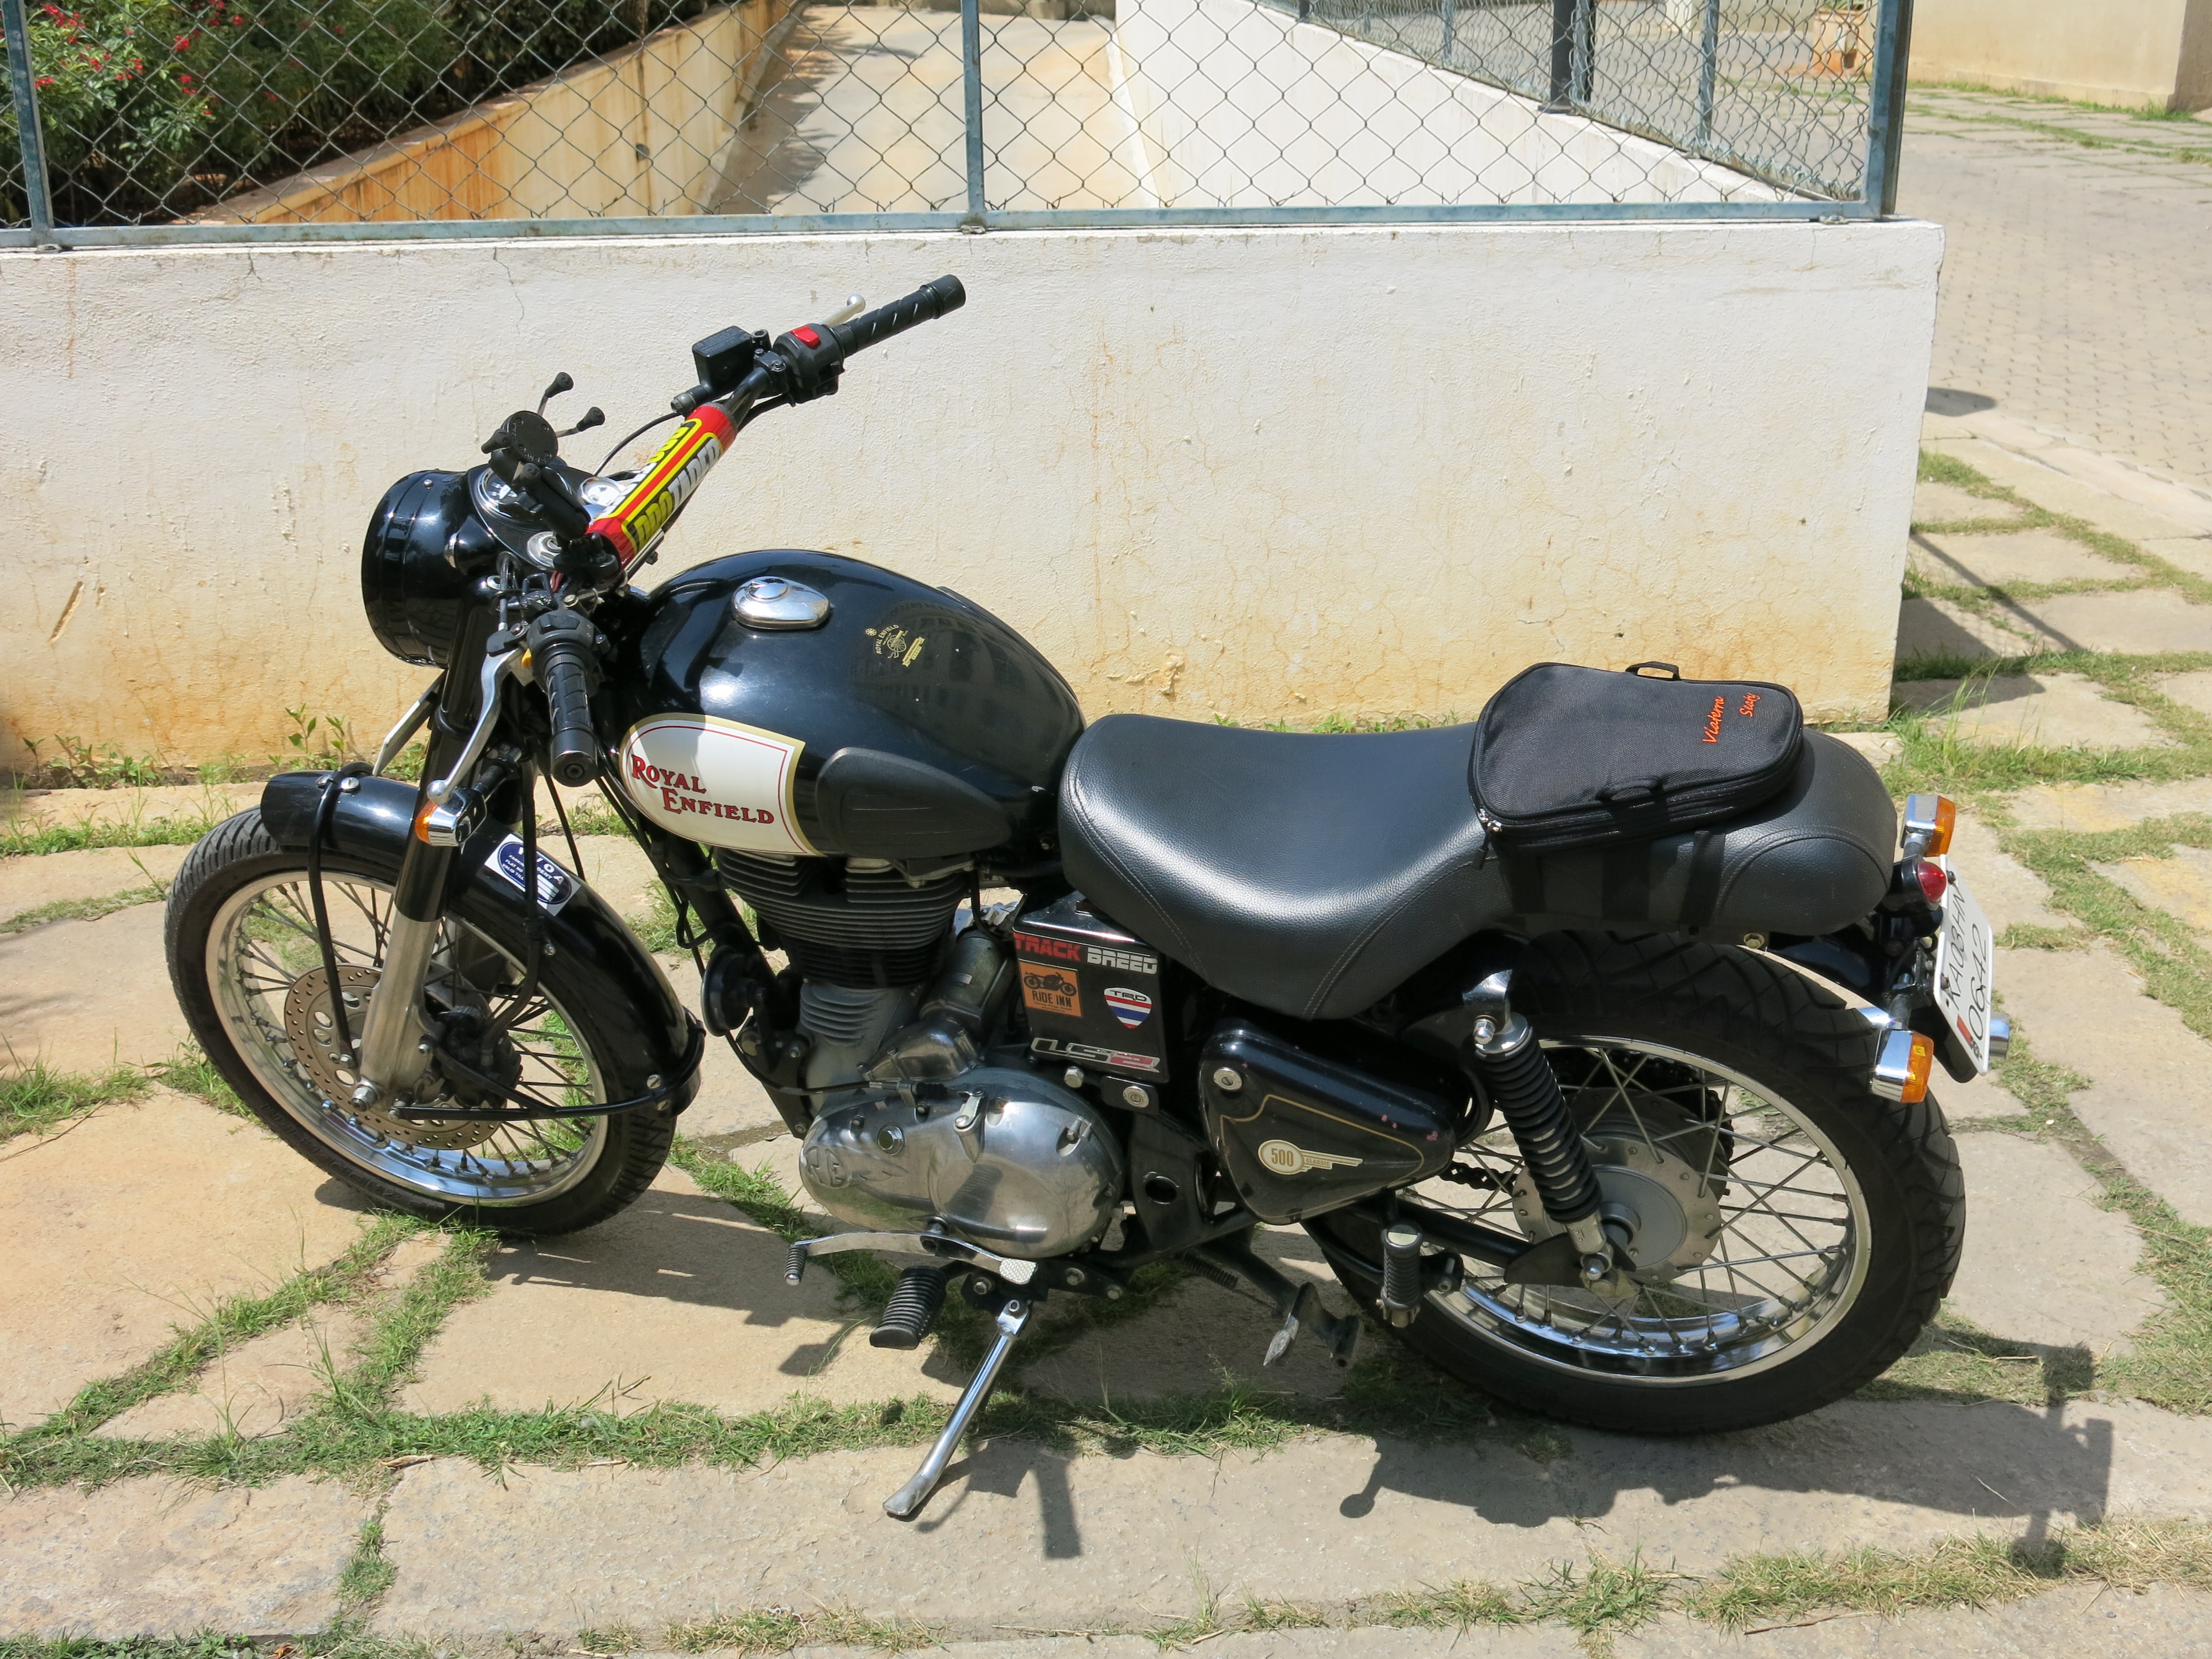
Quintessential motorcycle, circa December 2015
The everyday, do it all moto, December 2015
Four years on, as I post this, the bike is running like a dream, courtesy Javed, my friendly neighbourhood mechanic. I have managed to keep the bike as light as possible. The stock mudguard went in for a small customisation job. The beautiful tail lamp and the indicators were re-mounted, along with the GT number plate, and I installed a pair of stock mirrors from the Hero Honda Splendor. The stock tail lamp assembly along with the number plate and those bulky indicators, I realised, were a major weight adding element to the stock mudguard- weighing no less than 4 kgs by themselves. The Hero Honda mirrors, are just amazing. Not a stir in them, no vibes, no shaking- rock steady at all speeds. I found that they also complement the low, wide handlebar.
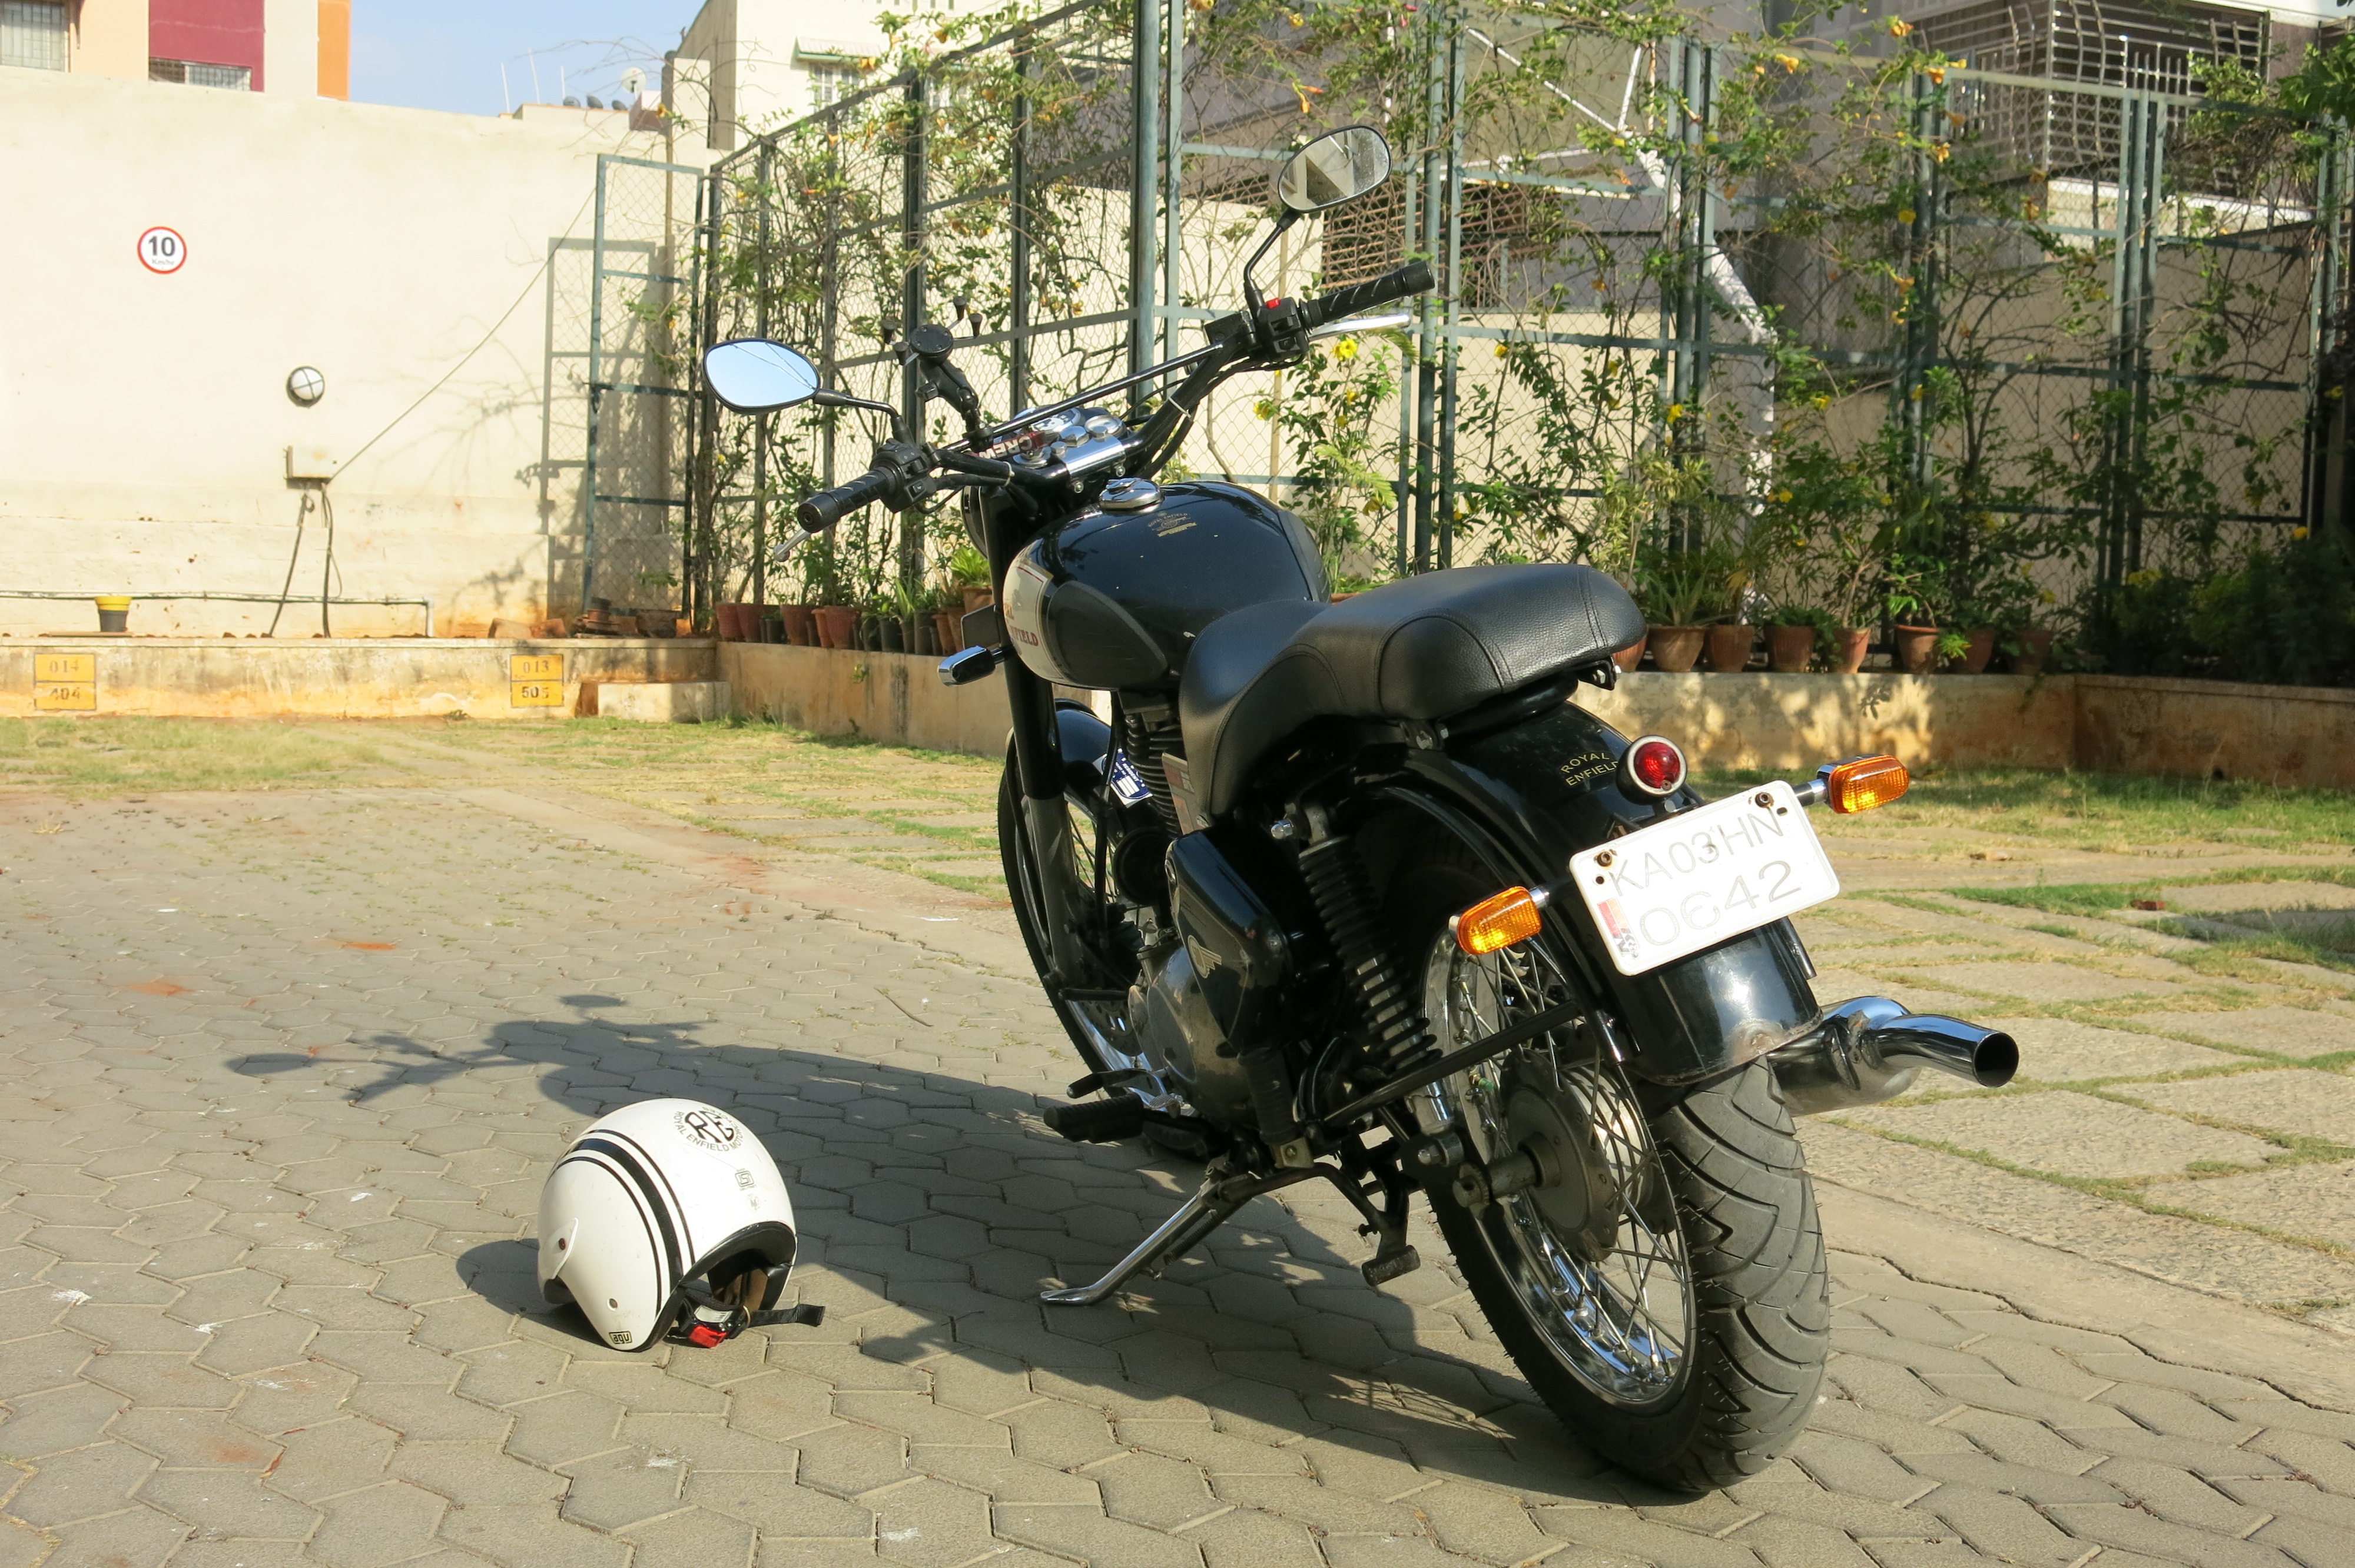
The C5. Current Avatar, June 2016
Splendor mirrors work well, look good. June 2016
I am happy to keep running the bike in this avatar. Every morning, as I get ride ready for my work day, arguably the best part of my work day, I can’t help admire the simplicity and purposeful nature of the looks of the bike. It says ‘I’m your true moto, an extension of your own self. I am, the quintessential motorcycle. Nothing more shall you need’.