Light is Right!

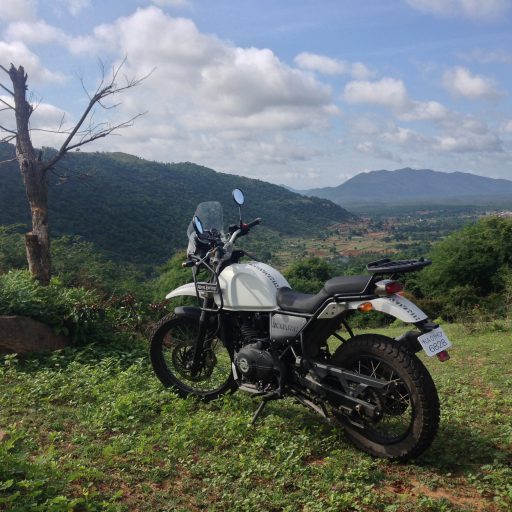
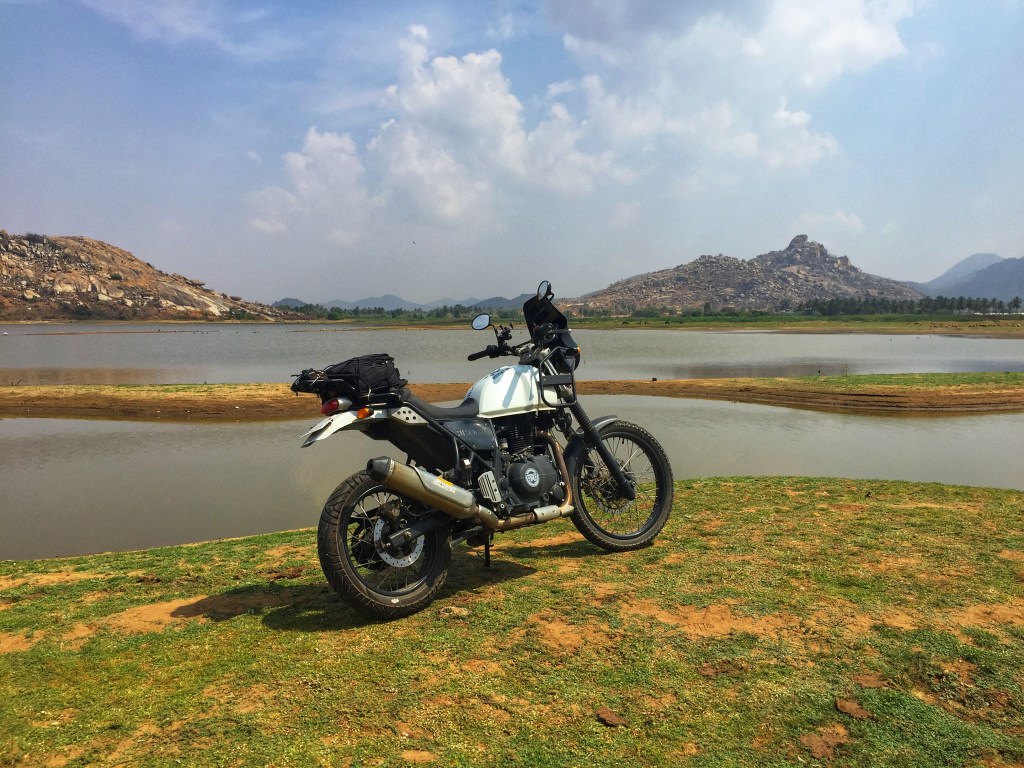
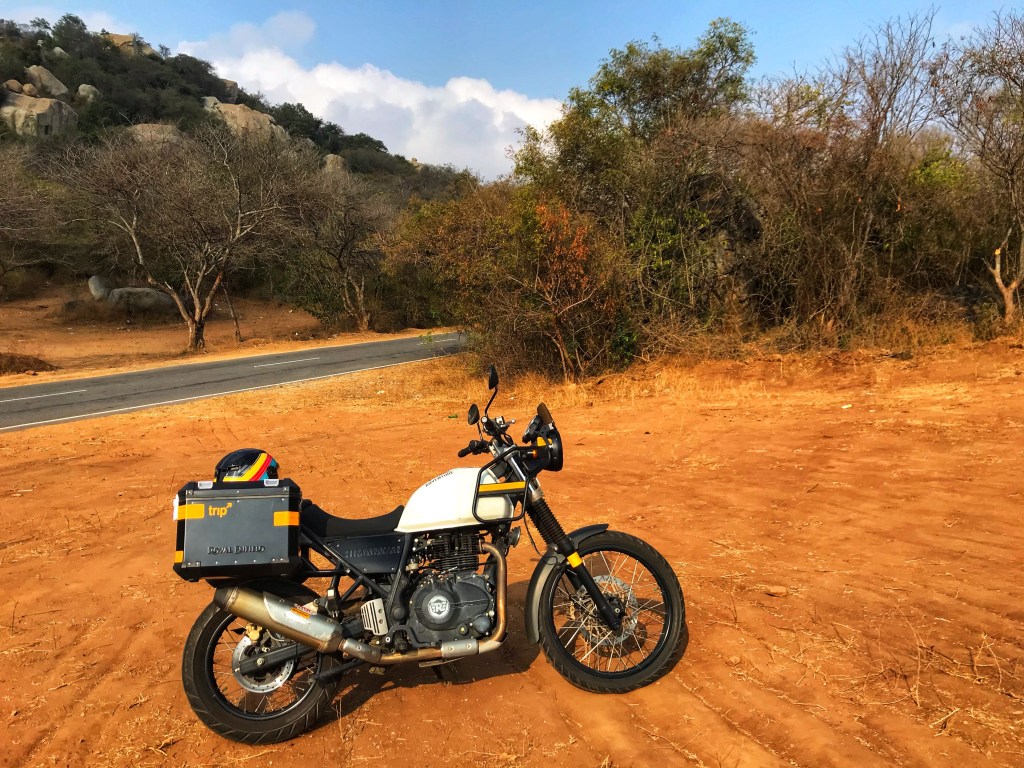
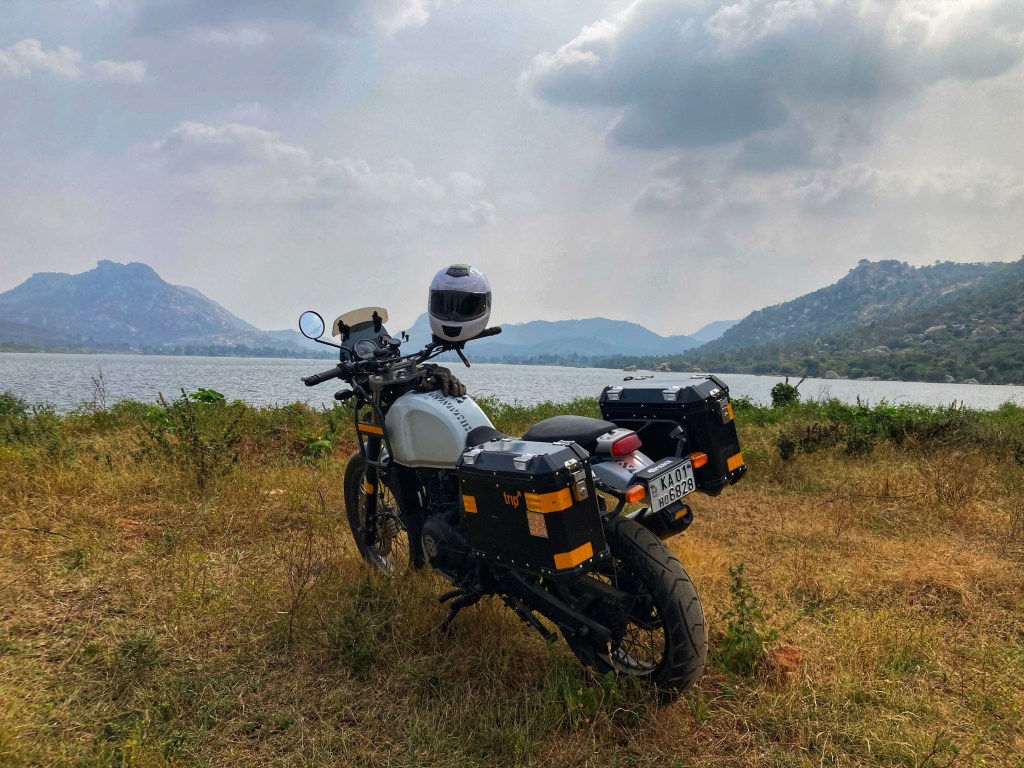
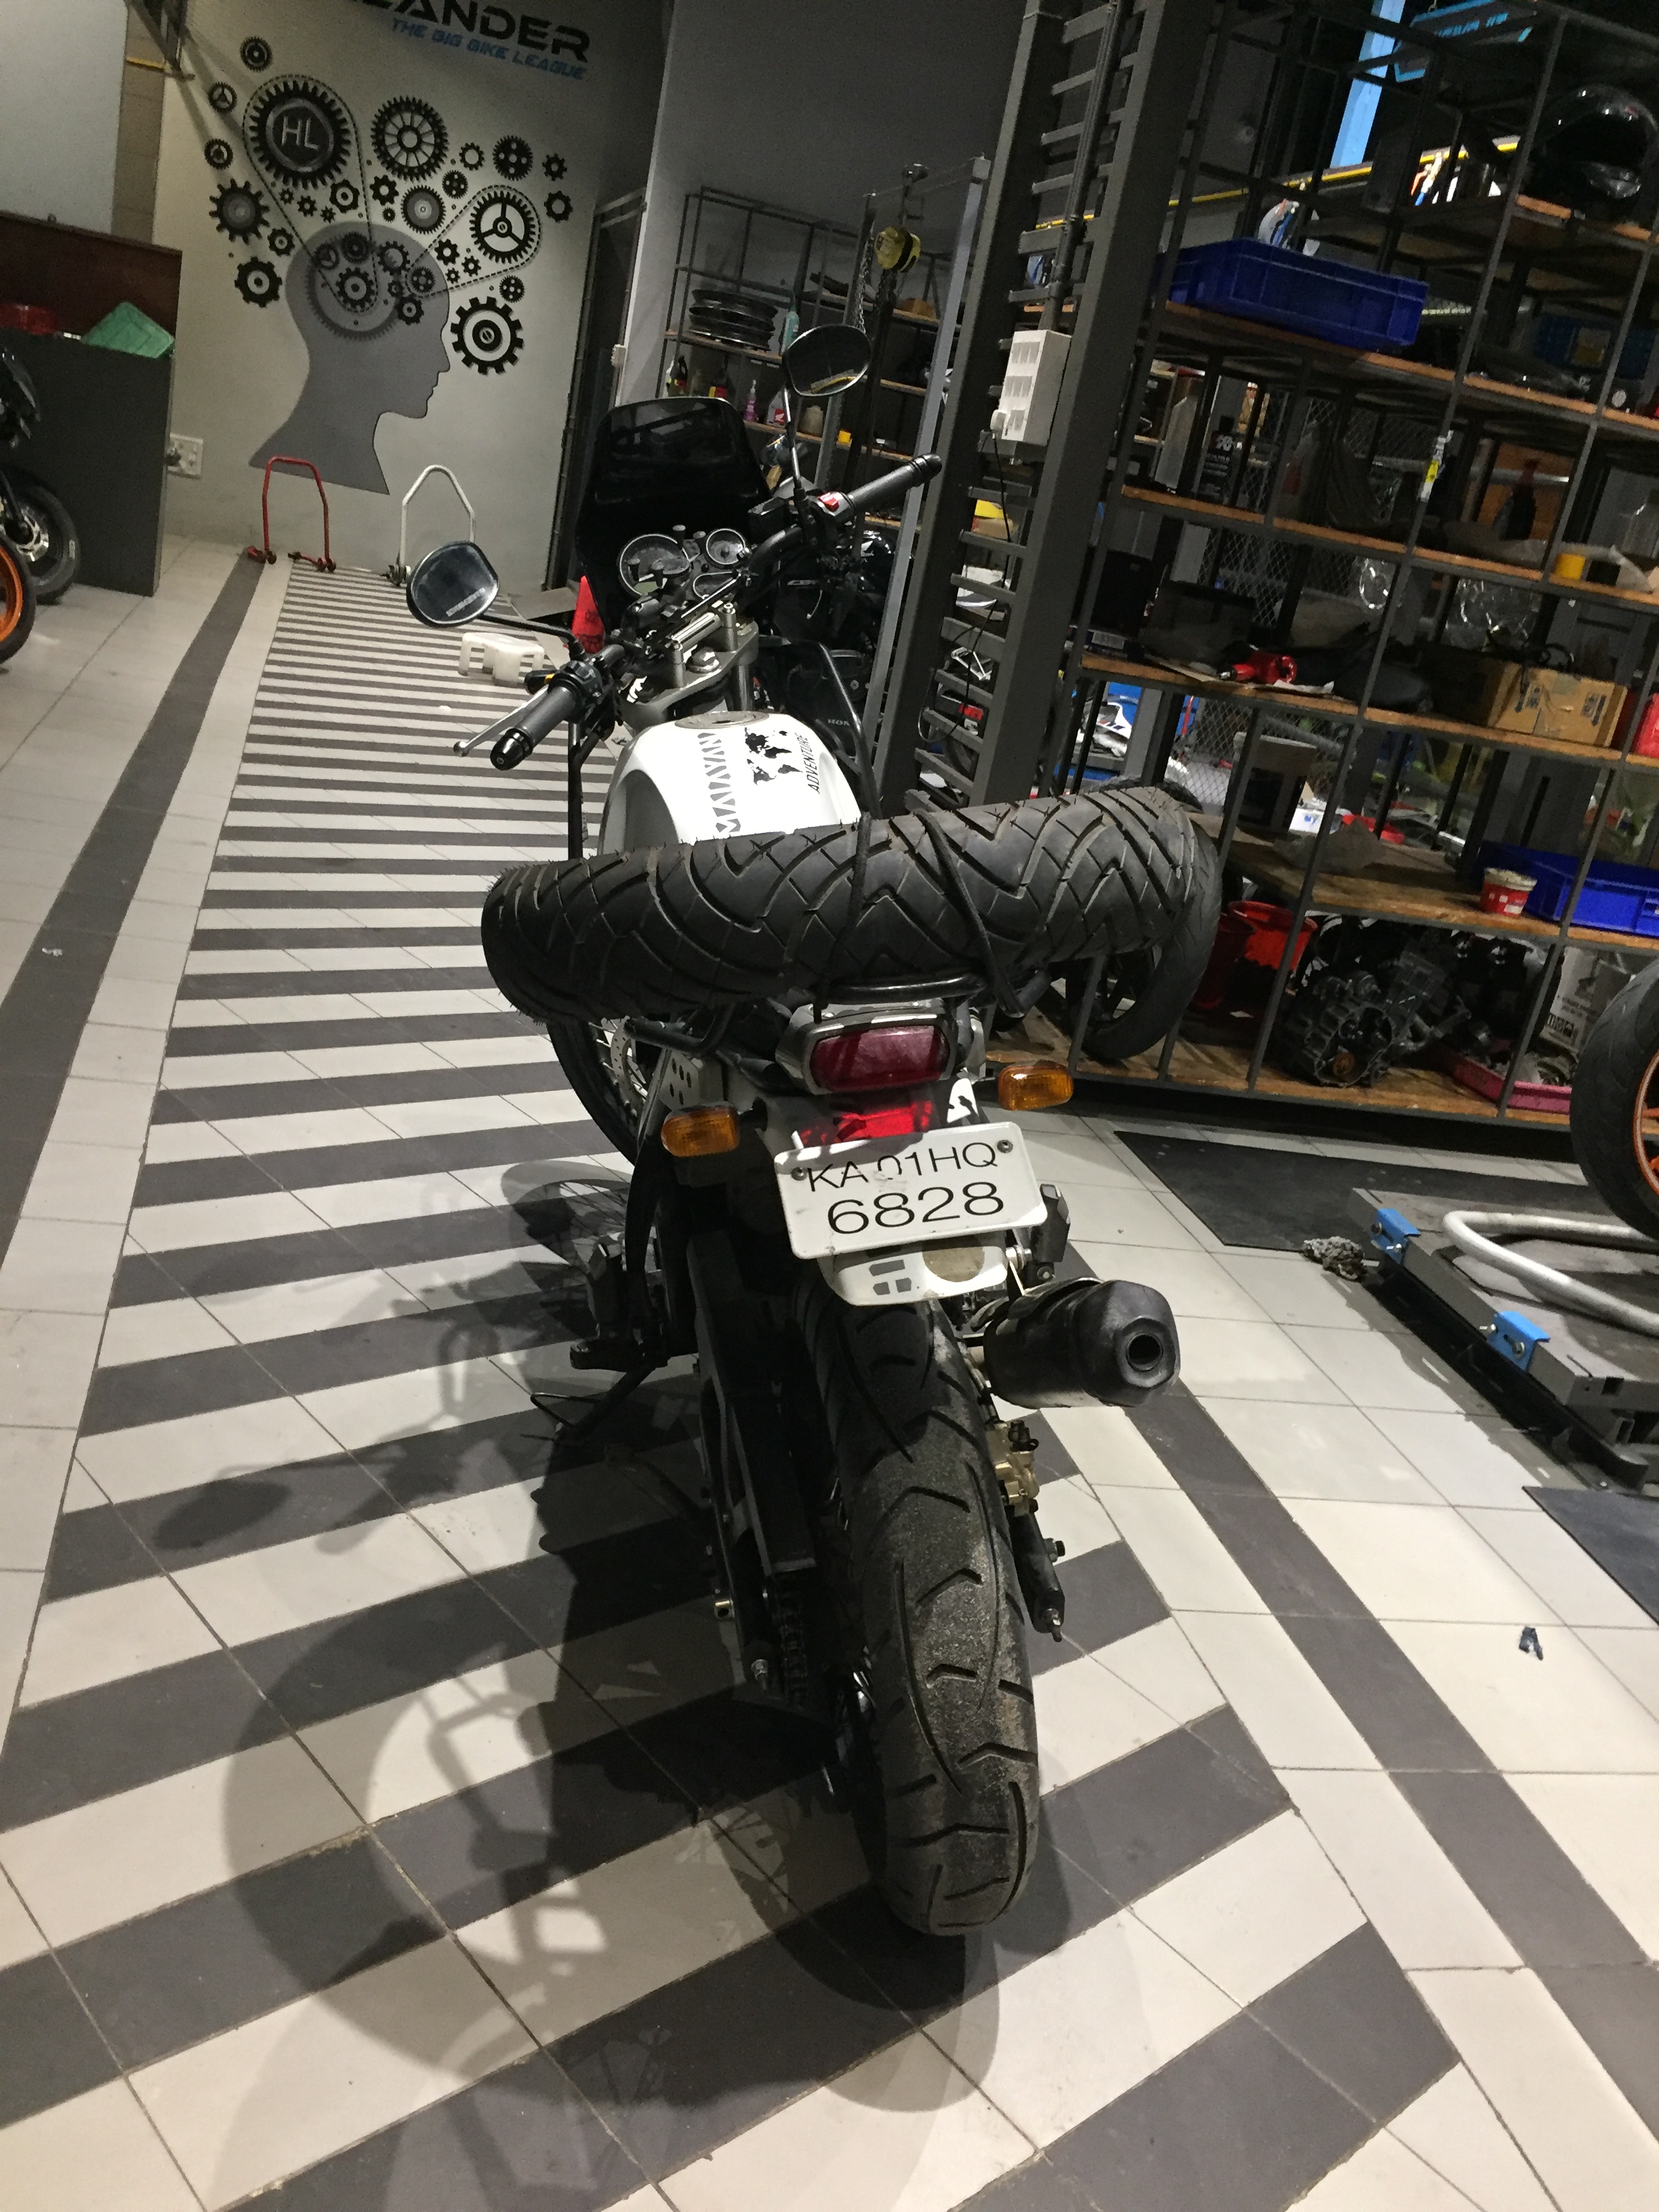
When you own a motorcycle for a very long time (read 9+ years), you tend to personalise it a bit. In the case of my Himalayan, as many of this blog’s posts will prove, I made changes almost every summer. After accessorising the bike to the gills- with auxiliary lights, crash guards, top box, tank side mounted luggage, hard panniers etc, I ended up stripping it down and settled on the lightest avatar of the bike for the last two years of ownership. Over time, it’s dawned on me, I’ve been happiest and most content with lightweight versions of all the motorcycles I’ve owned.

The Himalayan in its touring avatar

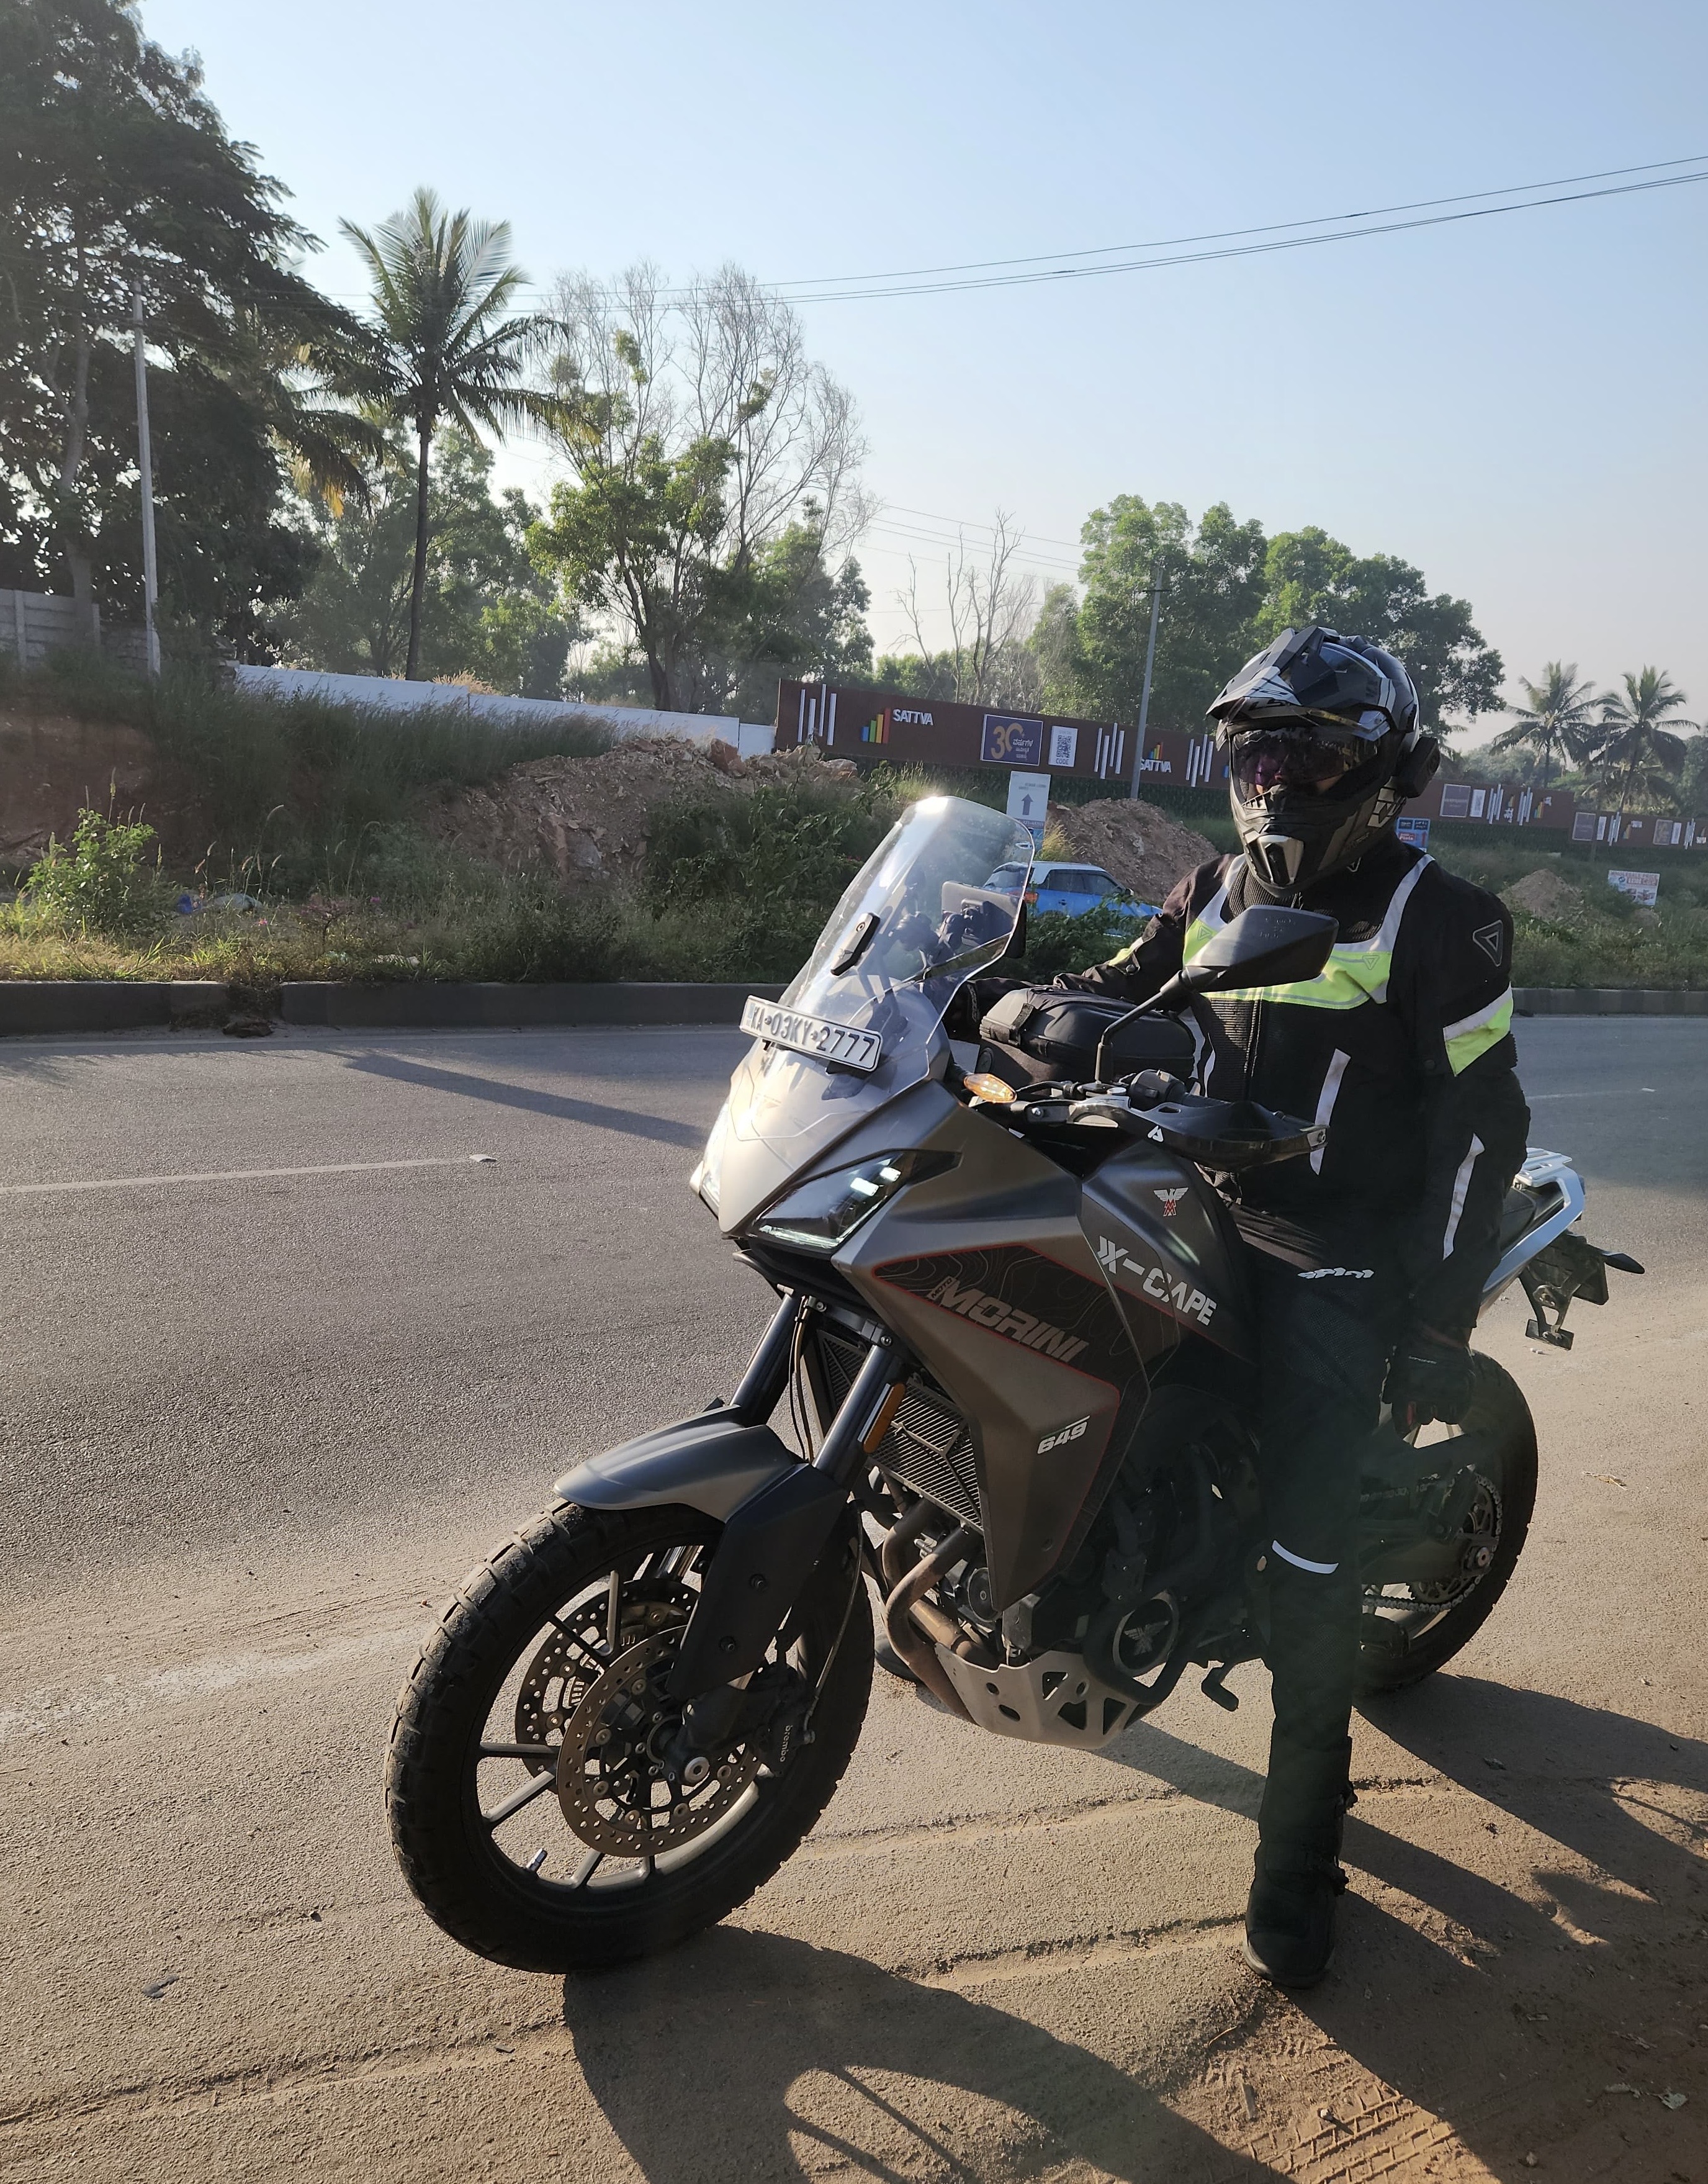
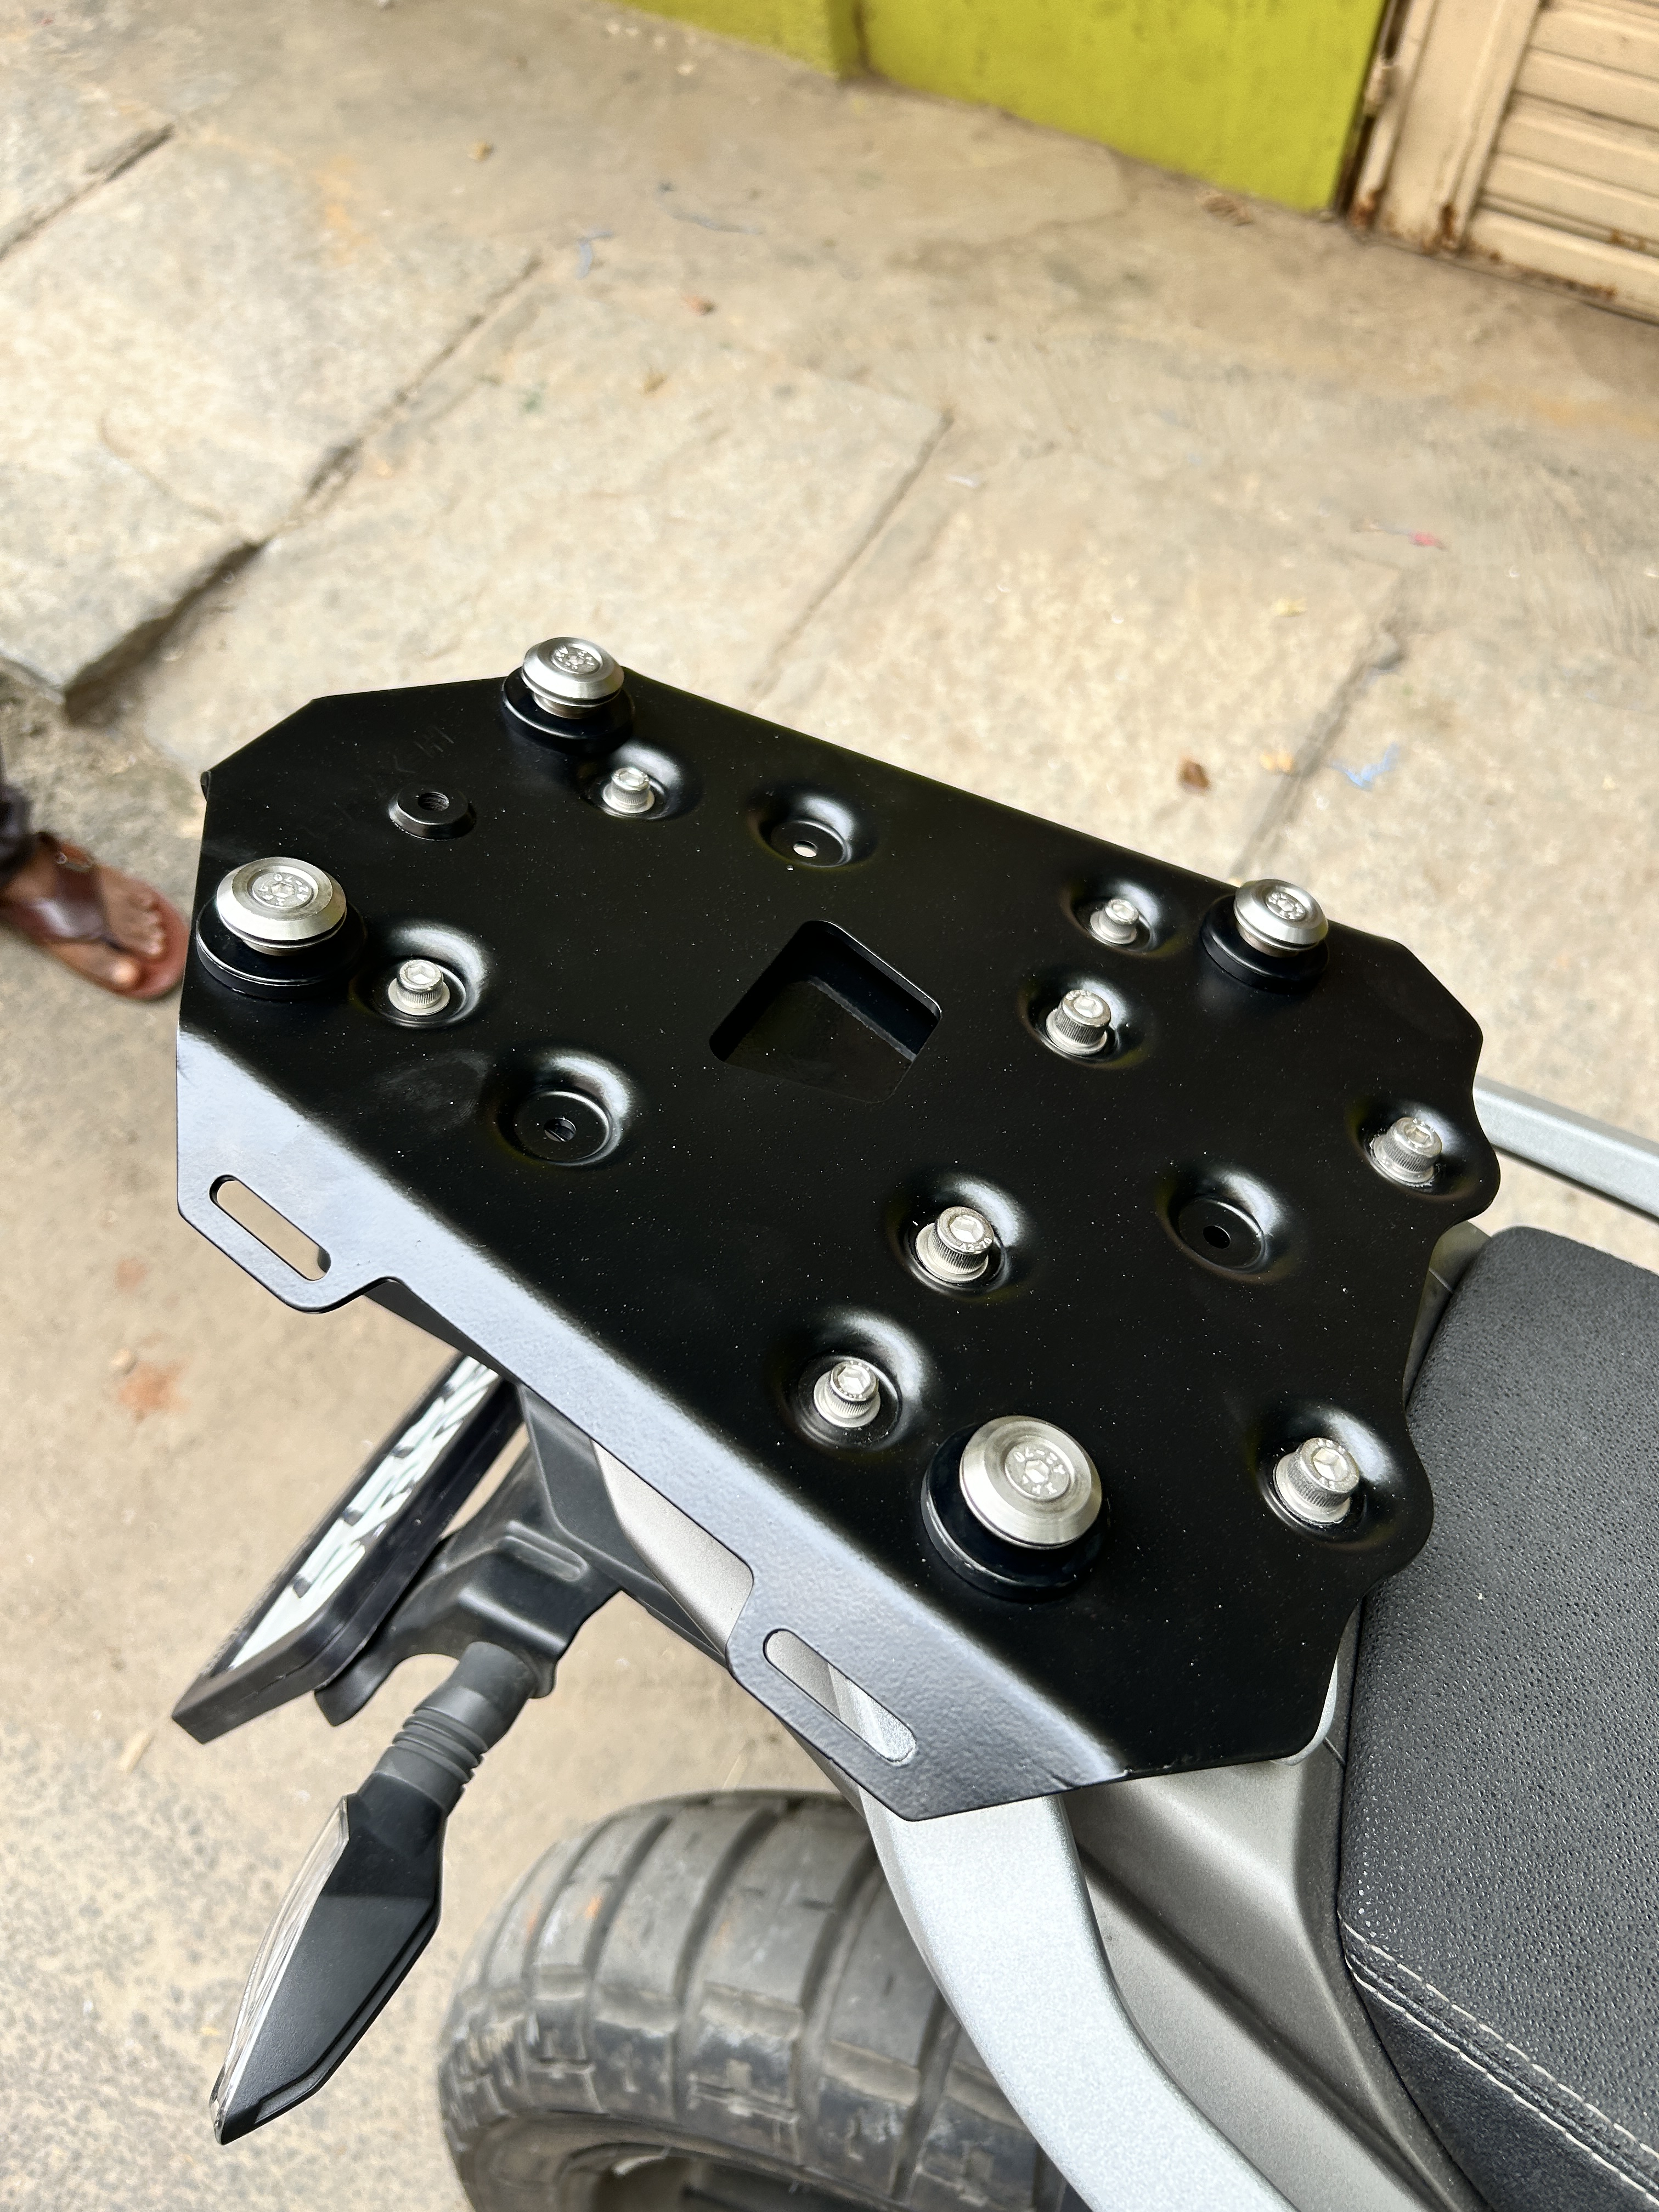
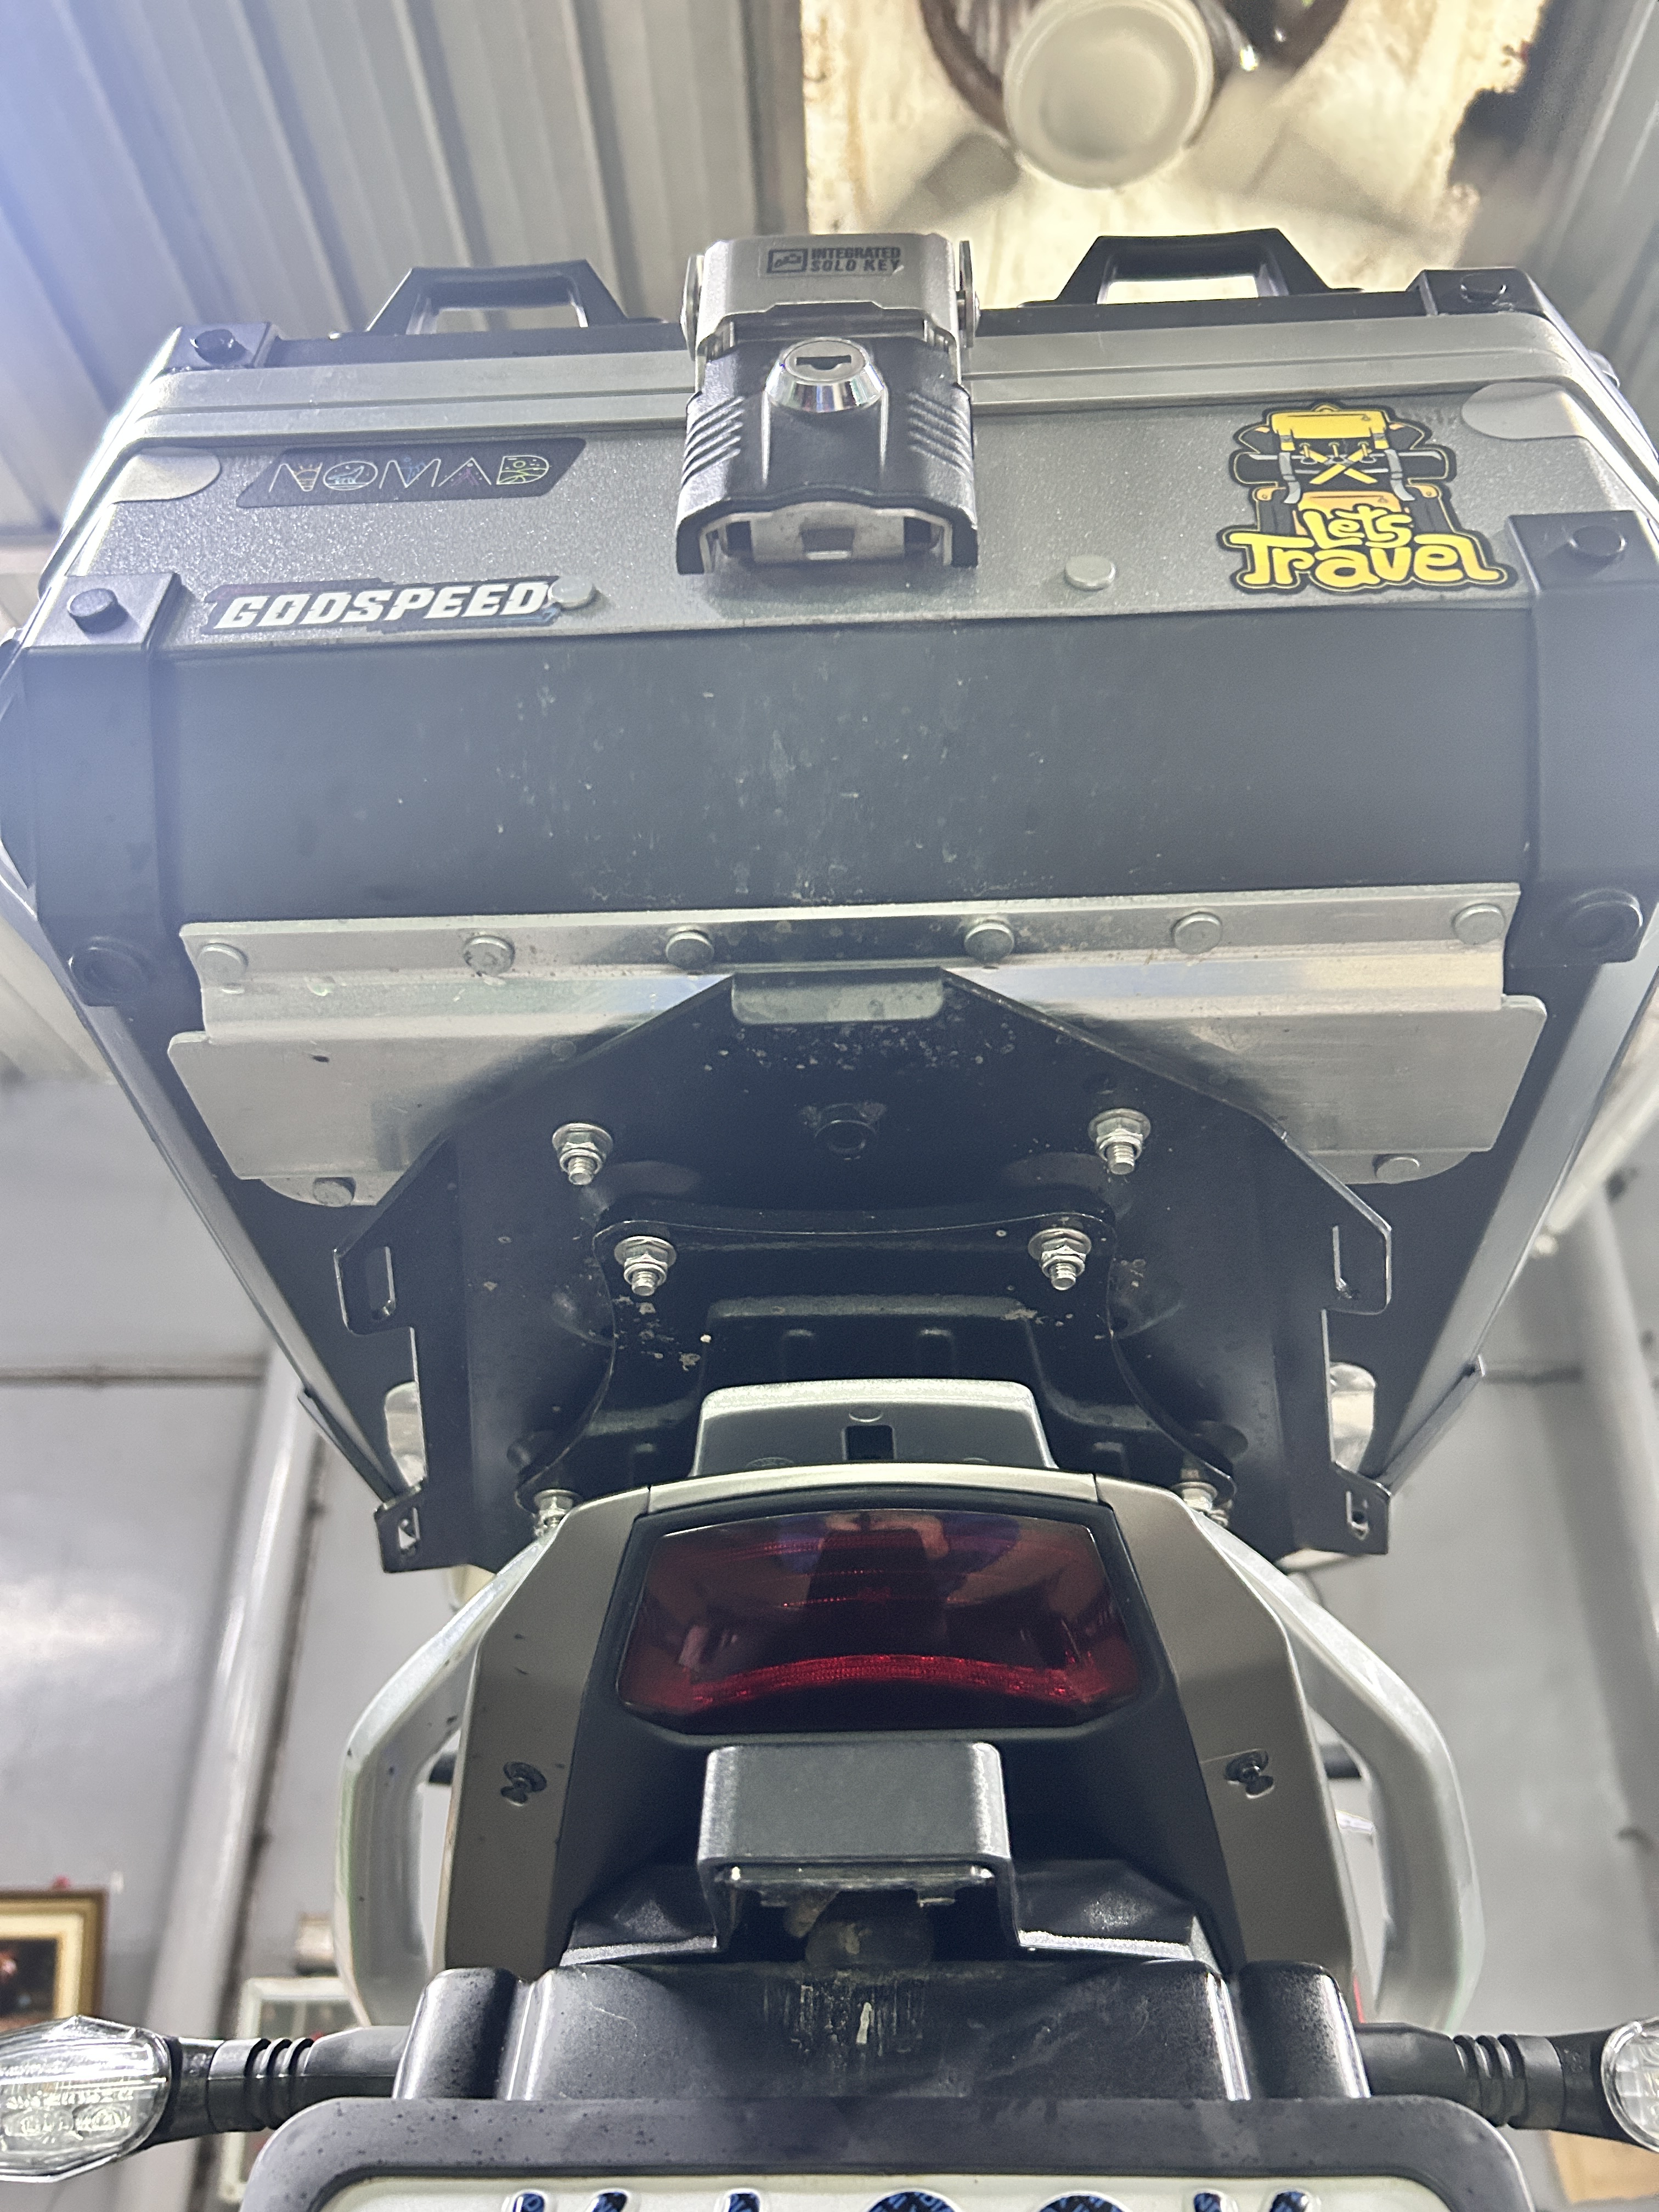
When I purchased the Moto Morini X-Cape 650, I was perhaps blind to this particular aspect of my motorcycle ownership. To my mind, the Italian Adv was already cumbersome at 215 kgs, and I was concerned about tipping it over. On went the assortment of crash guards, including hefty side bars to the fairing. Even though I found these in poor taste, I justified putting these on as a mount for auxiliary lights, and for the rare instance when these would save the fairing from impact. I told myself I needed auxiliary lights to ride in pitch dark (or in rain). A well crafted (read heavy) aluminium top box was of-course essential, to accommodate my laptop bag and other knick-knacks on daily commutes. Now this top box, sat on a fairly robust rear rack with a solid steel plate under-mount. Some flawed logic informed me that heavy adventure motorcycles are well balanced by design to carry top boxes and large aluminium panniers- I should not feel the drag like I used to on the Himalayan.

The touring ready X-Cape with extra guards, aux lights, top box etc.

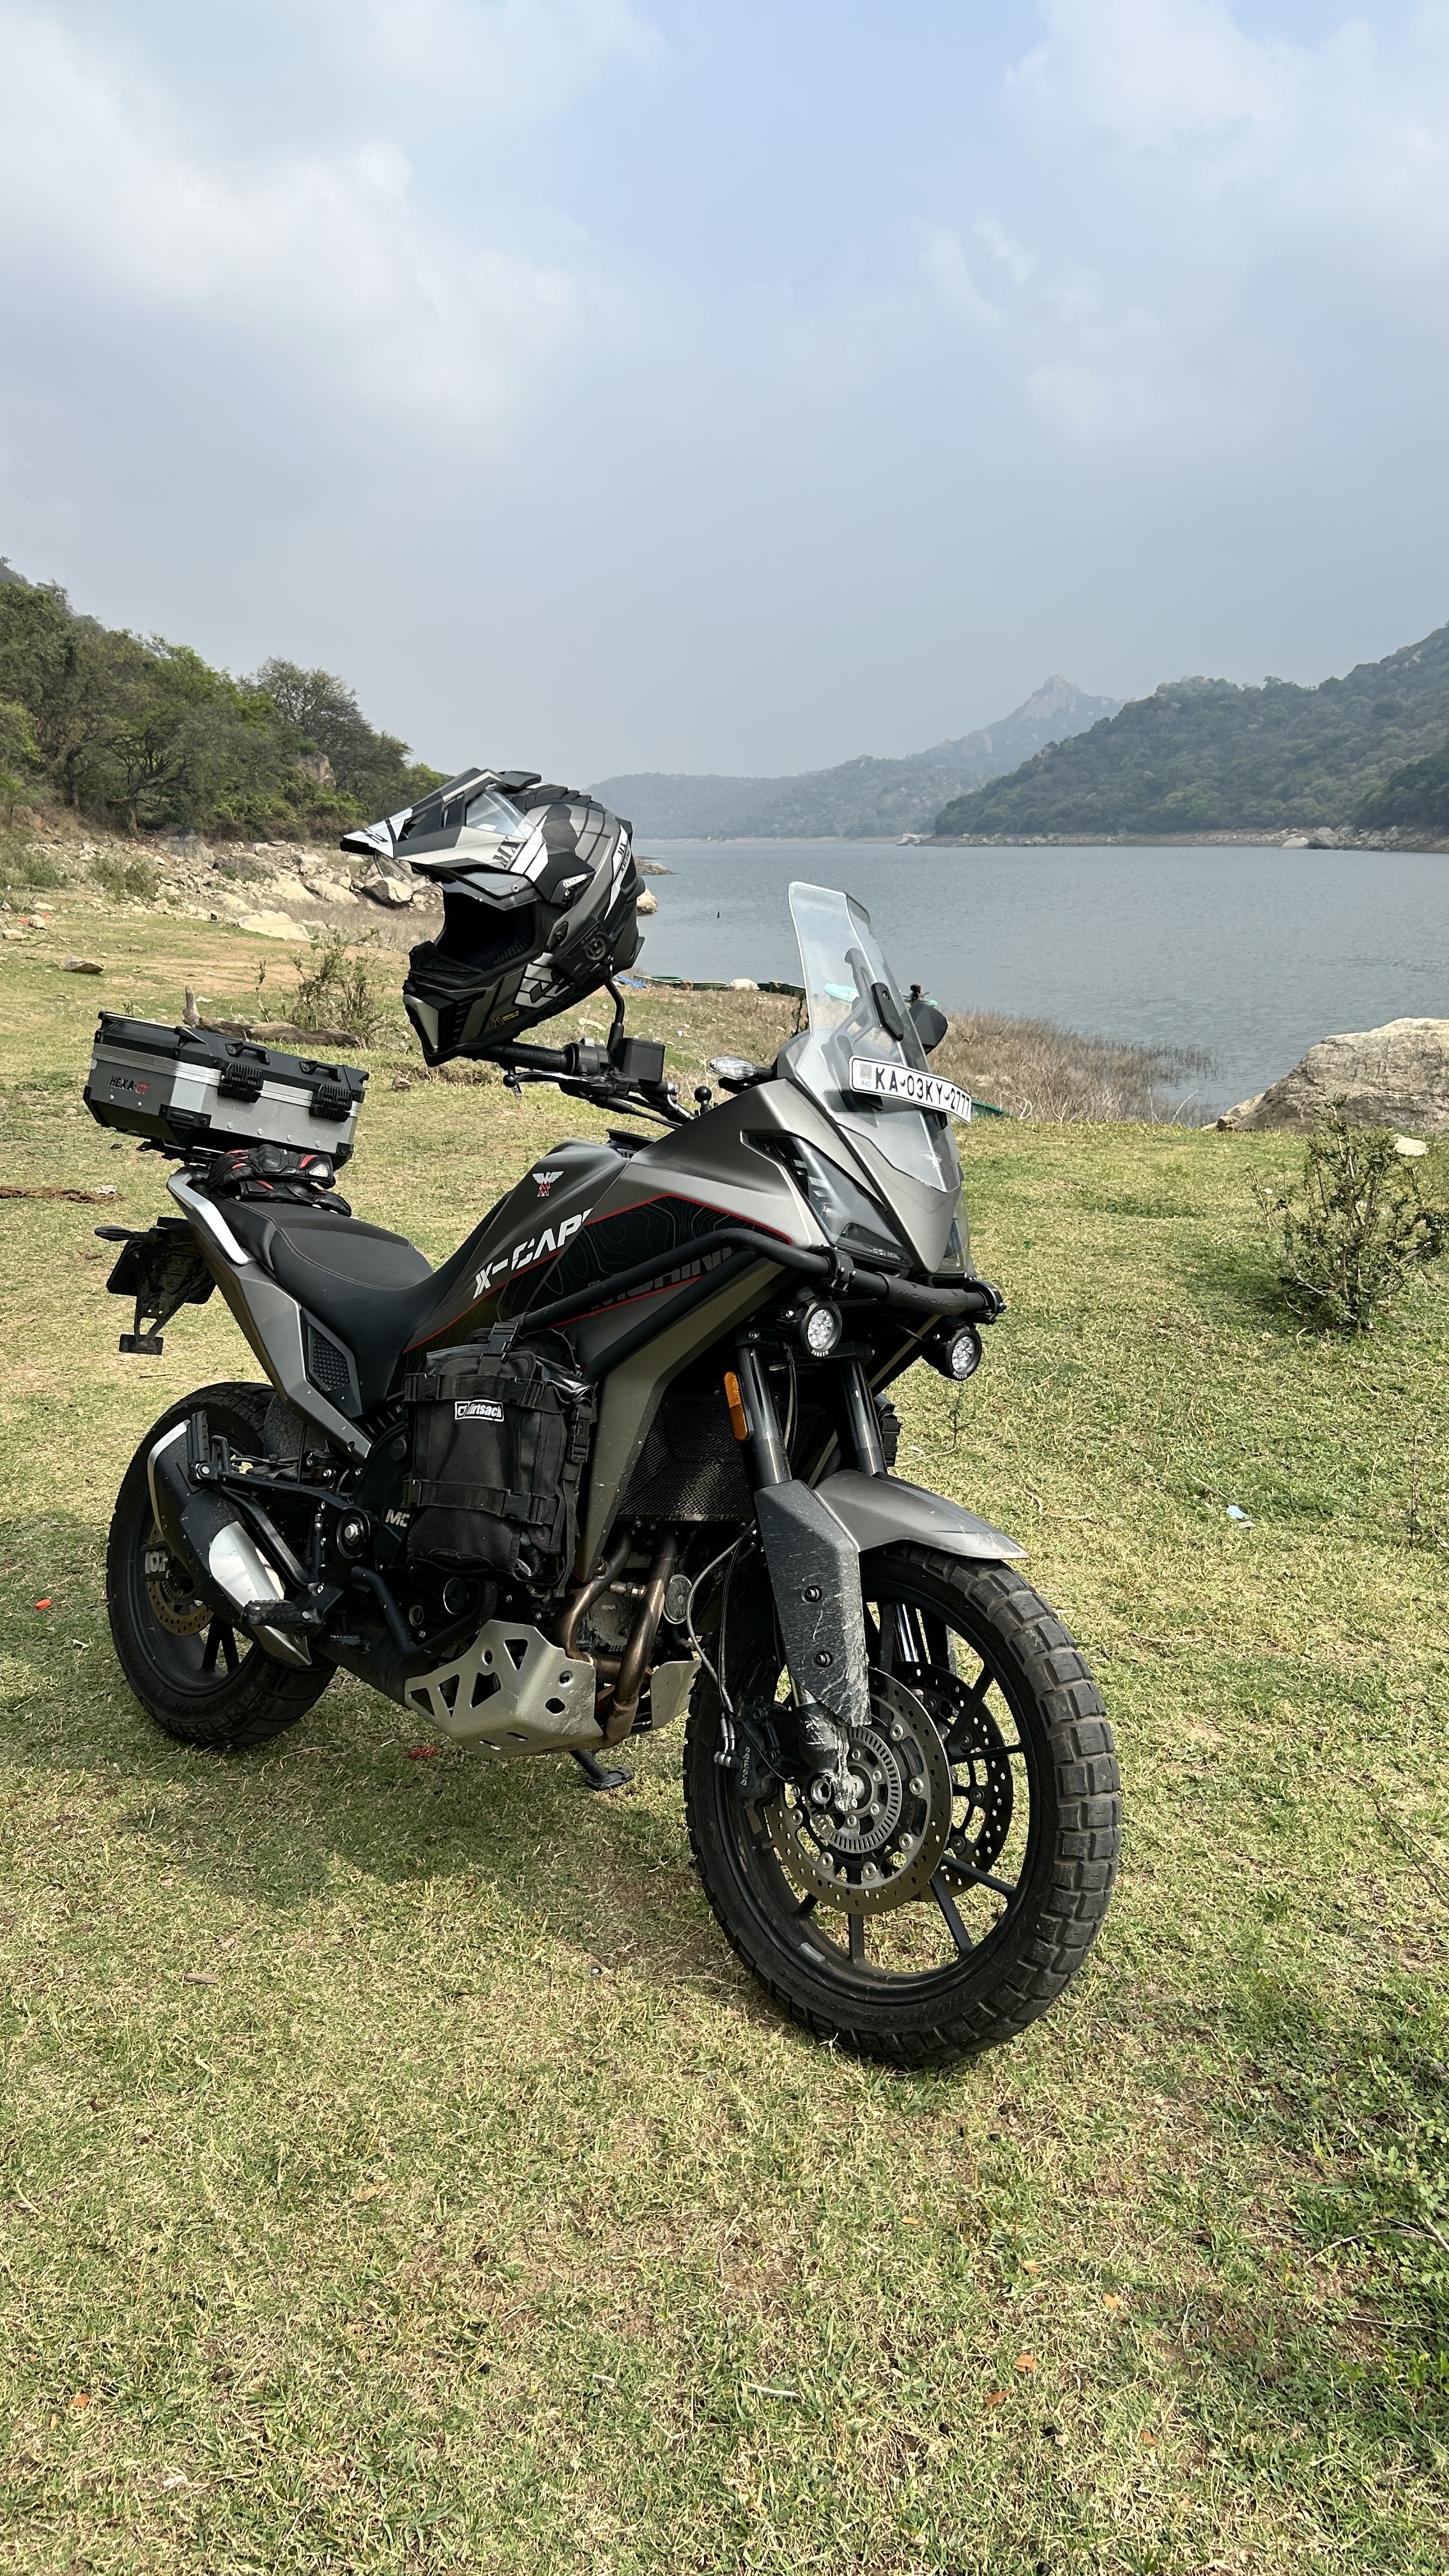
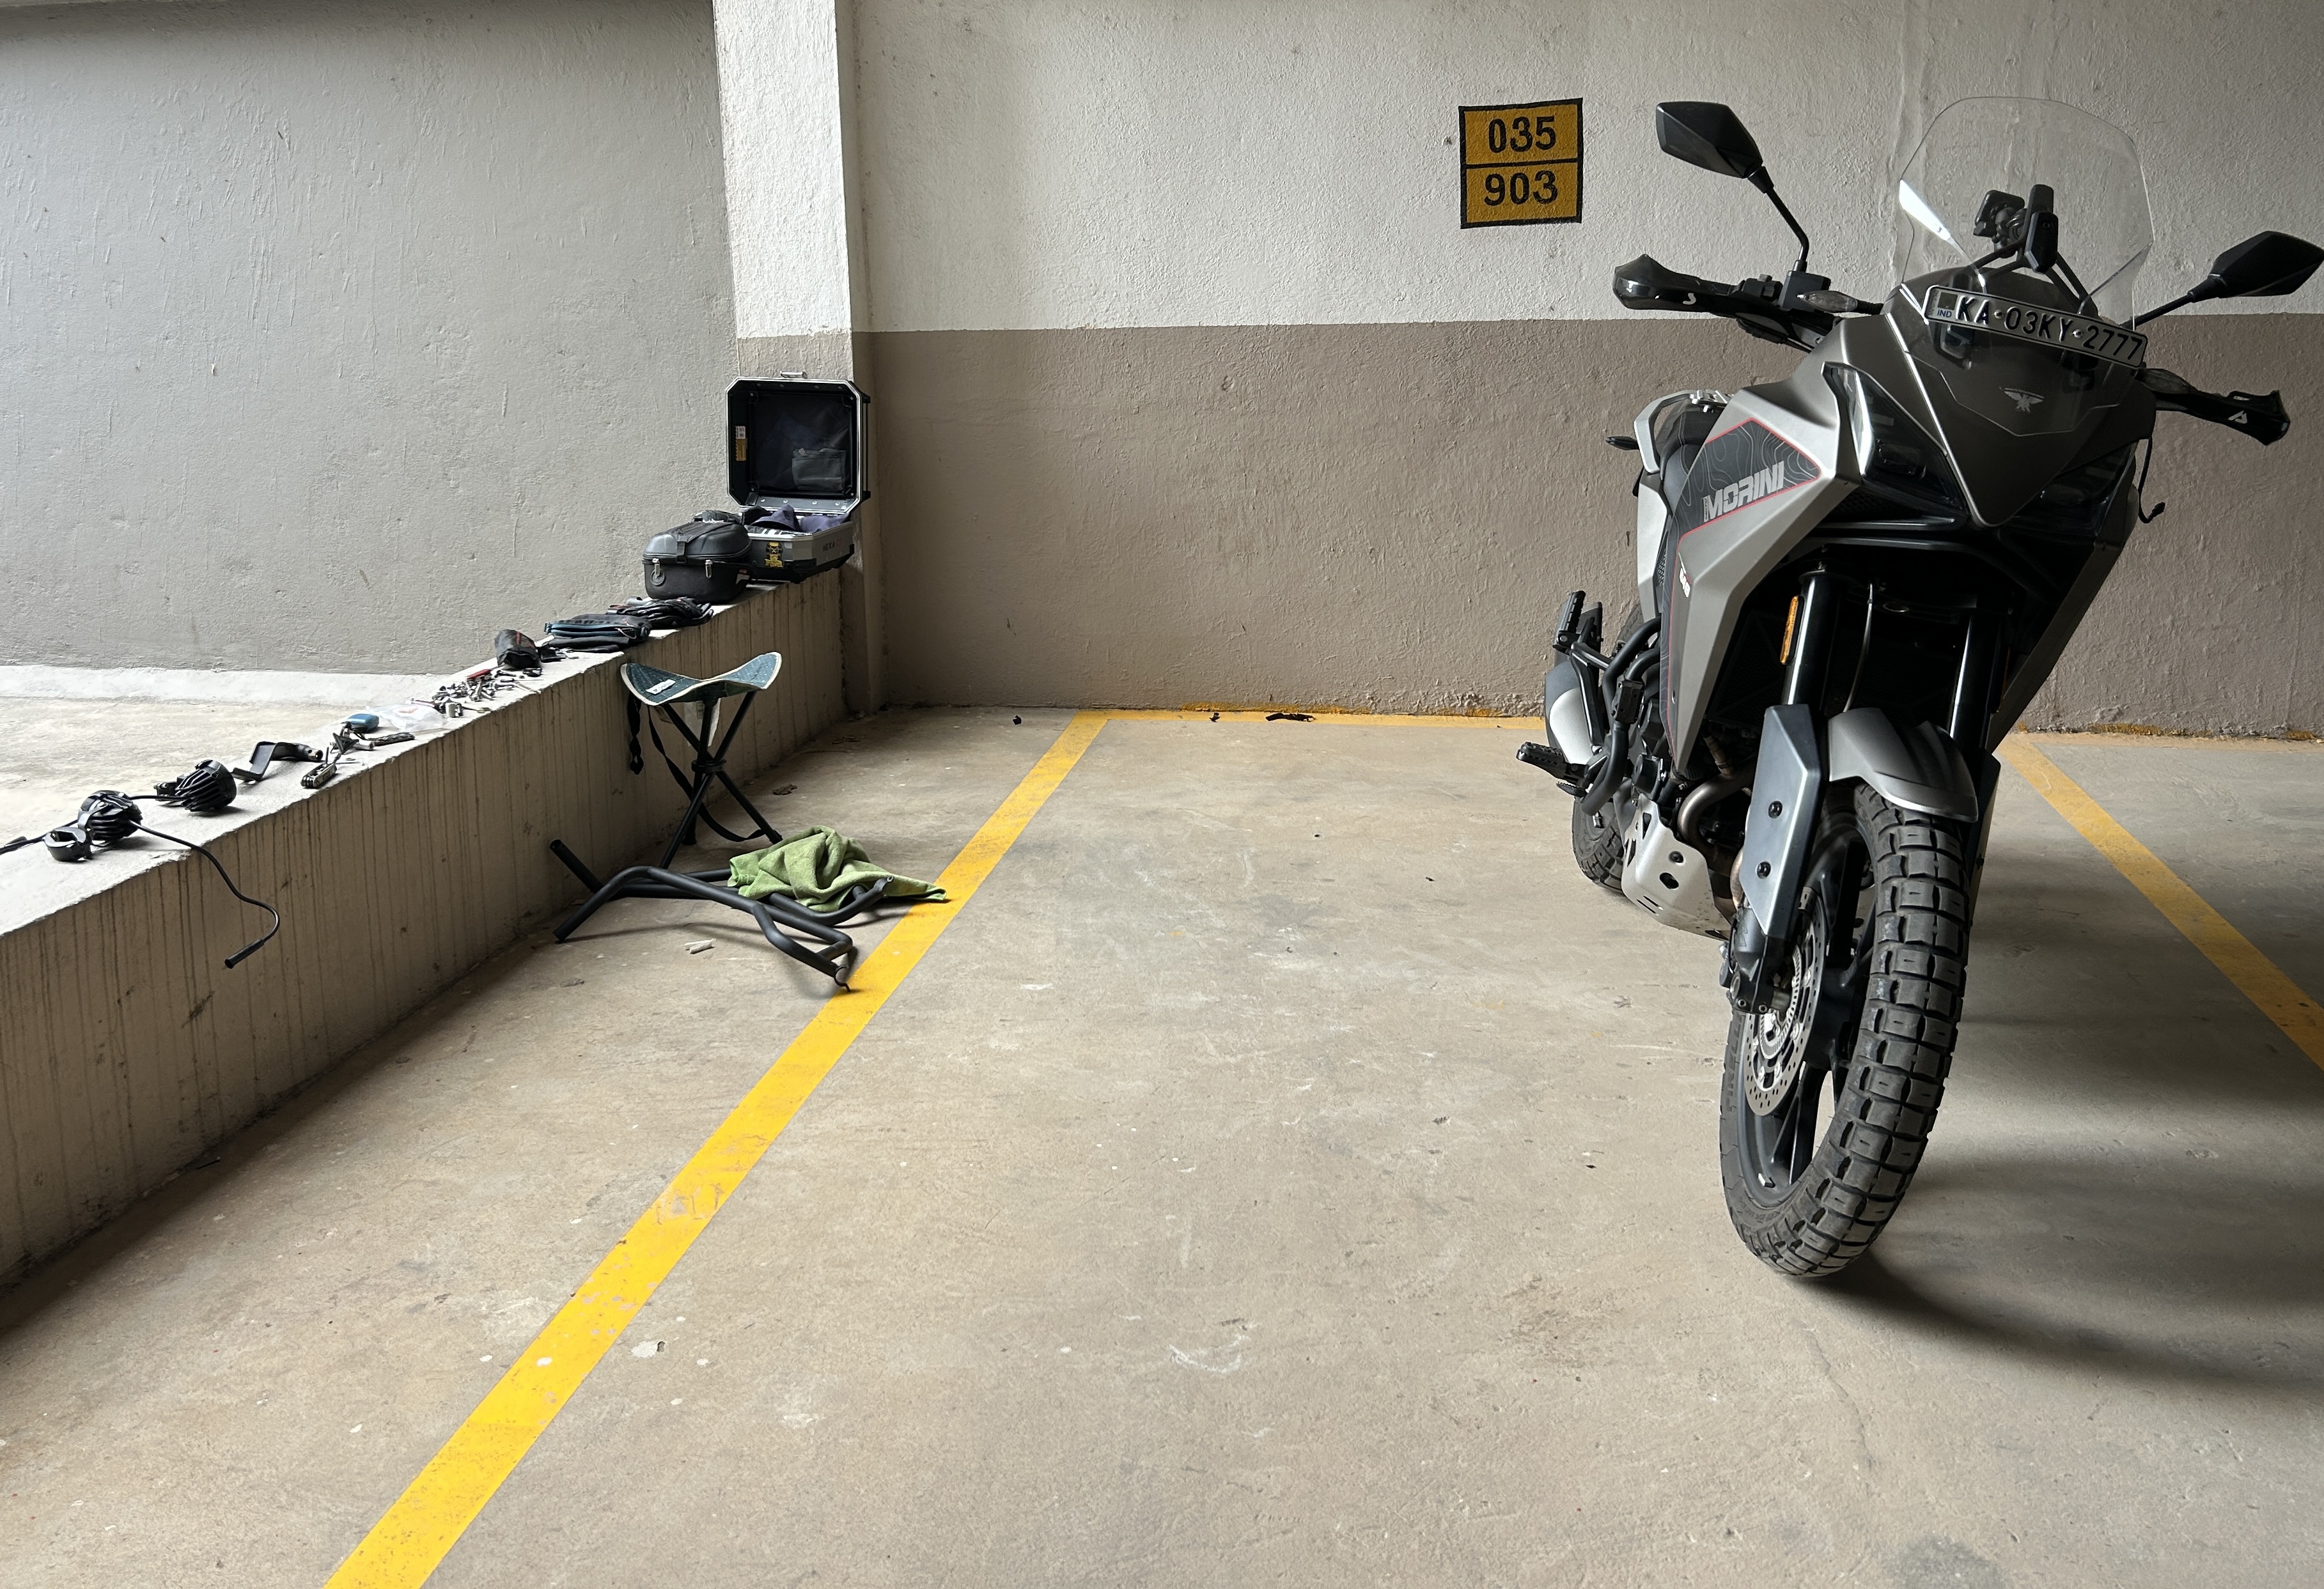
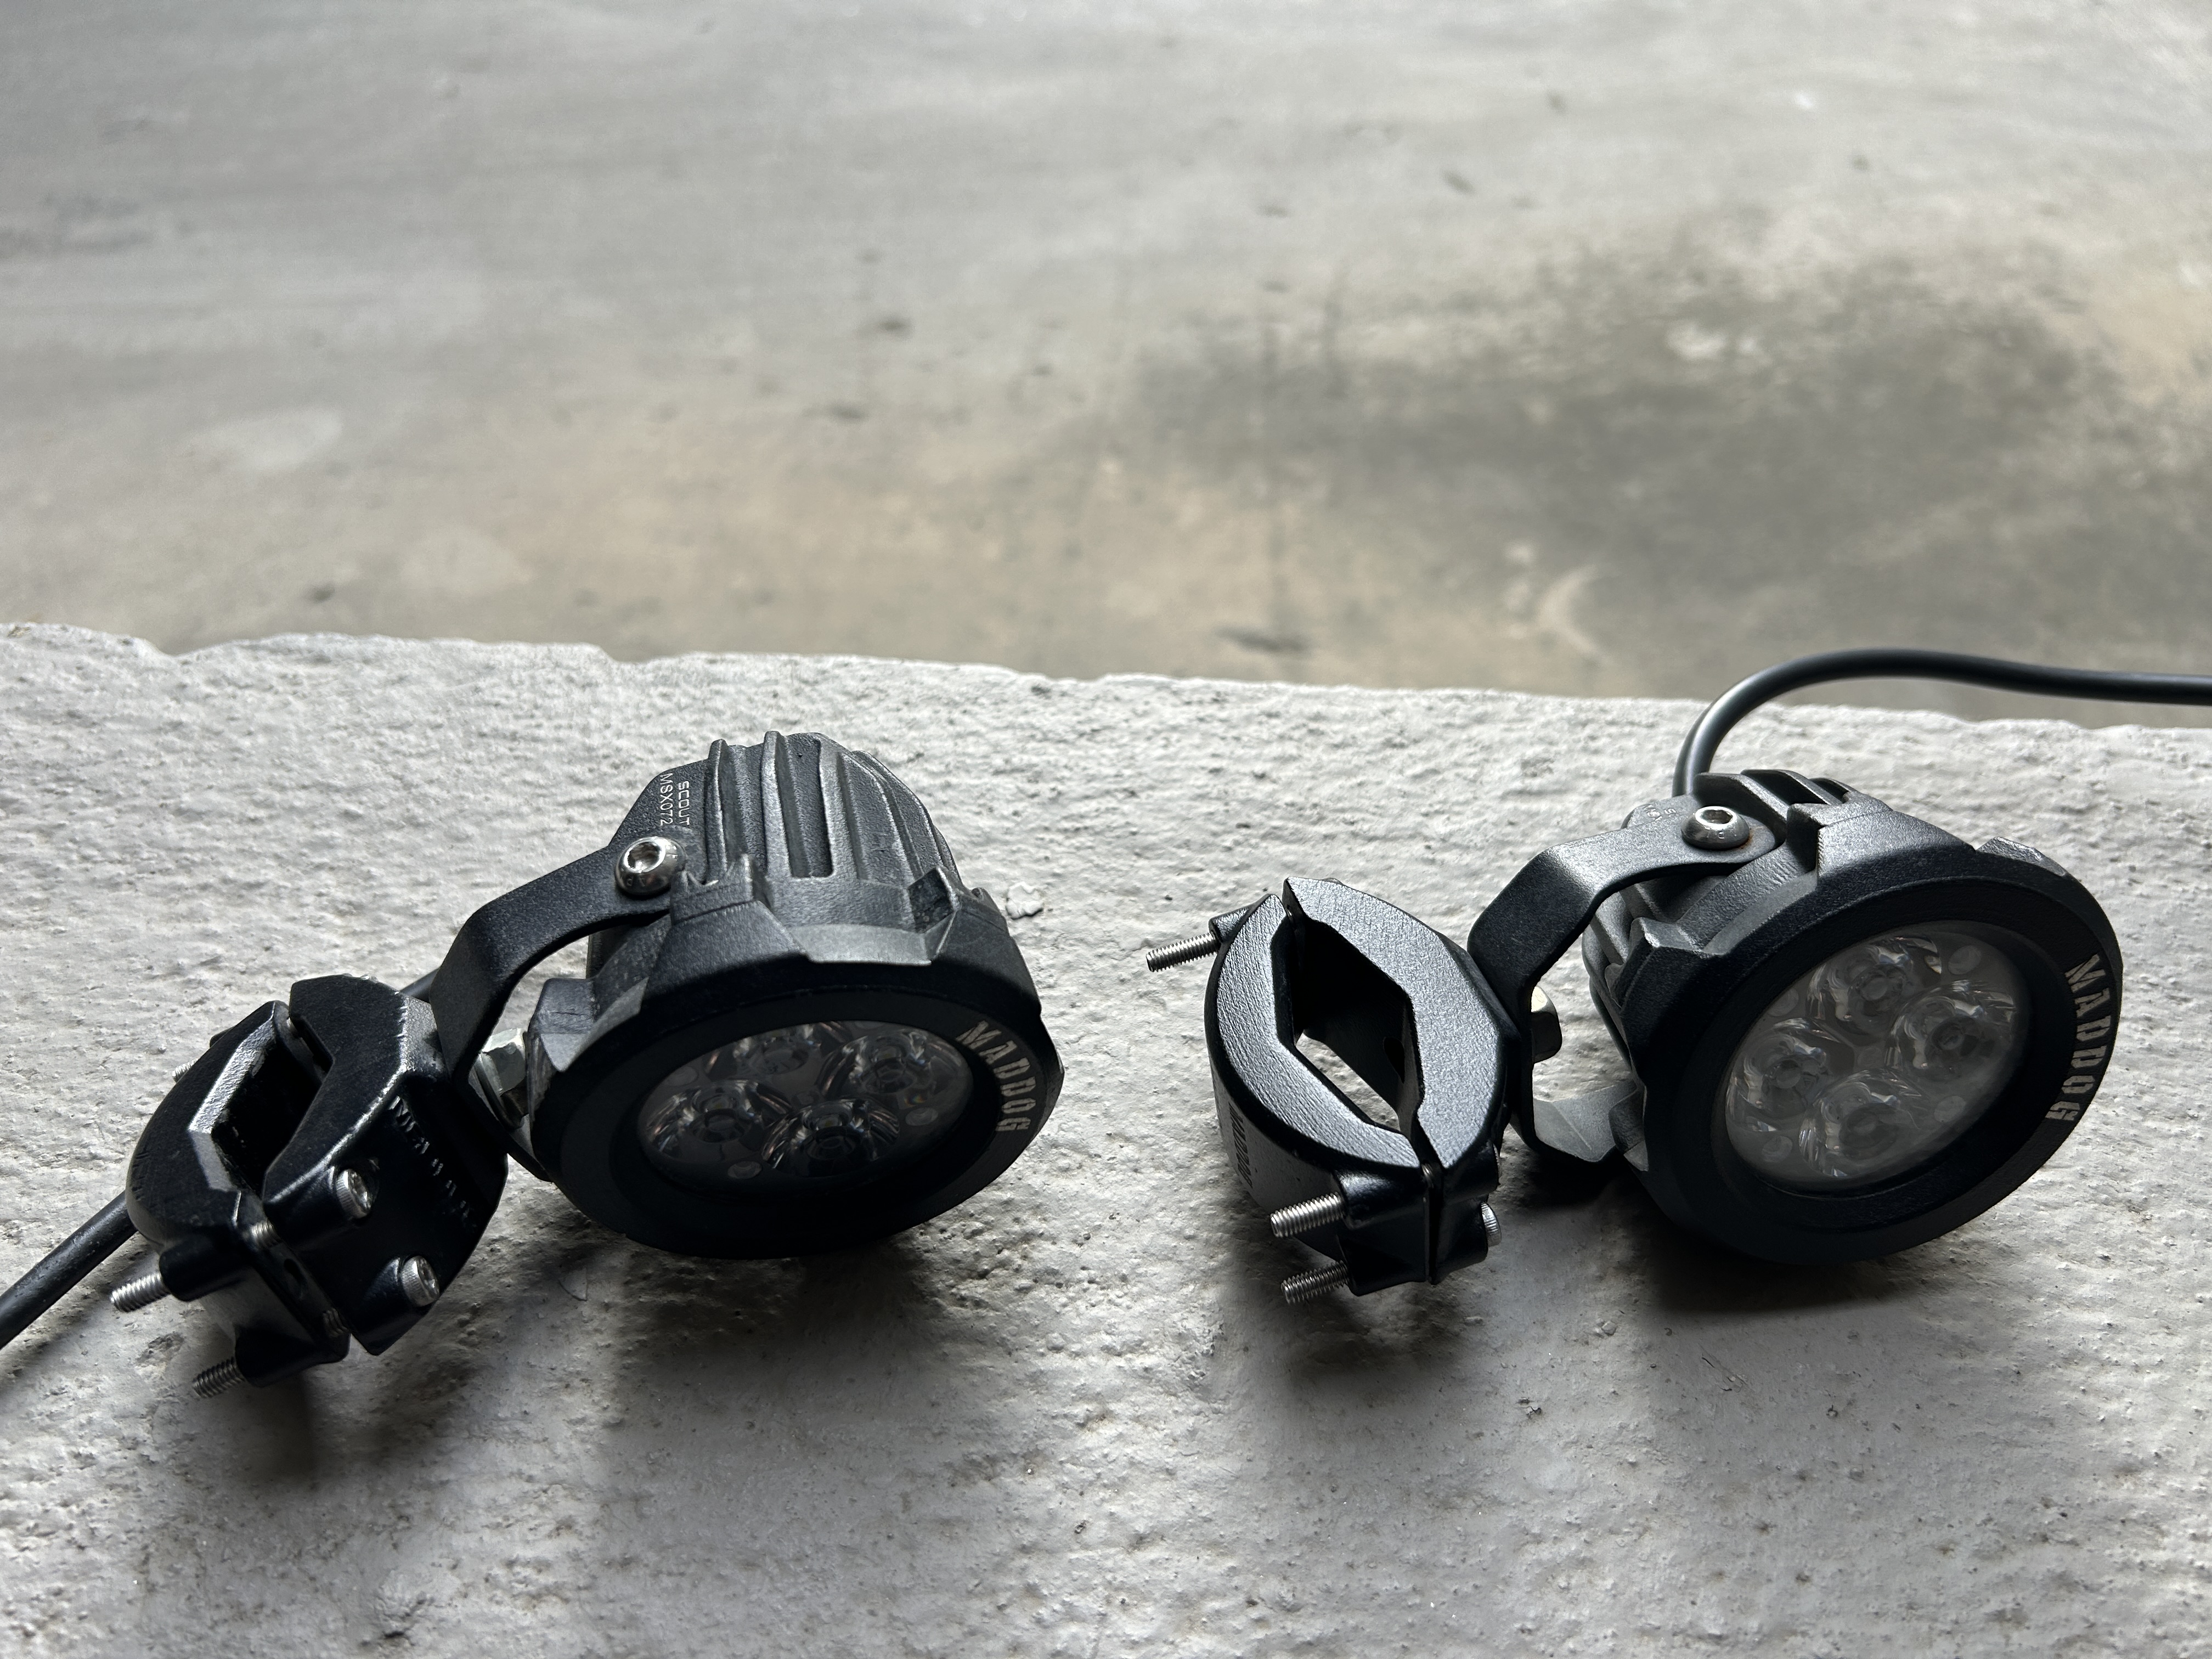
More than 6 months of using the bike in this format, has me convinced otherwise. As the first year of ownership rolled by, I took stock of how comfortable I was, handling the bike. I realised, I’ve just been a tad hasty in my ‘speccing up’ the bike to make it ‘tour ready’. Mind you, I haven’t been on any tours yet. I have been on day rides which included short off road sections-where the bike hasn’t inspired a lot of confidence. I reckon the ‘don’t drop the new bike’ anxiety prevails- in-spite of all the extra protection with crash bars, engine guards and the like, I am still hesitant and super careful, even on the lightest trails. All of this added weight, suddenly didn’t make sense. One day, on a whim, I started removing these accessories one by one. I never put them on a scale, but am fairly certain I removed around 15kgs from the machine!

The XCape 650 in its simple avatar.
No heavy top box, clean rear three quarters

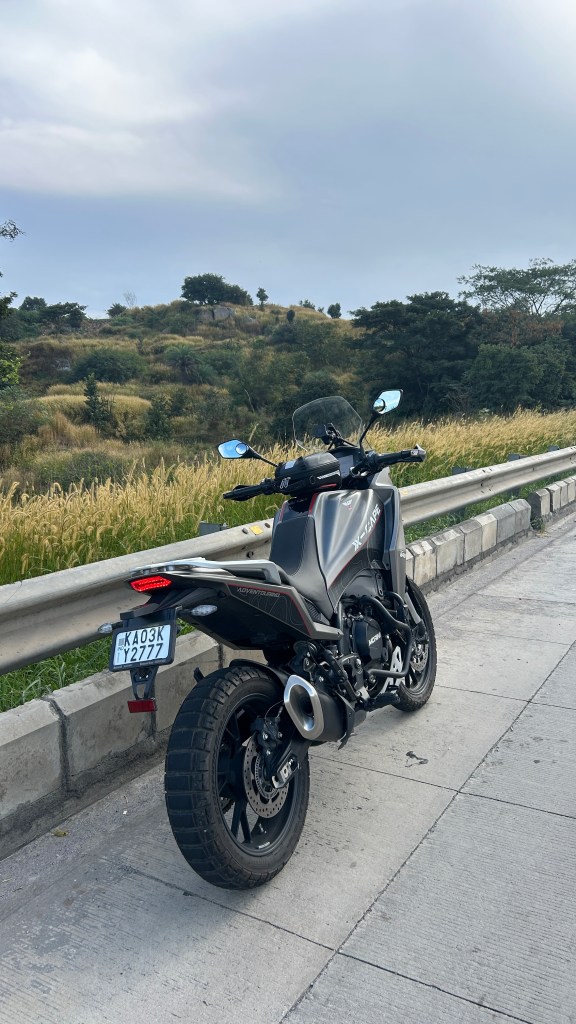
Familiarity with the motorcycle should mean I can slowly up-skill my riding and start using the bike to its full potential. One week of rides sans the upper crash bars, aux lights, top box and the rear mount transformed the way the bike handled, and the way it made me feel. I’ve retained what I’d call the real essentials for crash protection-a compact OEM engine guard with sliders, aftermarket hand guards with aluminium bars, stock rear rack and the sump guard. I will look at ways to reduce more, but for now, I’m loving the newfound sense of comfort, agility and lightness.

For short rides, the Givi tank bag is excellent. Longer tours will have to make do with compact soft luggage.

Himalution…😊

2016- Stock Bike 😇
2017- Scrambler 🧐
2018- Enduro ‘chichora’ bike 😈
2019- Adventure Tourer 🤠
2020- Retro Tourer 🥸
2021…🤔??
2022-😎🤟

Himalayan- Essential Upgrades

In my Himalayan, 15000km Update. I had talked about upgrading to a good set of tyres as the stock tyres had worn out completely. After shortlisting various on/off road tyres, including the Pirelli MT60, which does duty on Himalayans sold outside India, I decided to run with Metzeler Tourance Next. The photos below, show how the bike looks with new shoes.

IMG_1389
Metzeler Tourance Next- 90/90 x 21″ Front Tyre- easy fit on the Himalayan.

IMG_1392.jpg
Metzeler Tourance Next- 150/70 x 17″ rear tyre. This fitting requires a skilled mechanic as the rim width is designed to hold a 120/90 x 17″ tyre. Nevertheless, once installed correctly, the tyre is a seamless fit. I am using a Ralco 140/17 tube in the tyre. 

The tyres are significantly higher grade (being Metzelers) and therefore, significantly more expensive. But they are comparable to or cheaper than, the other options I looked at. I chose these tyres after a fair bit of research, for the following reasons:

  1. In three years of use, I have not done any serious off-roading on the Himalayan. And I realise, that while any offroad trail which comes my way, when I’m on a ride is more than welcome, I’m not much into off-roading as a sport. Which meant that I required a good set of dual sport tyres that would be ideal for commuting and touring.
  2. I wanted road focussed tyres that could handle dirt trails. Now the stock tyres are good on dirt and okay on road. Folks who are on their second set of stock tyres are bound to disagree with me, and a month or two ago, I would have sworn by the Ceats. However, since I’ve put on the Metzelers, two things have become crystal clear- a. The road grip is amazing- I feel much more confident entering and exiting corners now, and b. braking has improved tremendously.
  3. Off road adventure tyres with knobbly treads have very poor mileage on road. Here the Metzelers stood out, with a lot of online reviews claiming a mileage of 15000 plus miles. This was one big deciding factor.

My second investment was the all aluminium box panniers from Royal Enfield. The panniers are sturdy, lockable and waterproof, with two years warranty. Mounting and removing them is a straightforward affair, and build quality is pretty decent. They add quite a lot of character to the bike. The bike looks purposeful and adventure ready. Here again, I researched luggage systems from Shad and Hepco and Becker, both of which offered hard plastic cases, but were on the expensive side. I went in for the Royal Enfield product as it was very good value for money, robust and simple to use.

Royal Enfield Aluminium panniers on the Himalayan.

Some DIY was required to mount the number plate, but it turned out fine, I think. 

Mounting and removing the panniers is a 5 minutes affair. 

I’ll pop in a review soon, about these upgrades, once I’ve headed out on a long ride. In the meantime, I’ve been commuting. And the panniers are an absolute blessing. Earlier, I’d spend at least 10 to15 minutes daily, strapping my laptop bag on and taking it off the bike; now, its a 30 second affair. The panniers swallow everything. And keep stuff snug and dry. ‘Fill it, shut it, forget it’, is what I say. 🙂

IMG_2180
Commuting, before the panniers. My laptop bag is mounted on the rear seat with the help of bungee cords. Everyday, prepping the bike took at least 10 minutes.